
Kombucha is one of the hottest probiotic beverages on the market today. You can buy kombucha in just about every health food store and co-op in the country. But you’re going to pay a pretty penny for each 8 ounce glass you drink.

Probiotic kombucha tastes great.
At a local food exchange, where kombucha is on tap, one glass is $4.00.
All kombucha is is a fermented black tea flavored with organic juices or fruits of your choice and maybe even a few spices. So, when I recovered from sticker shock, I decided to calculate how much a glass of home-brewed kombucha would run.
Would you believe home-brewed kombucha costs about $.31 a glass? Yep, I said 31 cents a glass and that’s using pure cane sugar and premium Sada Chai from the Tao of Tea company.
You can make 8 glasses of kombucha, at home, for the cost of a single glass at the store. That’s why I started making my own kombucha!

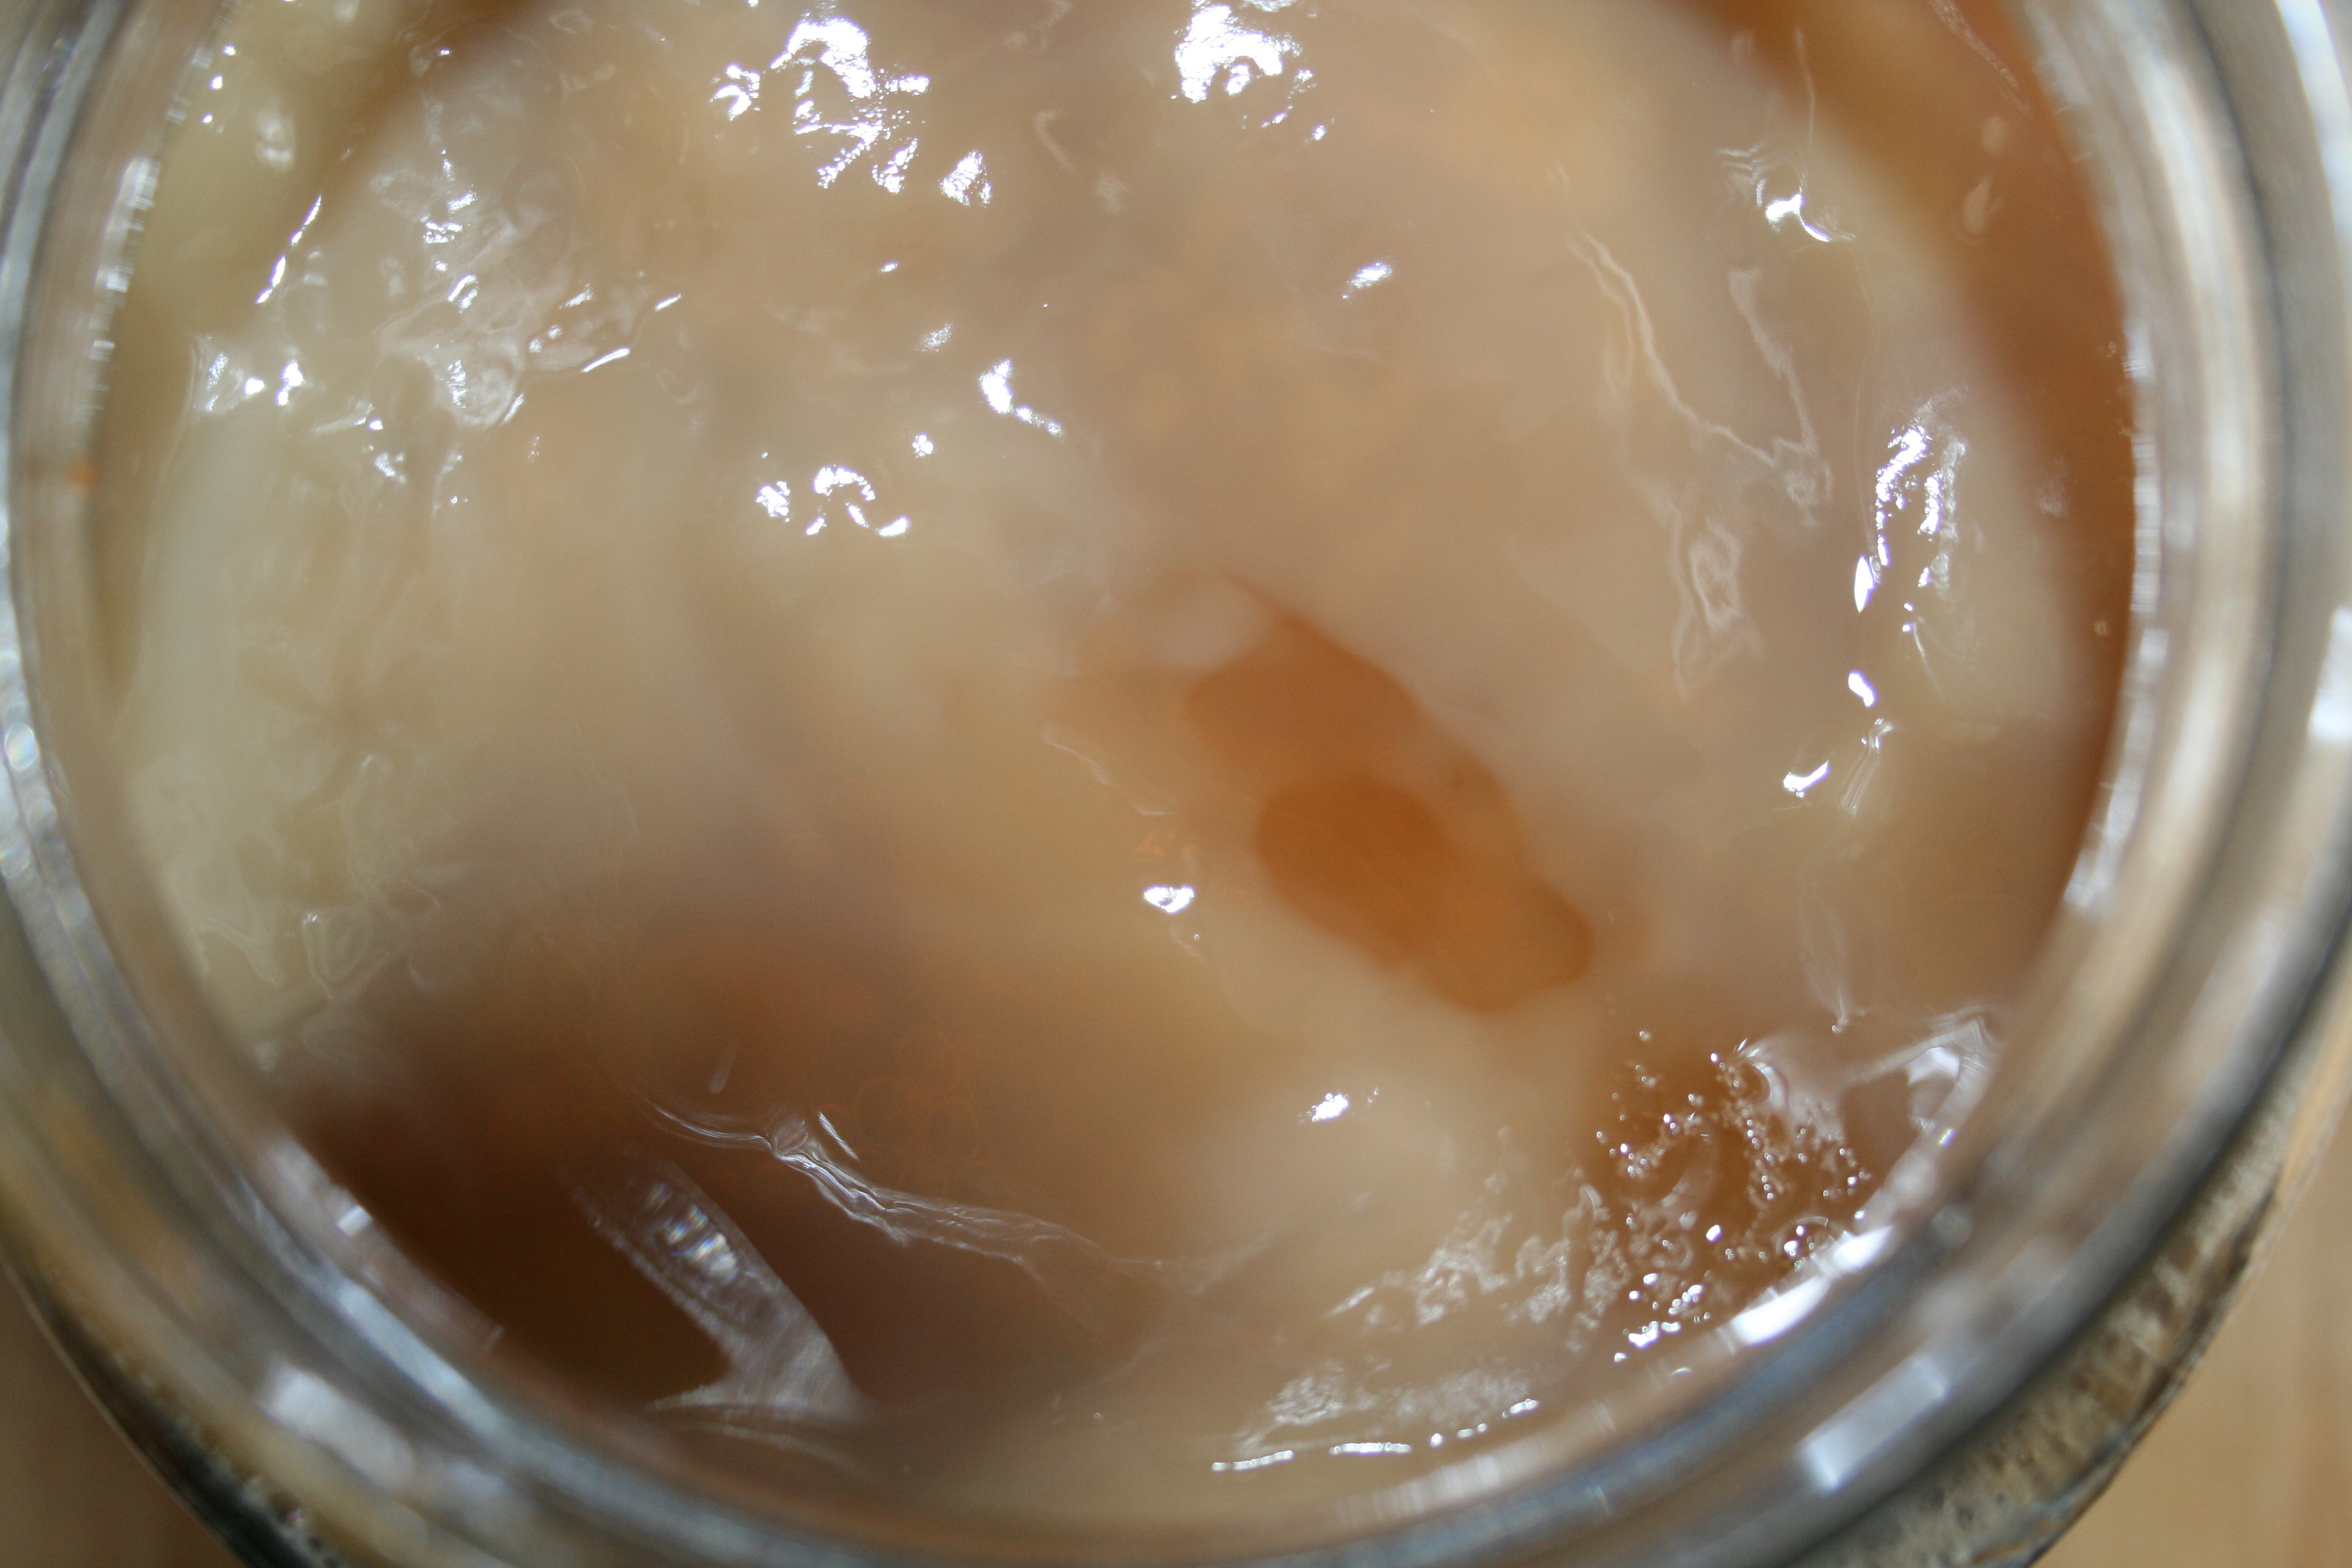
Healthy SCOBYs look a bit like jelly fish.
This is a powerful and living organism that eats the sugar you put in your black tea, fermenting it and giving you 8 glasses of kombucha for about $2.50.
And she does it in 7 to 10 days!
How do you get started?
It looks a bit daunting but if you follow the directions, it is easy and your kombucha will be delicious!
- Bring a gallon of water to a boil, then turn off the heat and immediately add 4 Tablespoons of loose tea and 1 cup of organic cane sugar. Cover the pot with a lid and let the tea cool to room temperature. If it’s too warm (anything approaching 90°) it will kill the SCOBY.
- When the tea is room temperature (check this with a thermometer) strain out the tea leaves, and pour the liquid into your glass or ceramic gallon container. Add your SCOBY and 1-2 cups of kombucha starter liquid it shipped in. NOTE: this is for the first batch you make. The batches thereafter, just pour off and bottle all but 2 cups of kombucha then pour the fresh tea right into the gallon jar with your SCOBY .

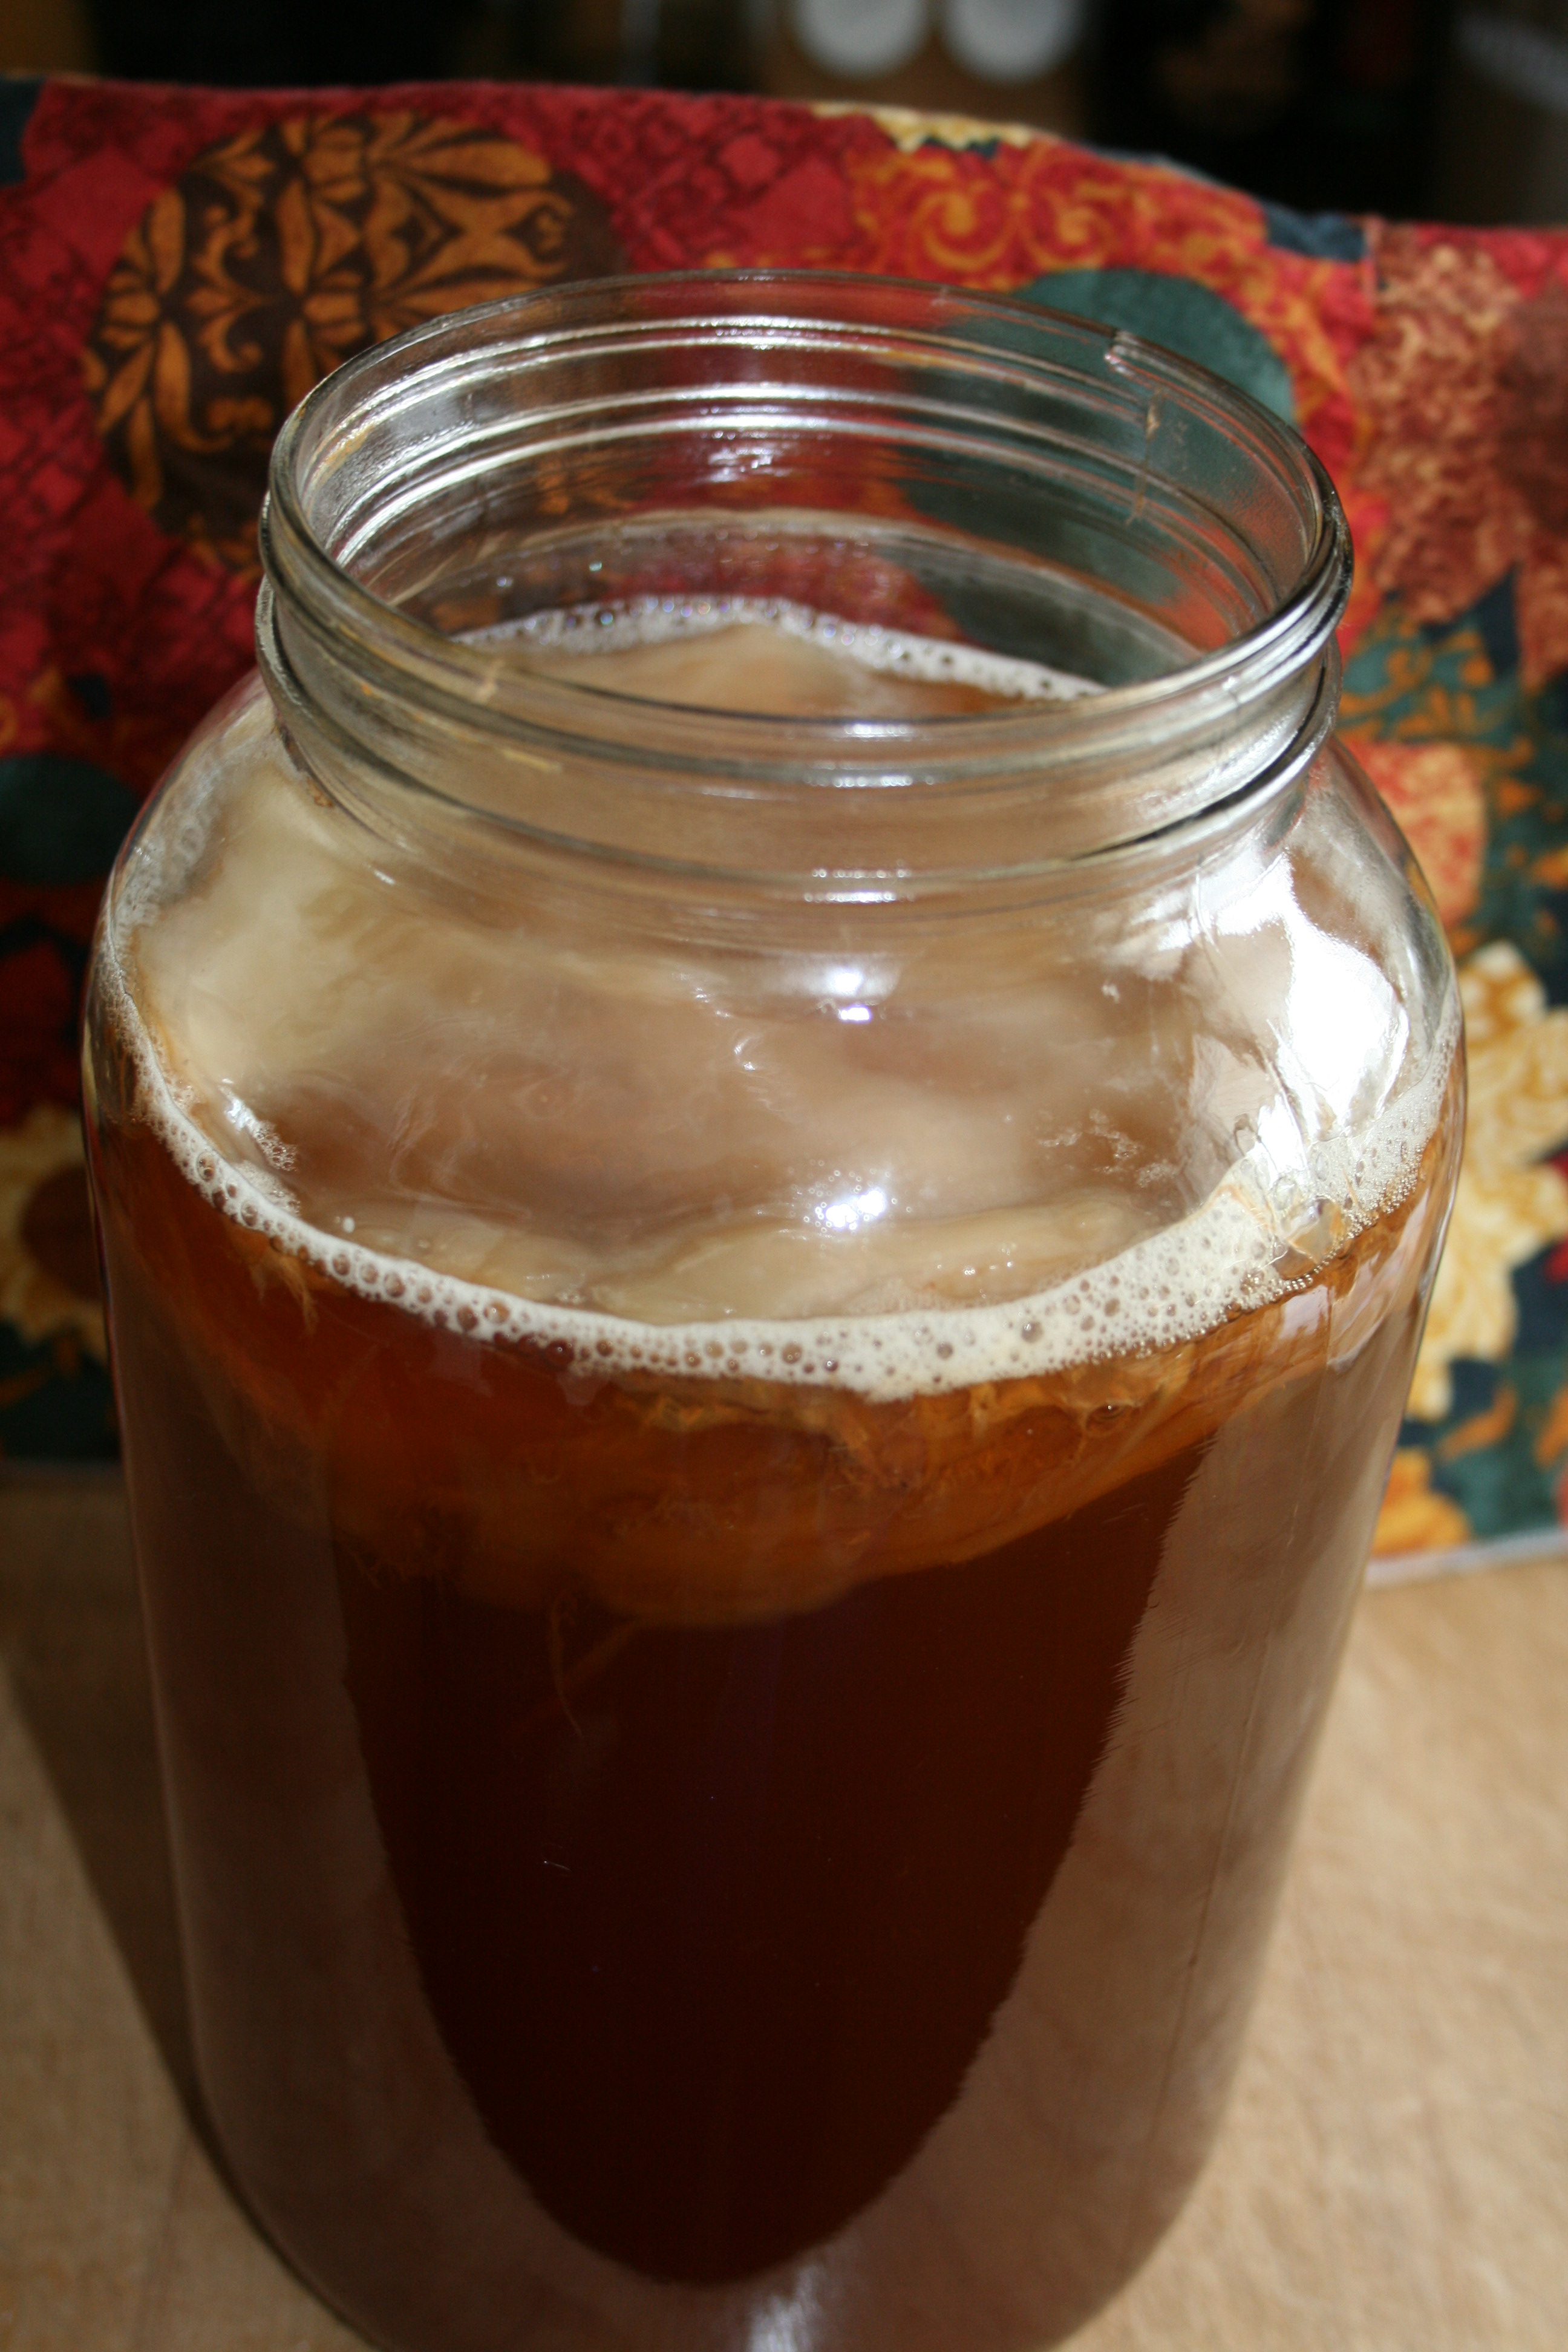
Leave room at the top for your SCOBY to grow.
- Cover the container with a clean cloth, kitchen towel, or handkerchief kept in place with a rubber band. Place the jar in a warm spot (I put mine in the oven with the oven light on) that is out of direct sunlight and where it won’t be disturbed or moved.Make sure that the cloth or towel is breathable but the weave is tight enough to keep out fruit flies, gnats, and other undesirables.Your SCOBY may sink or float on the top, both are okay. In 2-3 days, you may see a translucent jelly like mass floating on the top of your tea. This is a baby SCOBY beginning to form. Leave it undisturbed so that it can grow properly.
- Taste your kombucha 7 or 8 days after starting it using a straw inserted down the side of the SCOBY, not through it. Ideally, kombucha should have a slightly sharp and acidic bite. How long it takes to make a batch depends on the temperature of your home and how sweet or sour you’d like it to be. Most batches will be ready in 7-10 days. The longer it brews, the sharper it gets.
- Just before you think you will be bottling your kombucha, brew another batch of sweetened black tea so it will be cooled to room temperature and ready for you to use to start the next batch using the mother or baby SCOBY and the reserved kombucha.
- When your kombucha is ready, pour all but the last 2 cups into clean bottles or jars, straining it as you pour to catch any tiny SCOBYs that may be starting. Leave the mother SCOBY in the original jar while you bottle your batch. NOTE: keeping the mother SCOBY in the original jar minimizes contact and automatically reserves the 1-2 cups of starter liquid you need for your next batch.
- If you have a baby SCOBY growing with the mother and you want to separate them, now is the time. You can start a second gallon of kombucha going with the new baby or give it to a friend so they can home-brew.
- Start your next batch by just pouring the room temperature black tea and sugar mixture you’ve already prepared over the SCOBY and starter tea you left in the gallon jar, cover and start the brewing cycle again.
Kombucha will naturally have a slight fizziness. To increase the carbonation and level of tartness, leave the bottled kombucha on a counter top for several days after bottling. BURP the bottles to keep the pressure from building up and the brew from spurting out of the bottle when opened. Keep bottles stored in a refrigerator once the brew is finished fermenting.
Once you get the rhythm – brew tea and cool it down, strain and drain kombucha into bottles for finishing, add tea to your SCOBY and start again – you’ll understand why I say it’s easy to home brew your own kombucha.
Important notes:
Always clean your hands, utensils, and anything that might touch your kombucha with hot water and distilled vinegar. Do not use soap, (especially antibacterial soap) as it may harm or kill the kombucha culture. Your kombucha is alive! Make sure to handle it with care.
Only use lead-free glass and ceramic for fermenting. Kombucha will absorb toxins out of the container that it’s brewed in (much like how it pulls toxins out of our bodies).
SCOBYs have an unusual appearance, scent, and feel, but don’t let this discourage you! You’ll quickly grow accustomed to their odd appearance and will get used to handling them.
If the SCOBY grows mold, throw the liquid and SCOBY into the compost and begin with fresh materials.
One thing I didn’t mention is flavoring your home brew. There are any number of tasty additions including organic juice, fresh or dried fruit, berries, herbs, and spices for whatever flavor suits your mood.
And, next week, I will share some of my favorite kombucha recipes!

Good easy to follow and encouraging directions. I will try this again in the near future. You have added a few key steps to the directions I was following when I first tried to make kombucha. Looking forward to recipe ideas.
Thanks Marie! And thanks for the reminder! Will get the recipes up today or tomorrow.