Monthly Archives: January 2017

Starting Seeds Indoors – IT’S TIME!

My palms are itching. My toes are tapping. My heart is beating faster! It’s time to

Starting seeds indoors is easy

Starting indoors seeds is easy!

start my seedlings!

Not all of them, you understand but it’s  enough for me to start the cool weather babies — lettuce, kale, beets and maybe even a Brassica or two.

Seed starting is really easy as long as you pay attention to a few basics:

Buy the right seed. Now what in the world does that mean? Seed is seed, right? Not in today’s world. Unless it’s certified organic, you could be buying seeds infused with herbicides and pesticides. And guess what? The herbicide and pesticide actually grow right into your plants and right into your produce.

So, only buy 100% certified organic seeds. Where? My favorite outlets for healthy and happy seeds are:

  1. Seeds of Change
  2. Seed Savers Exchange
  3. High Mowing Seeds
  4. Hudson Valley Seeds
  5. Territorial Seeds

These folks have healthy seeds that ensure you grow healthy plants and healthy produce. And they have ideas, tips and equipment for getting started. NOTE: you do NOT have to buy a whole lot of “stuff” to start gardening.

Start your seeds in the right dirt. I know, dirt is dirt. But is it? And what

Seedlings get a good start in healthy dirt.

Healthy dirt means healthy seedlings.

difference does dirt make to growing healthy, happy plants and healthful food? Dirt is everything.

This is one thing I buy every year. Why? Because dirt for starting seeds has to be organic. I get mine from Gardener’s Supply – employee owned and US-based, their seed starting mix has stood the test of time for more than 25 years!

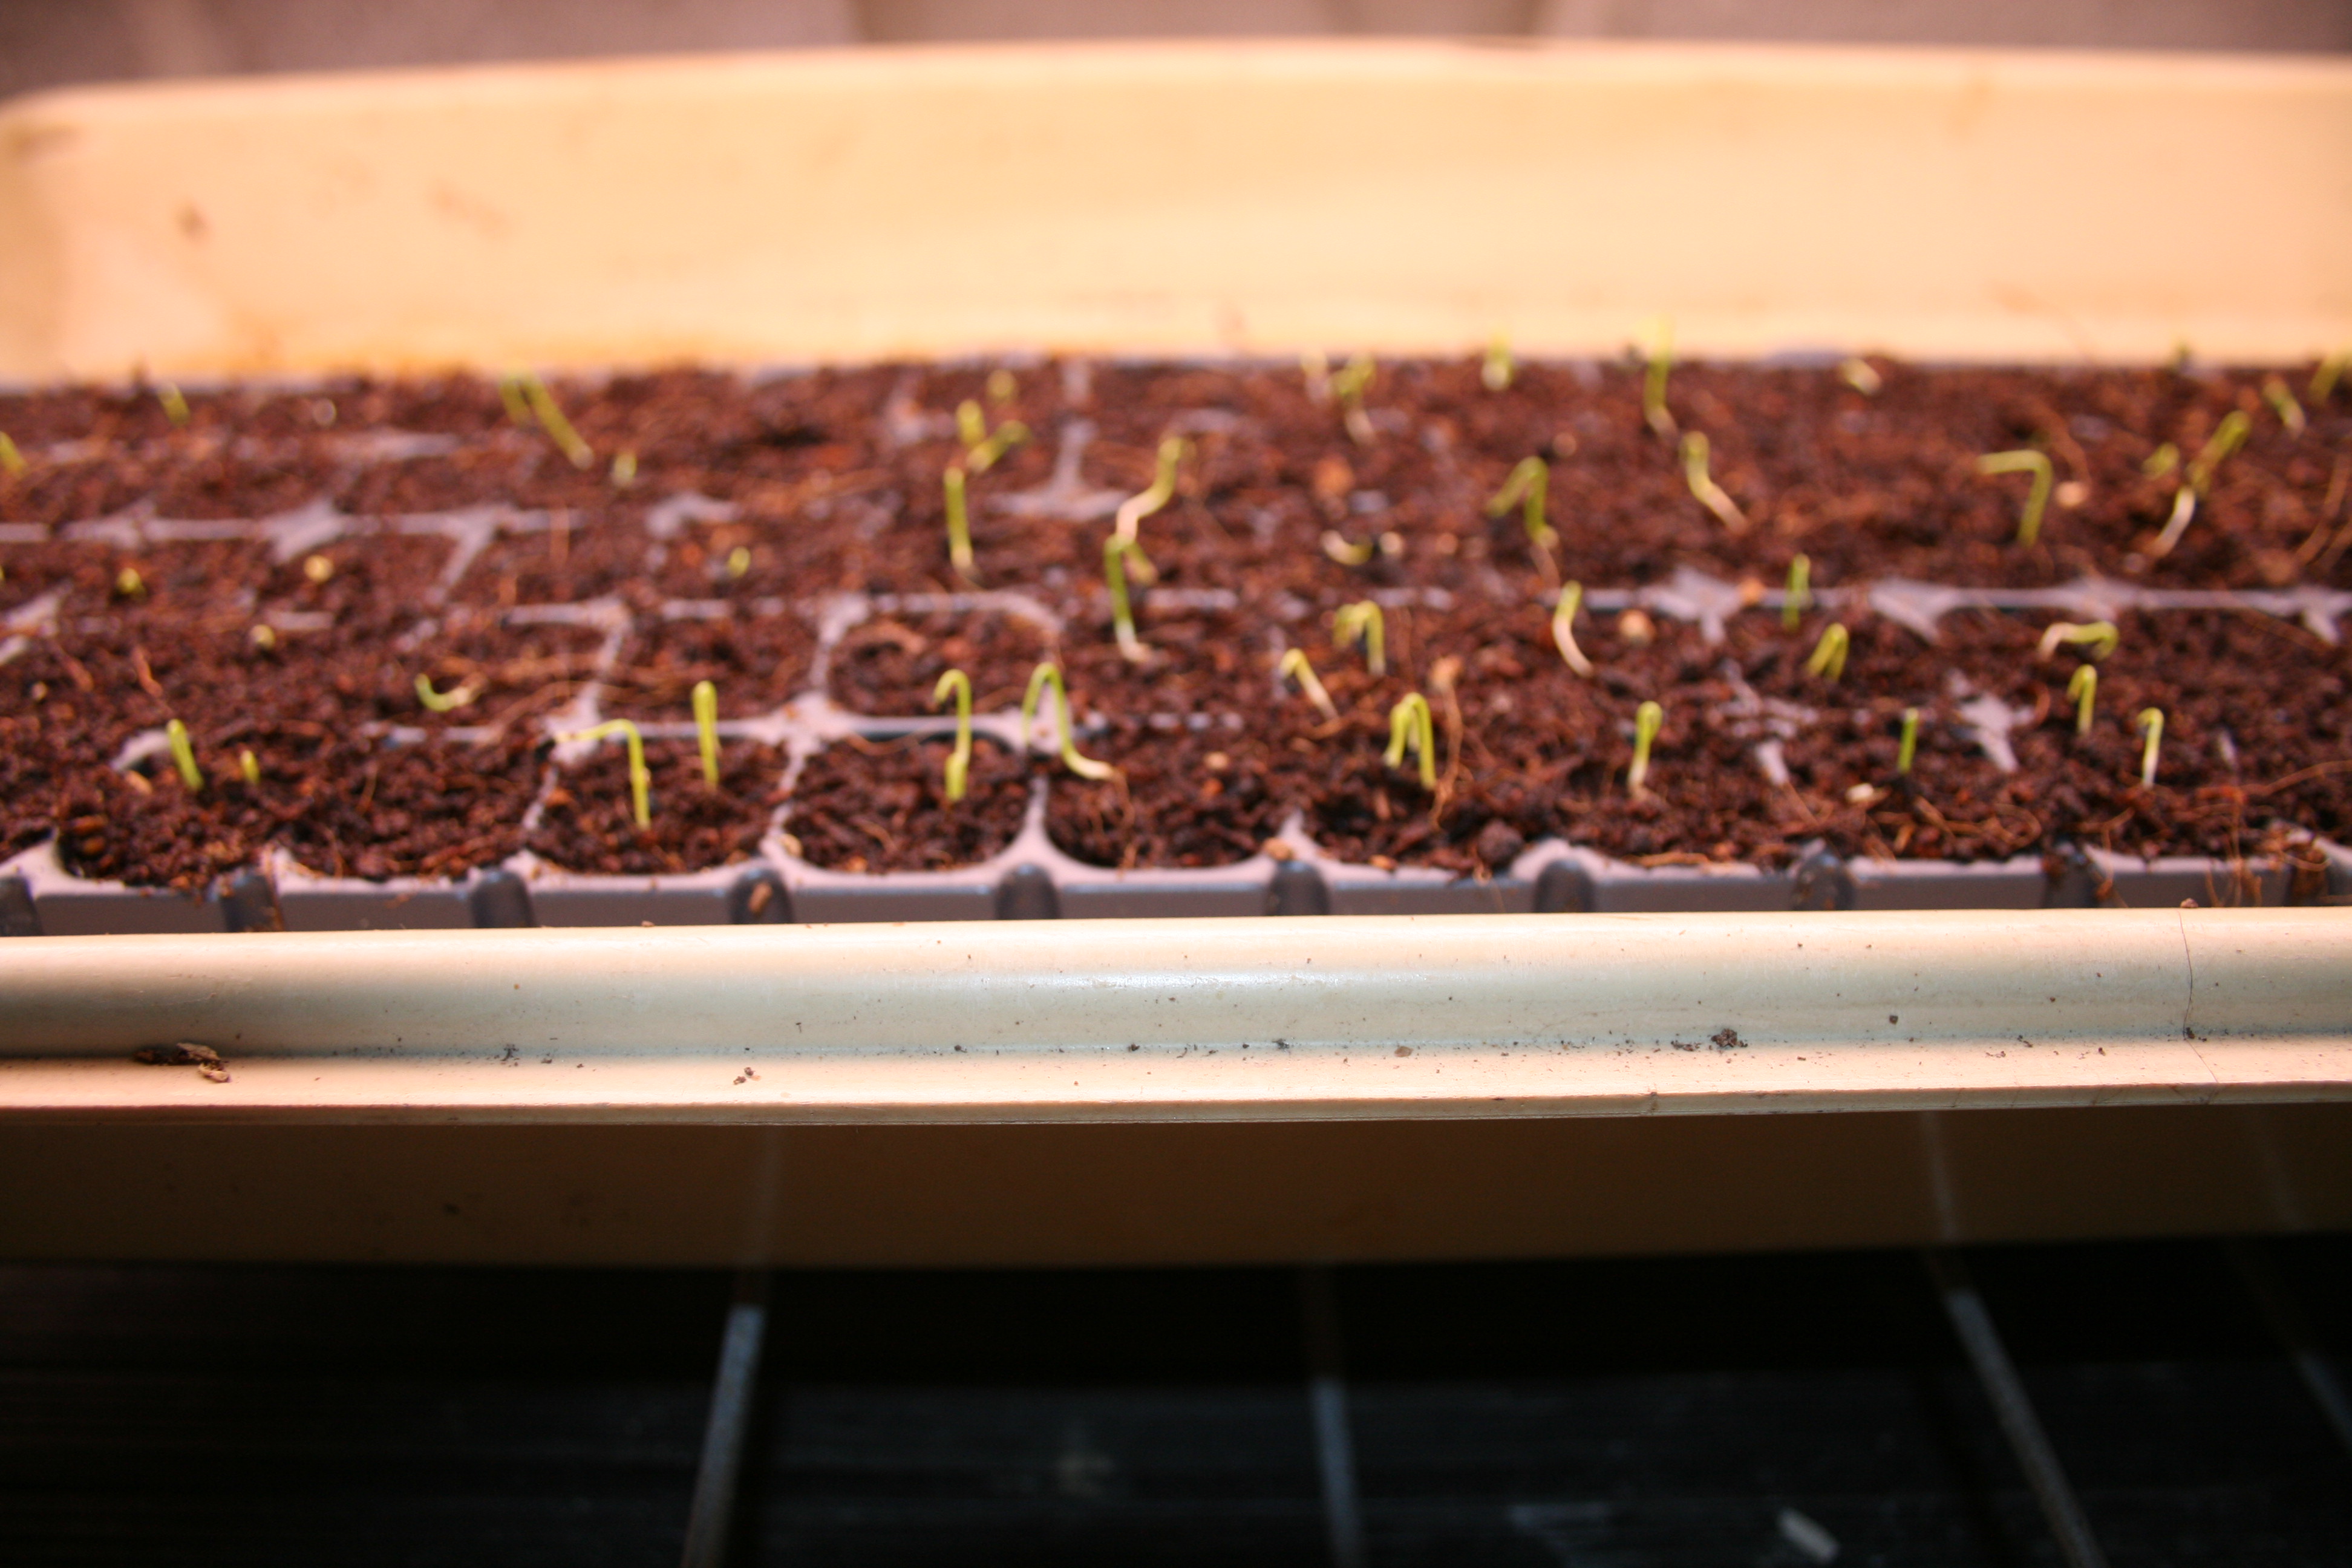
Have the right equipment and tools. Most of my gardening stuff was used when I started. It still is. My favorite seed starting tool are my seed starting kits.

Grow trays are best seed starting tools.

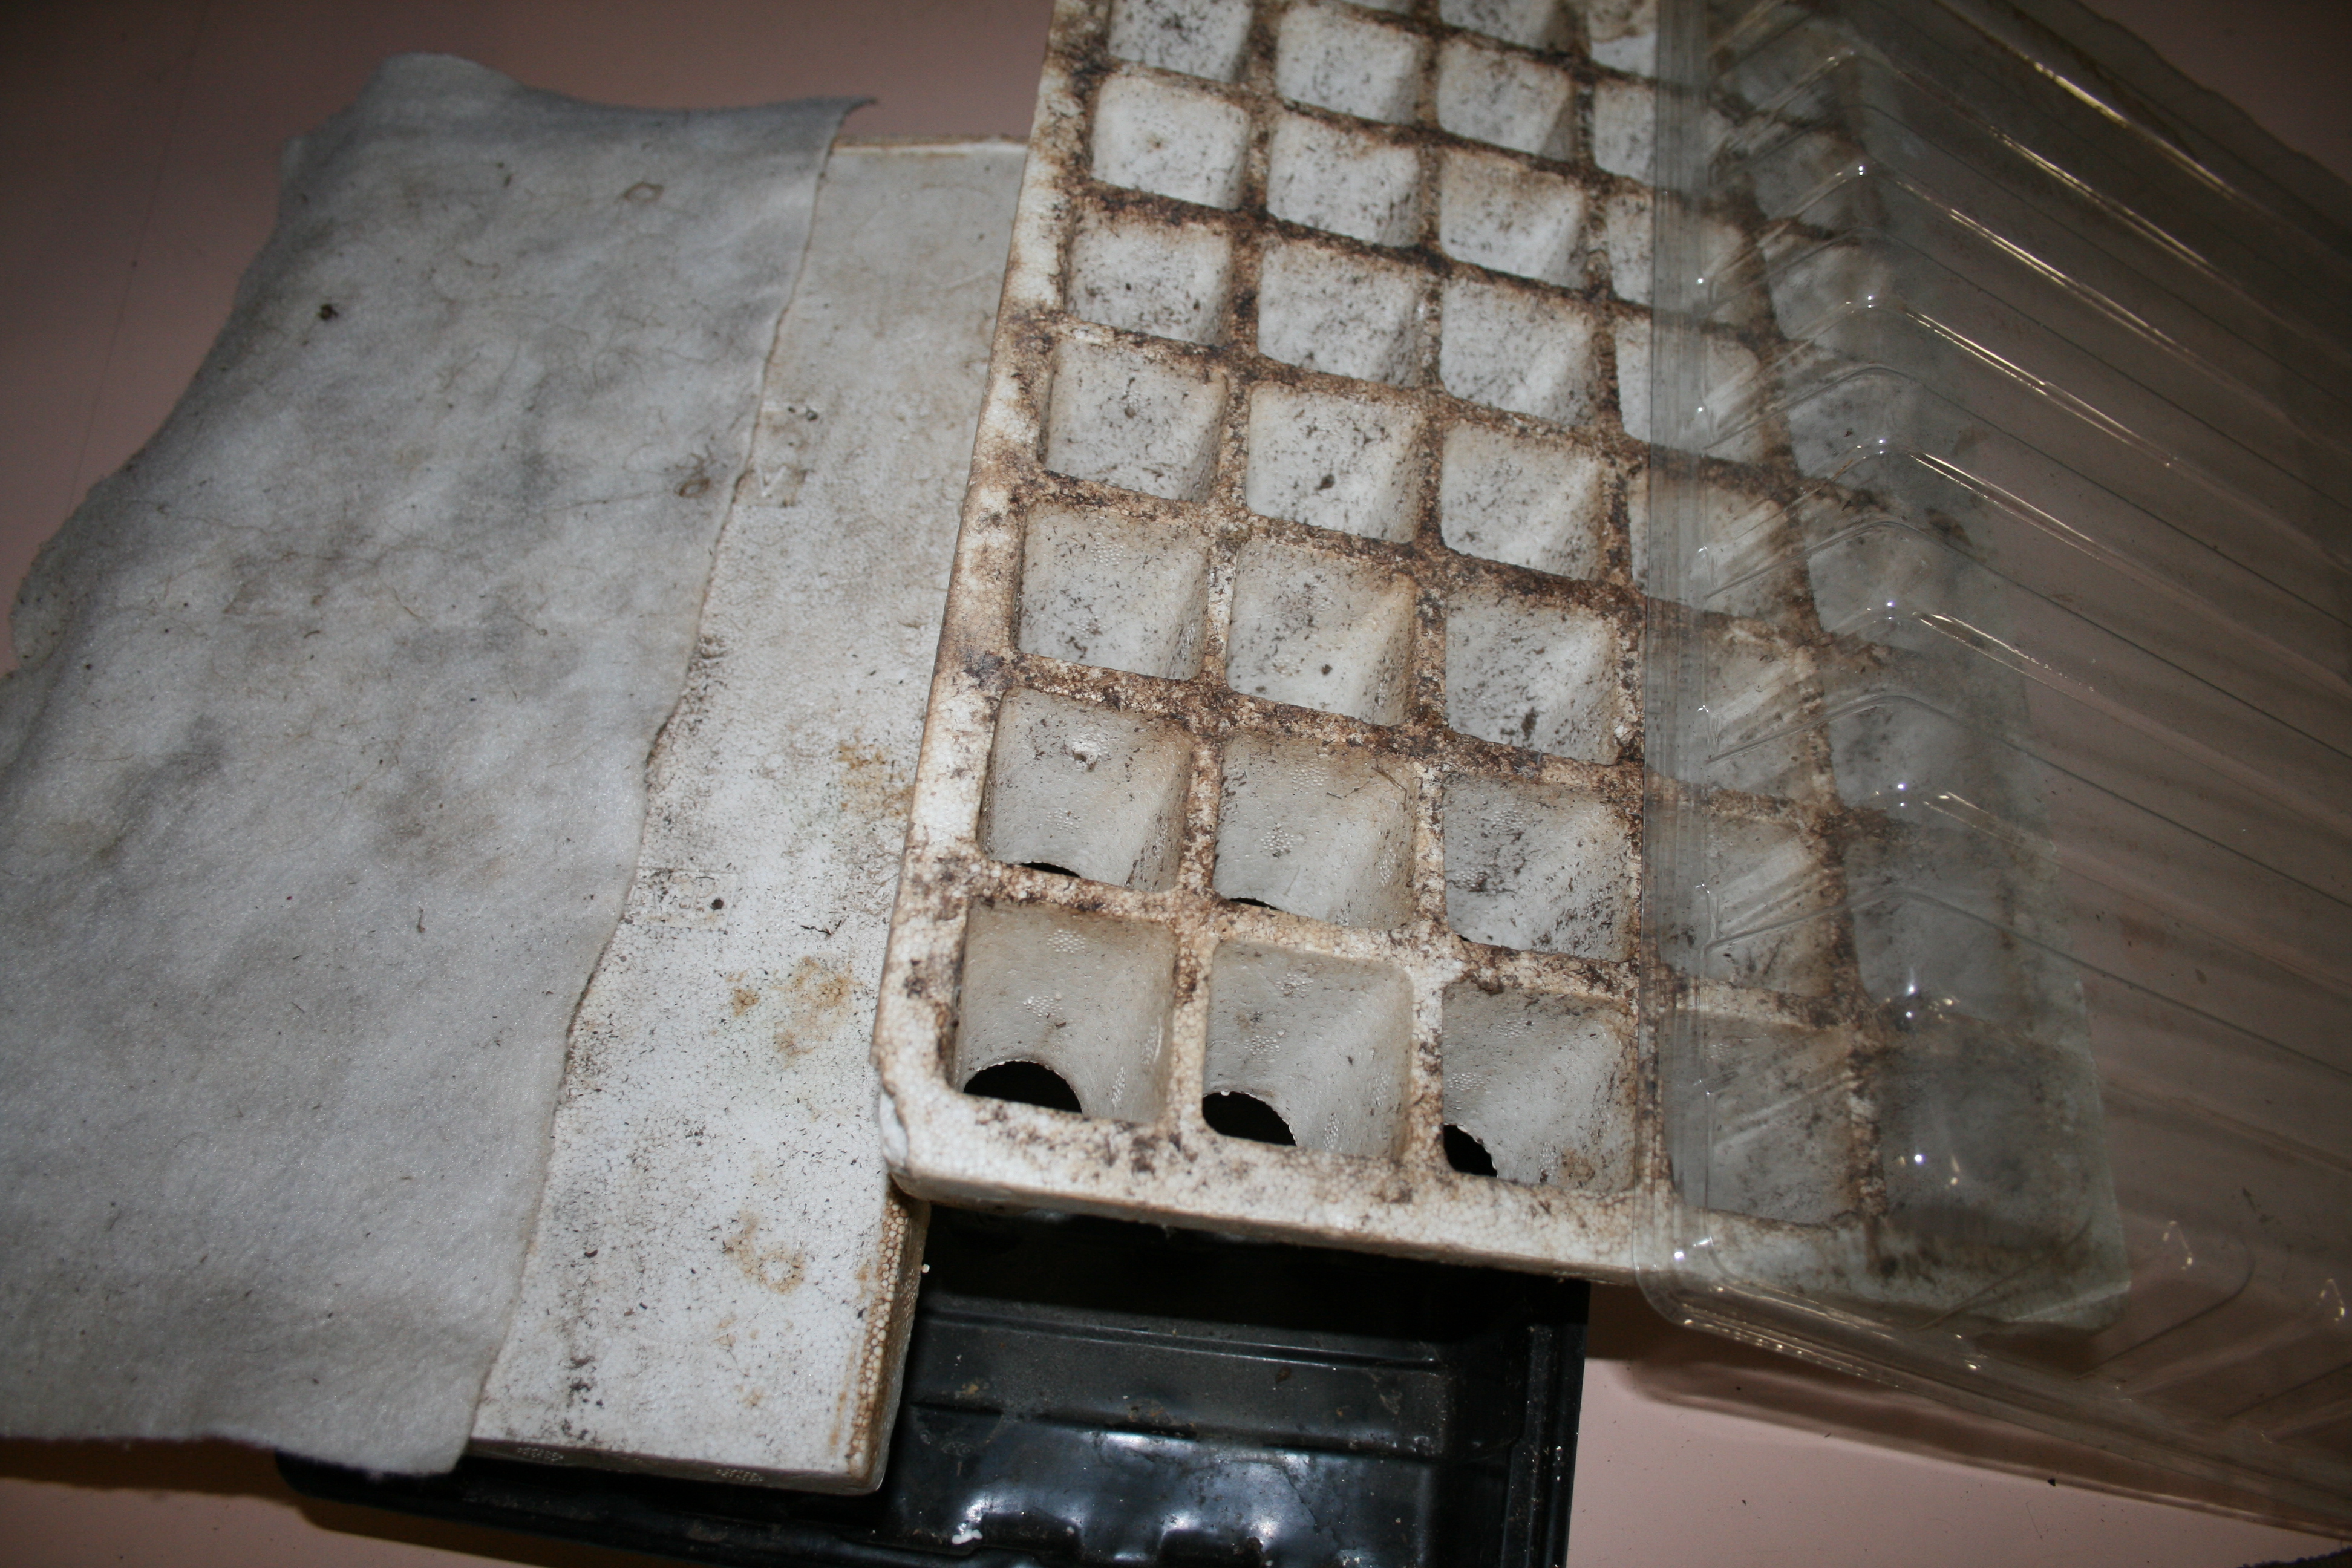
Grow trays are perfect for starting seeds.

I bought these 25 years ago and they are still working great!  The small cell of dirt heats up fast. The base and mat ensure the seedlings never dry out but they also never get too wet or damp off.

If you’re just starting out, don’t invest too much before you start growing. Look around and use stuff you already have or someone else can loan you. Or check Craigslist and pick up gardening equipment for a song!

I found most of my tools and you can too so don’t let the cost of tools scare you off. (The post on finding tools was written 5 years ago but it still stands as does its companion post on garden tools that are nice to have.)

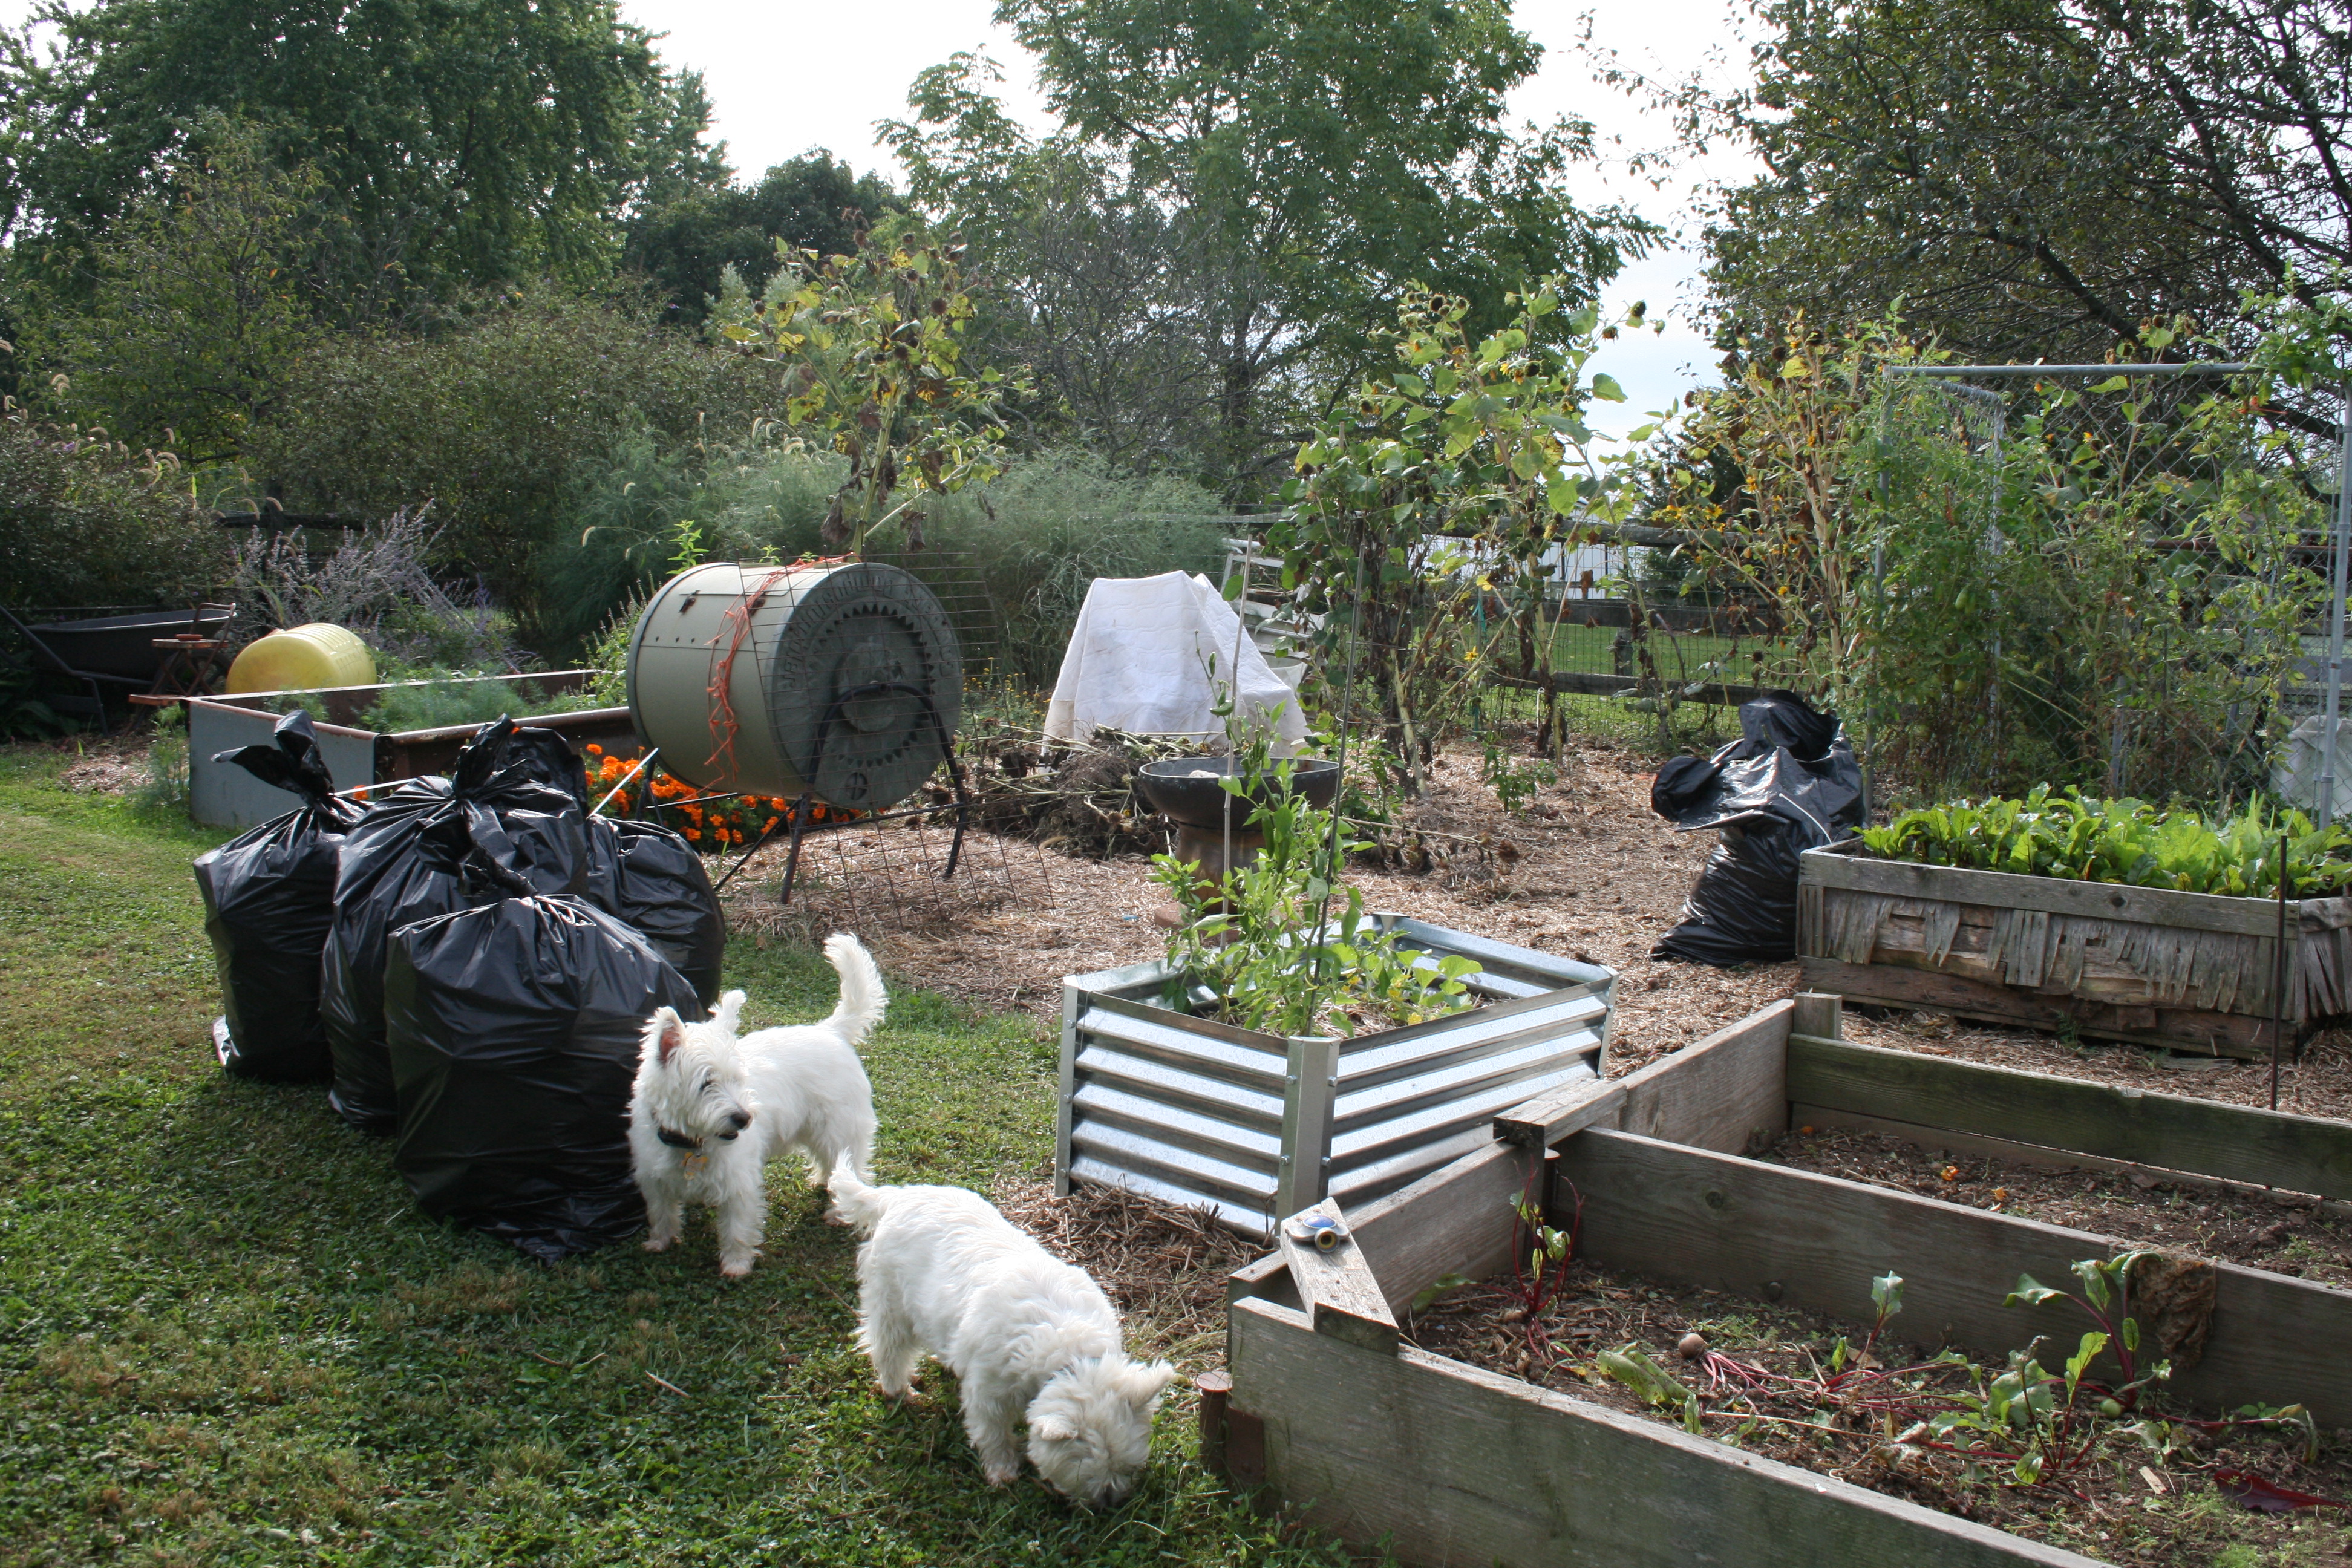
Getting started is so easy. I hope you take a chance. Grow your favorite vegetable on your patio, in a pot on the back porch or in a plot in the back yard.

Green and organic garden in summer.

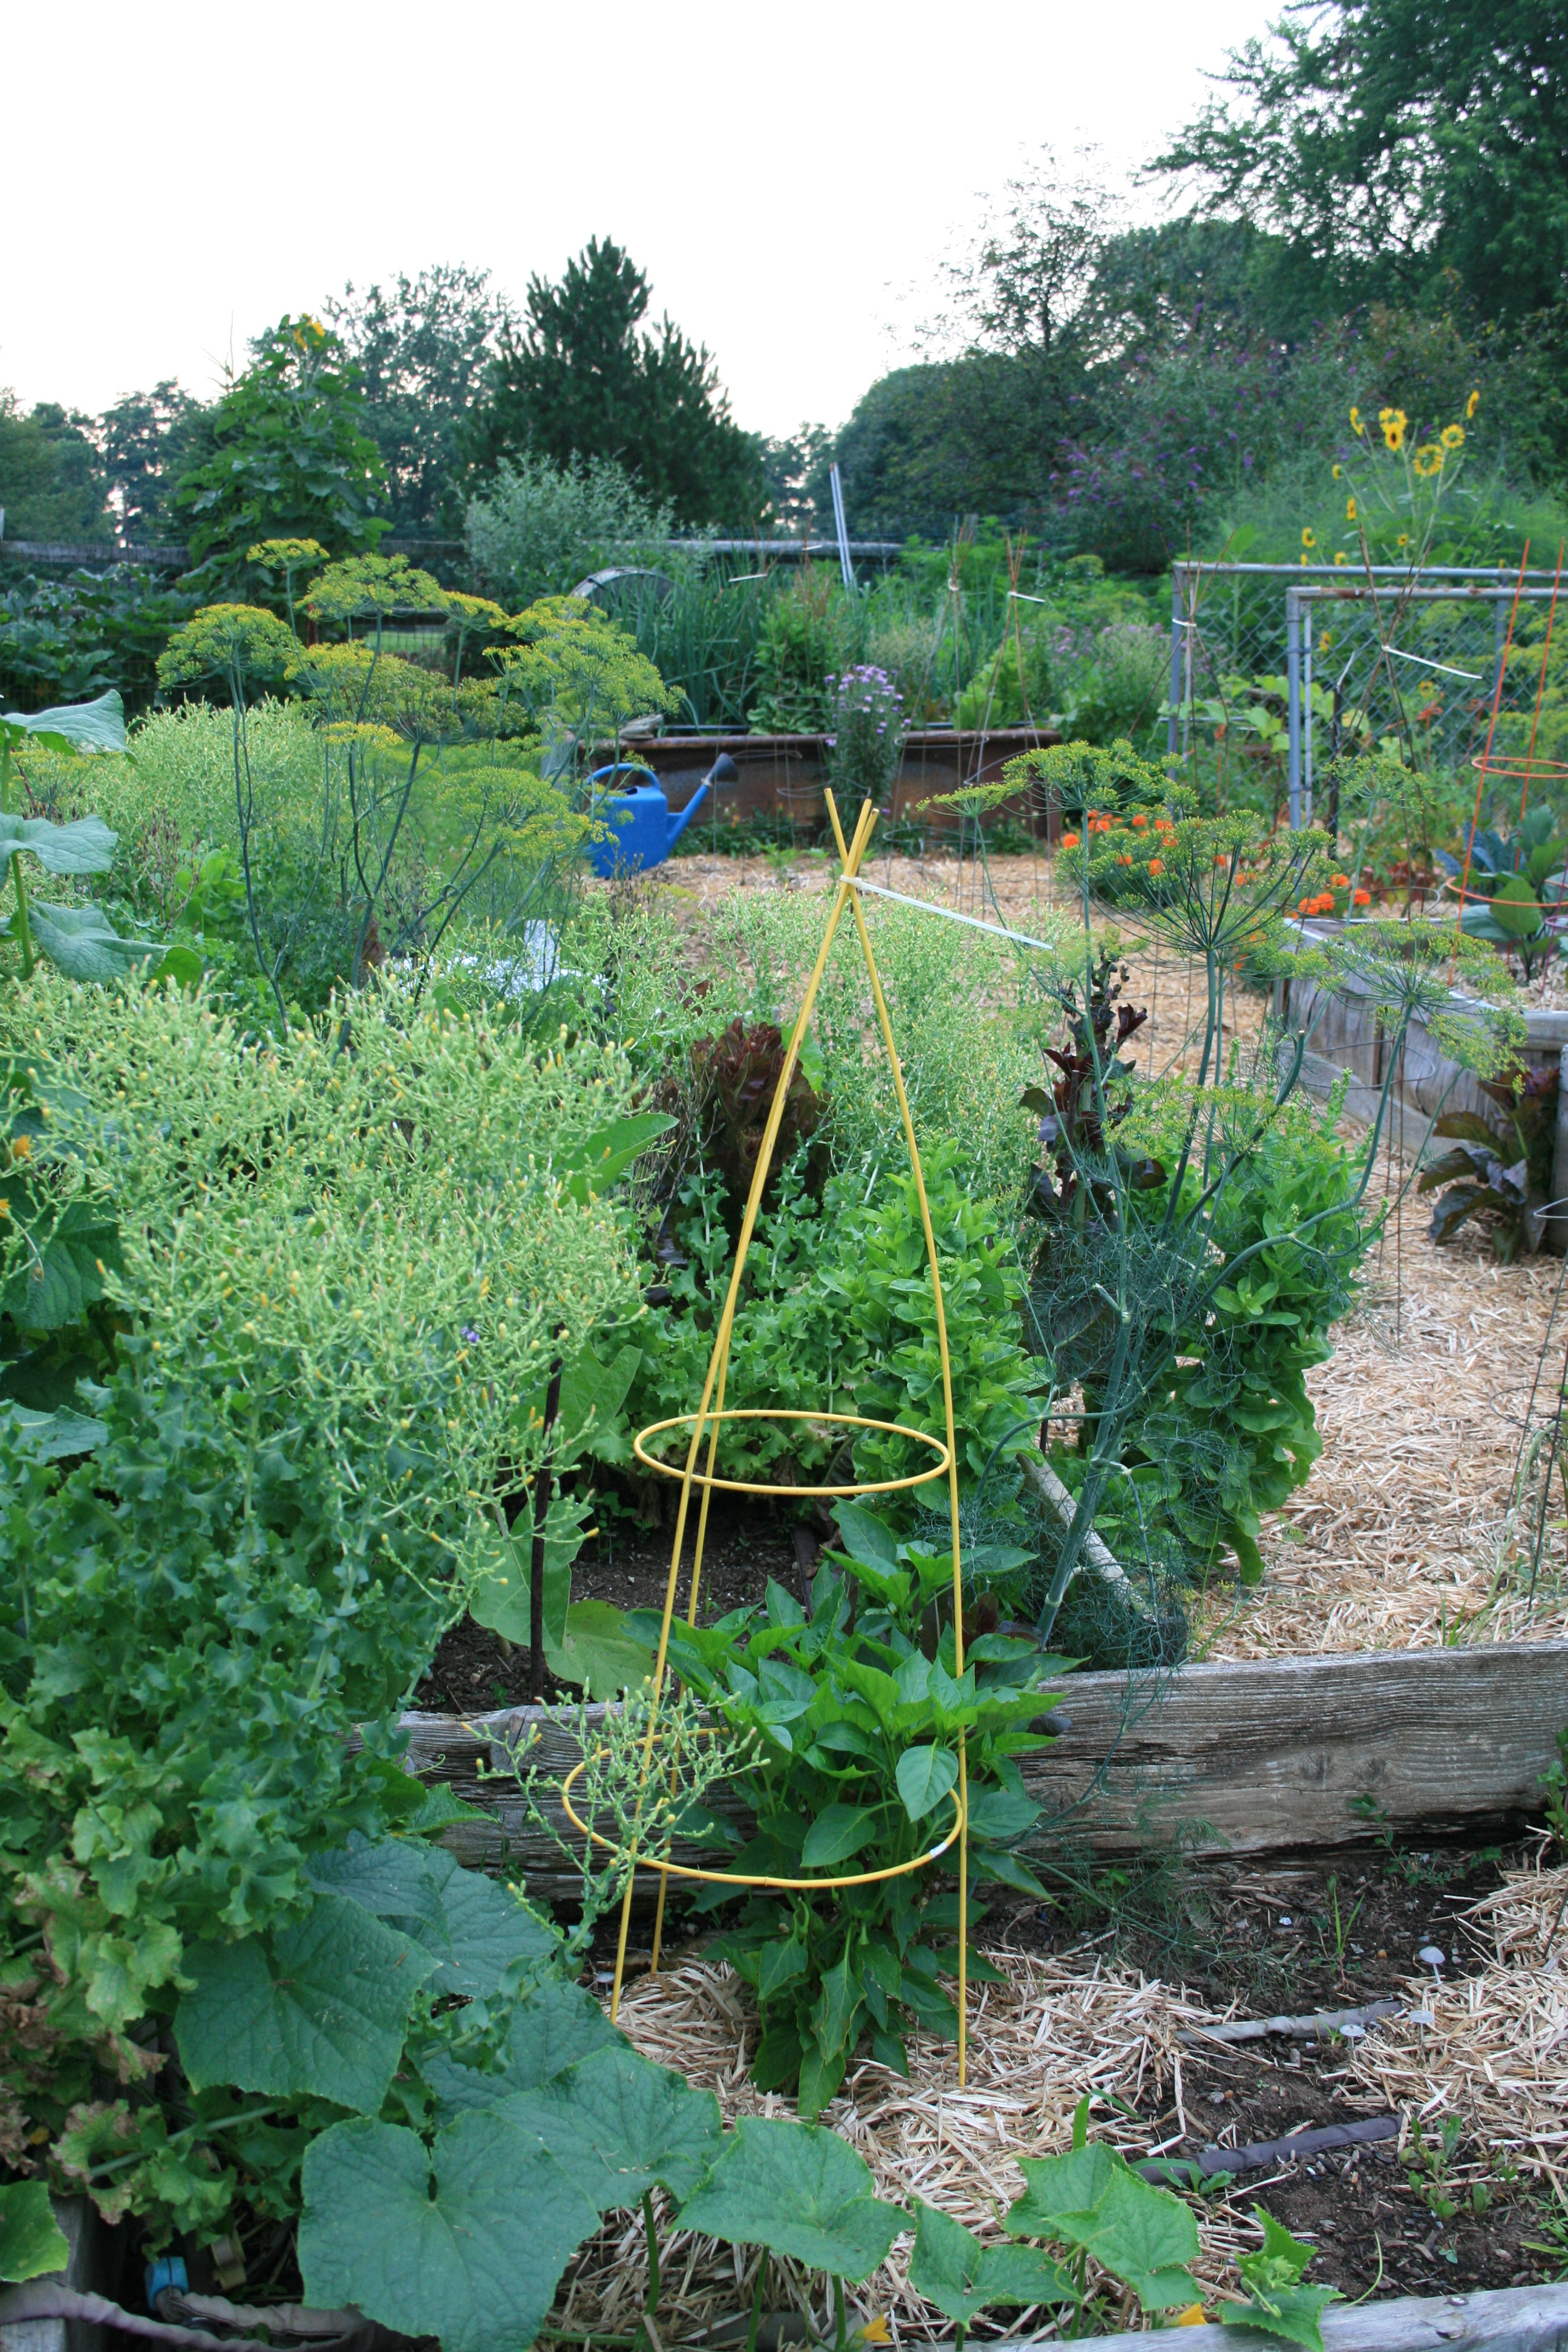
My garden in July, 2016.

Give it a shot and just 5 months from now, you could be looking at gorgeous, healthy veggies growing on your very own plants!

Looking for more tips on seed starting? Margaret Roach, one of my most favorite gardening gurus, offers her own seed starting wisdom, too.

Join in. Get your hands dirty. And start growing your own food. It’s fun and it really is easy!!

Advertisement

Tips for Getting Ready to Garden

Organic tomatoes on a trellis

Tomatoes enjoying their trellis.

I’m a hardcore organic gardener so, gardening never really stops for me.

My first tip: if you are really into organic gardening and enjoying fresh and truly healthy produce, ONLY buy organic and heirloom seeds from sources you trust.  Tip 1A: if you invest in organic seed, heirloom seed, consider saving seeds from your garden and using them next spring.

There are a dozen reasons to try seed saving but I can think of two that drive me. When you save seed, you:

  1. Save money and you save the planet, just a bit (and that’s all anyone can ask for).
  2. Create seeds that are uniquely adapted to your soil, your growing environment.

Here’s my second tip for anyone who wants to garden, is gardening or thinks

Bag garden waste

Bag your garden waste.

gardening prep is done in the spring. I do it all my garden clean up AND prep in the fall!

In fact, all of my garden beds get prepped in September and early October. Newly composted soil is spread on each raised bed. Fences and trellises are taken down, cleaned and stowed.

Tomato cages are pulled up off the sweet red peppers they supported all summer long and put away. My blackberries are thinned, blueberry bushes are trimmed. Elderberries, goji berries and figs are cleaned, dead wood and branches removed

Straw protects my garden.

Straw protects my garden in the winter.

and then, all of my beds, bushes and berries get covered with straw, bale after bale of bright golden yellow straw…and every bed, bush and berry goes to sleep, dreaming of spring and another growing season.

Doing this work in the fall means that, usually, I am doing what all gardeners do in the winter  — thumbing through seed catalogs, cleaning my seed starting gear, ordering organic seed starting mix (detect a theme?) and just generally getting ready to…start seeds!

Tip number three – start planning your spring garden in November and December and start ordering any seeds or supplies you need as early as you can. If you don’t, you may be in for a rude surprise. Vendors sell out!

This year, I didn’t follow my own advice. I sort of lost all my steam and stopped. I can’t blame a “hard” winter; it’s been screwy but not a lot of snow or ice, so far. I haven’t been sick, nor has my husband. I’m not working so I can’t use that as an excuse. True confession: I’ve been hibernating this winter.

I didn’t even know I was hibernating until this morning, until one of my online buddies, Chrystal wrote about her kale and the big freeze of 2017.  After reading her post about kale and herbs and garlic and forsythia…my sap started to rise and I started thinking about March and getting growing.

I’ve missed out on some seeds I really wanted to try this year but, after inventorying what I saved and what I had left, I think 2017 is going to be a great gardening year!

To the basement! It’s time to plug in the lights, clean off the seed starting trays and get ready to grow!