Tag Archives: growing asparagus

How To Plant Asparagus, Again!

My husband and I got good news last Thursday, really good news. His most recent PET scan was clear! We did a little jig then sat down and tried to let it sink in a bit. No new melanoma! No metastases.

Old asparagus bed slowing down.

20 year old asparagus bed

So, what does this have to do with planting asparagus? Everything!

My current asparagus bed is close to 25 years old. To say it’s slowed down is a bit of an understatement. The bed is actually a bit glacial when it comes to putting up tasty green spears of asparagus.

I needed a new bed but I was afraid to plant new crowns…in case the diagnosis for my husband was not a good one. Asparagus is one perennial that, once planted, keeps on giving. I just wasn’t sure we would be here to enjoy it.


So, my celebration last Thursday culminated in me ordering 20 new, Jersey Knight male asparagus crowns! I ordered 1 year old crowns as they are usually a bit “healthier” than 2 year old crowns — meaning they will grow a bit more vigorously in their first few years and be less prone to rotting.

No matter what I ordered, my first question the next morning was, “What was I thinking?”

I think I’d actually forgotten what it meant to “plant” asparagus. Okay, you only have to do it once to reap the rewards..but doing entails some pretty hard work especially at my ripe old age of 70!

Asparagus is planted in trenches

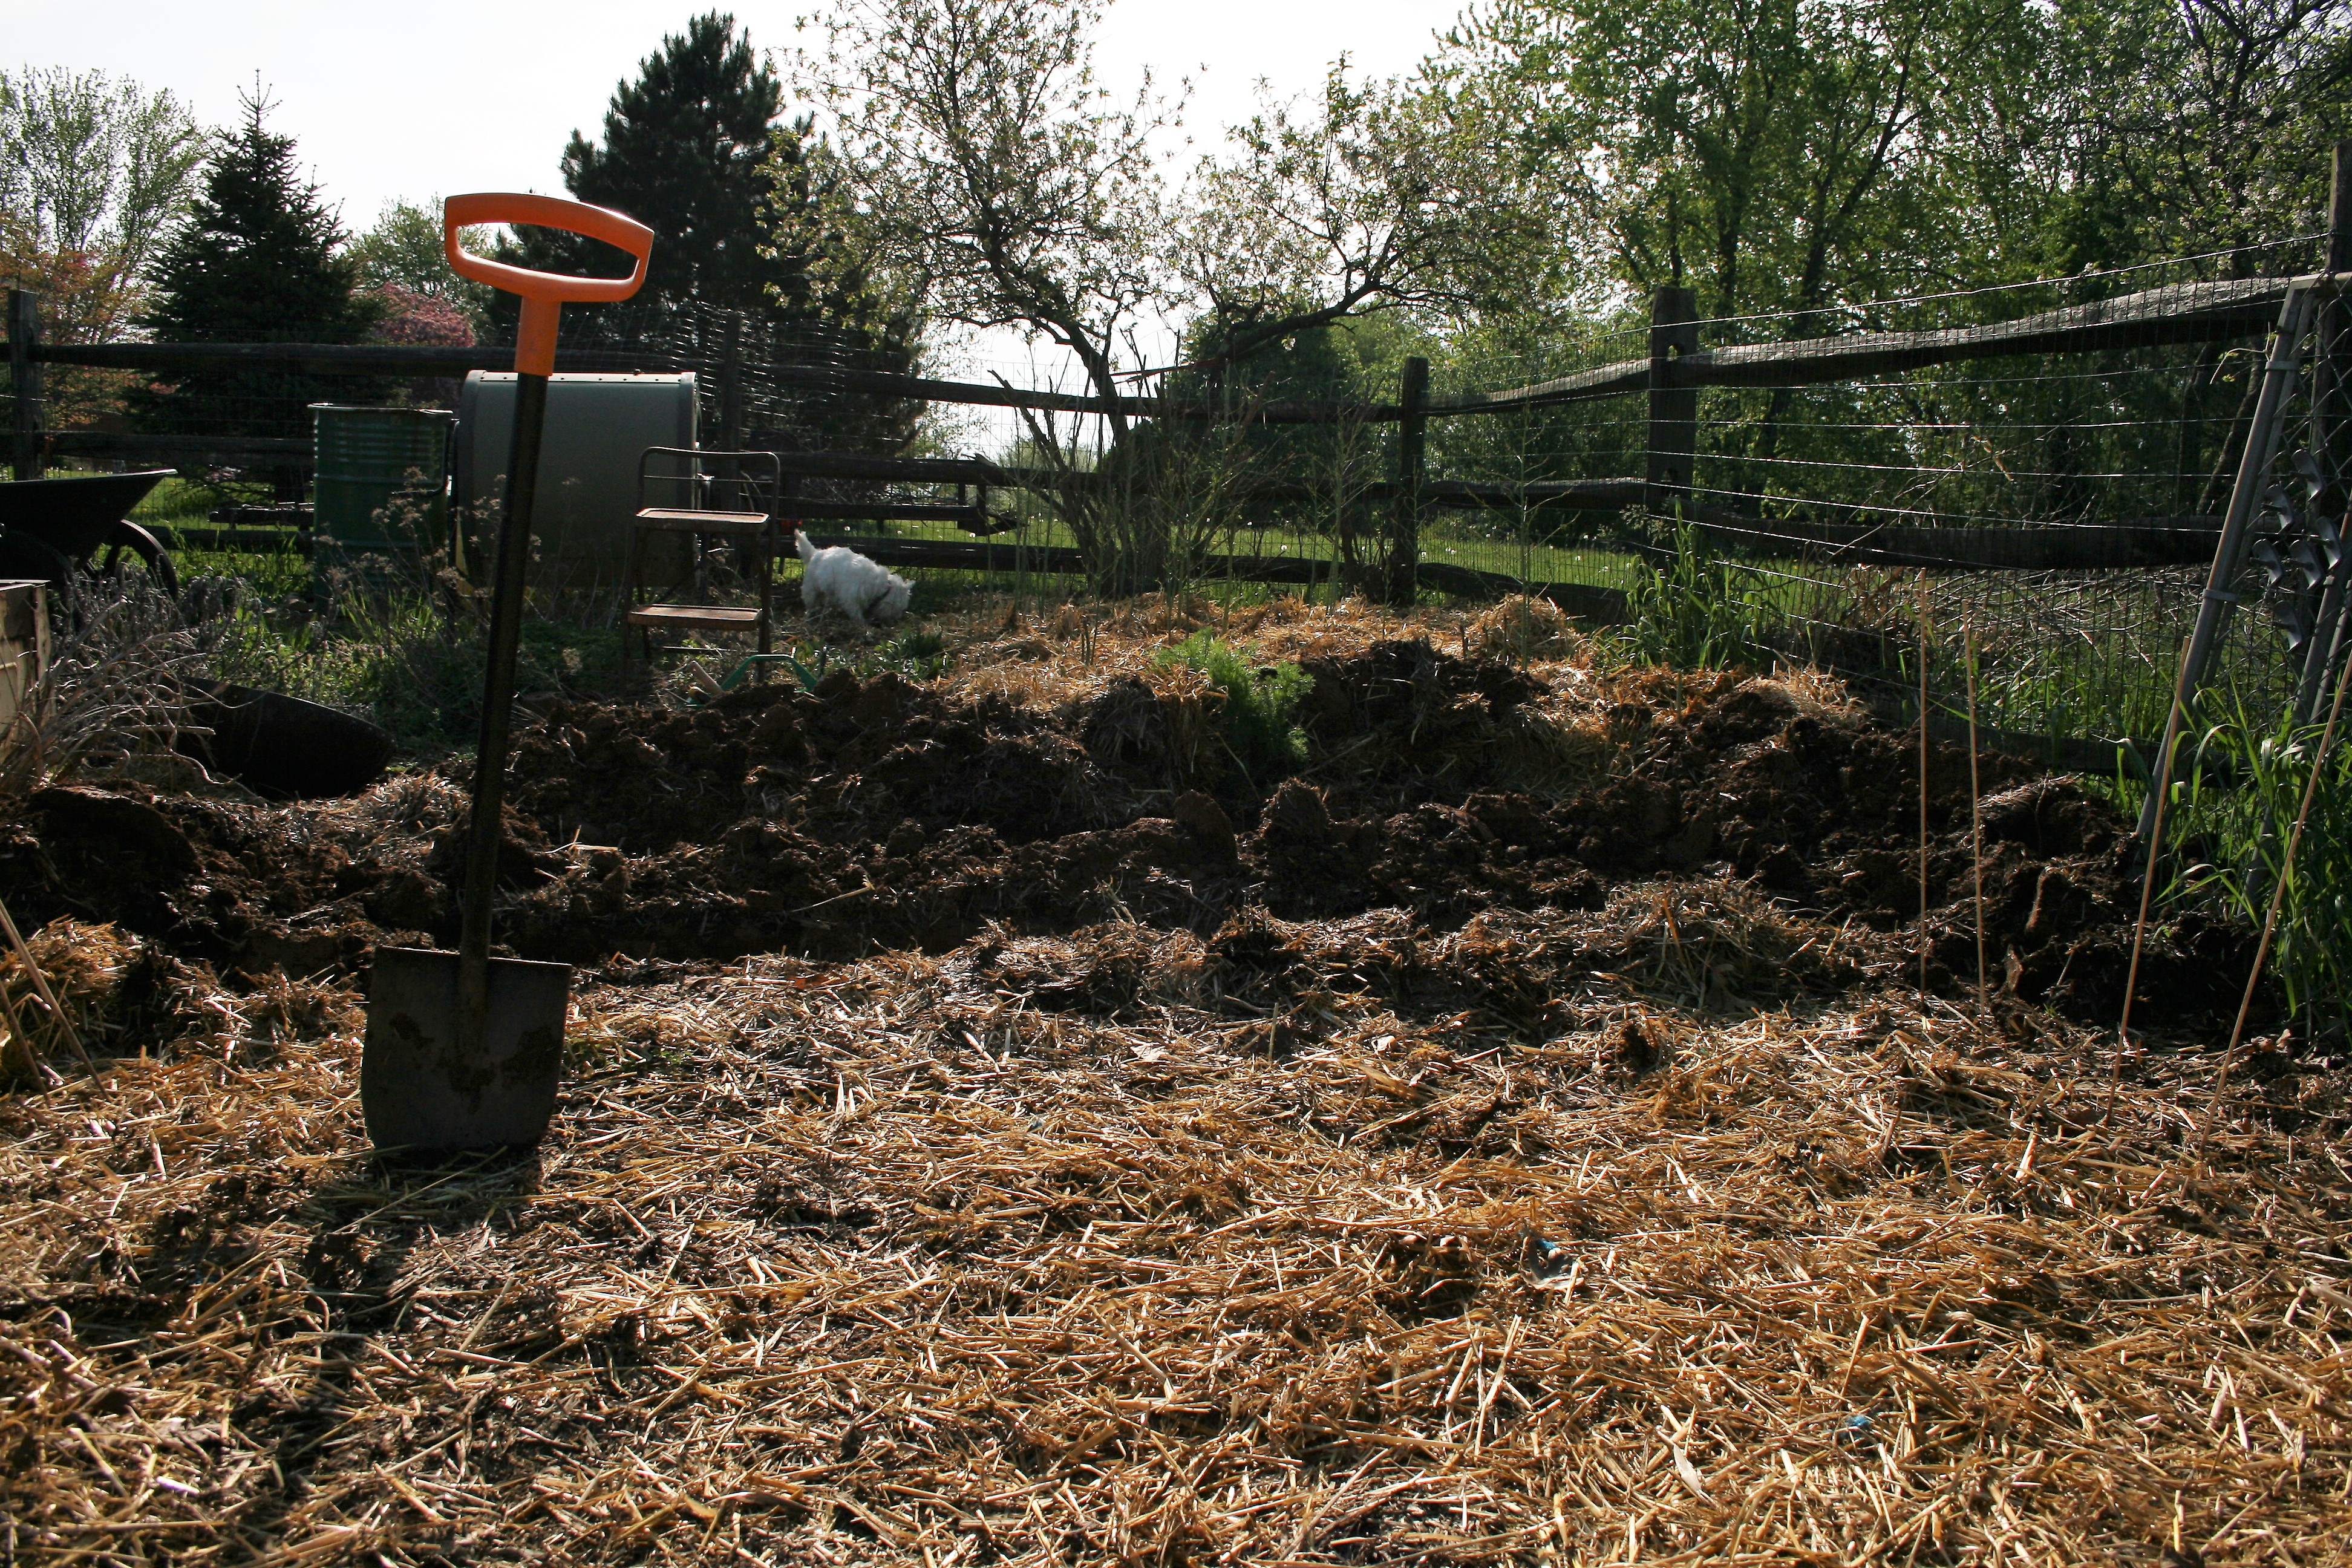
Trenching for new asparagus crowns

The crowns are on their way so, this morning, just 3 days after ordering, I was in the garden, digging. I picked a spot that gets almost continuous sunshine all day long. That’s just what asparagus likes.

Asparagus crowns need trenches

2 trenches done & 3 to go


Asparagus crowns need to be planted in trenches.

My soil is a bit on heavy side so I only had to dig down 6 inches…and the trenches should be 12 inches wide.

I cheated a bit on the width but I got the length I needed in each trench to be able to put 4 crowns in each one. If you’re doing the math, you might notice that I only have 4 trenches dug. I will probably need the 5th trench but I just can’t face it, right now. Tomorrow is another day.


In fact, tomorrow, I will dig the other trench but I need to prep all 5 trenches to receive their new crowns.

What’s the next step? I will need to add a dash of organic compost to each hole. When the new asparagus crowns arrive, I will also soak them in compost tea (compost and water) for about 30 minutes before I plant them.  When I do put them in the trenches, I’ll make sure they are crown side up. Also, I’ll be careful to gently spread the crown out and give the roots room.

Once in the trench, I won’t put all the soil back in the trench on top of the crowns. I’ll just add 2 to 3 inches of soil to the entire trench,  gently tamping the soil down – NOT packing it. Once the crowns are set, I usually just water them in with my watering can, again, gently.

Two weeks later, I’ll add 2 to 3 more inches of soil to the trench. Then I’ll keep watch on the bed and add more soil to the trench until it is slightly raised.  Then, all you have to do is make sure you mulch the rows and water the new bed regularly during its first 2 years in the ground. A note of caution, don’t over water. An accepted rule of thumb is water once a week unless it’s rained then you can skip watering.

Do not harvest any asparagus the first year. Harvest sparingly in the second year. The crowns need to put all their energy into sinking tap roots and growing their root structure. The third year, start cutting but make sure you leave enough for some stalks to fern and grow up.

Our dog cooling under the asparagus ferns

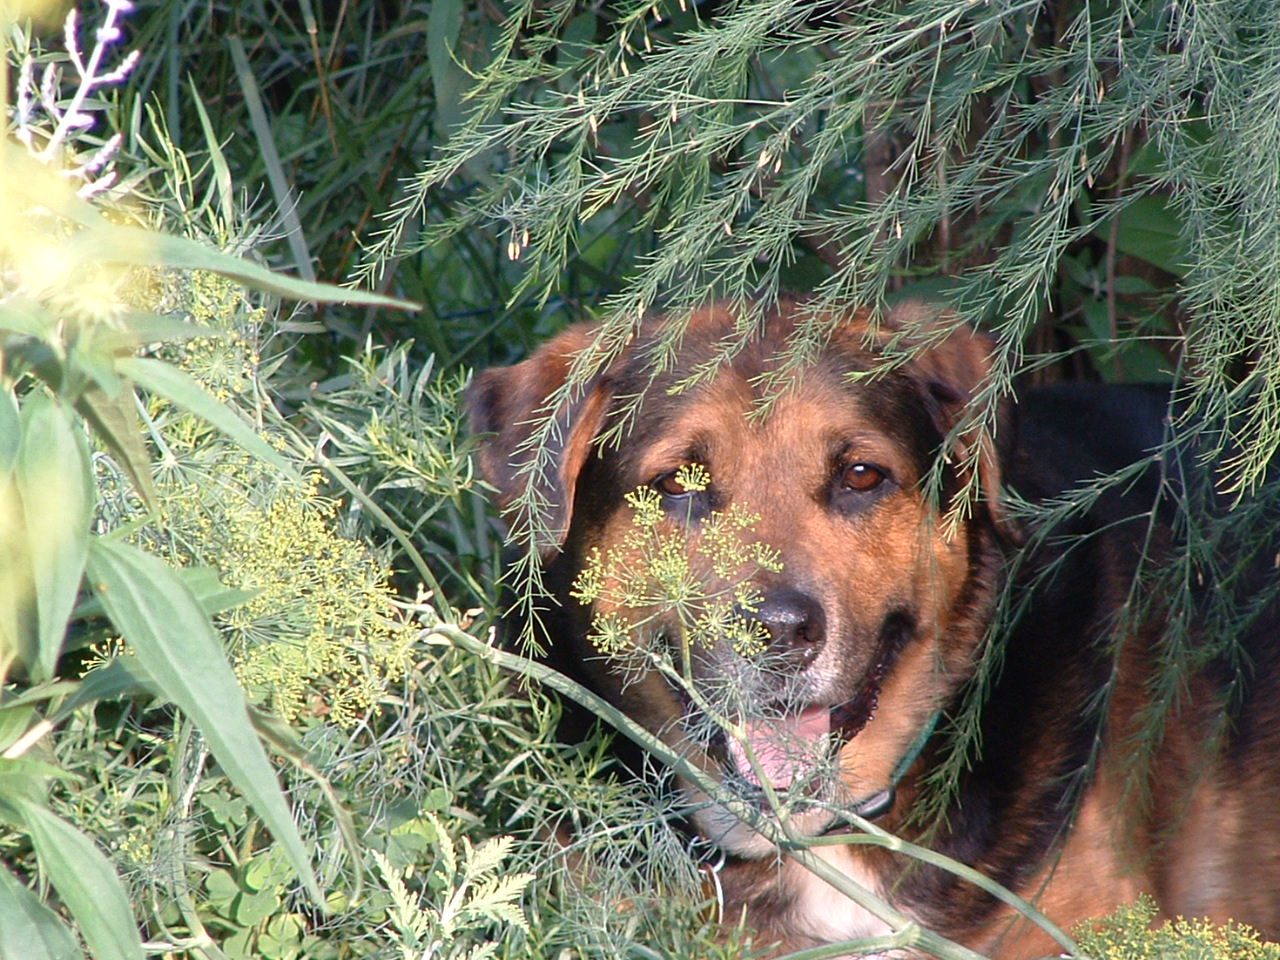
Dogs like to cool down in the asparagus

Leave the ferns over top of the bed, letting them die in place and not cutting them until the next Spring.

Dogs love to cool down under them and the dead ferns provide protection for the crowns during the winter.

Once Spring arrives, cut down and remove the dead ferns.

Then sit back and wait for beautiful, green, healthy and delicious asparagus!


Advertisement

Grow So Easy Organic: How to Grow Asparagus

I LOVE this plant because you plant the crowns one year, wait two years and then reap the asparagus harvest for the next 20 years.  Every spring, tips push through the earth, ready for harvesting.  

English: Asparagus tip growing in a tub

Asparagus emerging from the ground every spring is a delight to any grower. (Photo credit: Wikipedia)

Asparagus is not quite a perennial unless you are my age…then it will outlive you!

Planting asparagus is a bit more complicated than dropping seeds into soil, watering and waiting to harvest.  But I once read an article that said planting asparagus is a bit like getting married.  If you do it right, you only have to do it once.

The first thing you have to do is choose your asparagus plants.  One of the new male varieties will usually be more productive than the old stand bys.  All-male asparagus varieties — including Jersey Giant, Jersey Supreme and Jersey Knight— produce up to three times more than older, open-pollinated male/female varieties, such as ‘Mary Washington.

Once you’ve ordered your crowns, it’s time to get the asparagus bed ready for the new babies.

Planting Asparagus
Asparagus isn’t hard to plant but it does make a few demands on the back yard gardener.  For one thing, early spring is the best time to plant asparagus crowns in my neck of the woods.  Once the soil can be worked but frost is still hitting the back yard.  So, if you live in the Mid-Atlantic region, planting should be done between April 15 to May 15. 

Asparagus has some very specific requirements but you only have to plant it once to enjoy more than 20 years of production.  And there are really only a few steps to follow that will make your asparagus grow healthy and give you fresh, succulent green shoots every spring.

Step I – Choose the site wisely.  Asparagus likes sunshine – a lot of it.  Make sure the spot you choose will not be disturbed for 20 to 25 years.

Step 2 – Dig a trench that is 18 inches deep and 24 inches wide.  If your soil is heavy, make sure you loosen it to a depth of 24 inches because asparagus likes good drainage.

Step 3 – Add a layer of organic matter to your trench – 4 inches of chopped leaves or pine needles or compost or rotted cow manure and dig it in a bit with a fork.  Asparagus likes rich, fertile soil.  Sprinkle on a light dusting of bone meal and your ready to plant!

Step 4 – Once the bed is ready, carefully take out each crown, spread its roots and place it in the trench with its buds facing up.  Give each crown some room to grow, spacing them about 15 inches apart to allow for root growth.

If your trench is 30 feet long, you should be able to put 24 crowns in the ground.  When I planted my asparagus, I made 2 trenches about 15 feet long each with a 2 foot wide path between each trench.

Step 5 – cover the crowns with soil but only 1 to 2 inches of soil, initially.  Over the next few months, you will gradually fill in the trench as the crowns put out their first spears.  NOTE:  DON’T HARVEST ANY SPEARS the first year.

If you harvest in the first year, you will stress the new crowns and may reduce your asparagus crop every year thereafter.  And, by the way, ONLY HARVEST the first 2 or 3 weeks of the next year (the second year your crowns are in the ground).  Again, over-harvesting can damage and, in some cases, even kill the crown.  So patience…or you might regret it for the next 20 years.

Making Asparagus Happy
Once the spears are starting to grow up through the soil and you are keeping them lightly covered with soil, your primary job in year one is to keep weeds from growing up around the asparagus.

But don’t till around the asparagus.  The crowns don’t like being disturbed.  So you can hand weed one or two times a week.  Or you can use table salt to kill off some weeds (asparagus is more tolerant of salt than other plants).  But I take care of weeds in the asparagus bed the same way I do my whole garden – with mulch.

Once the trenches are leveled off, I put 4 inches of straw on either side of the bed and straight down my walking path.  Weeds are suppressed; water is held in and the asparagus spears are pretty well protected from my dancing West Highland terriers.  And the mulching approach works all year long.

Keeping Asparagus Happy
Setting up the asparagus bed just so means you will have happy asparagus crowns for decades to come.  Once the plants are established, keeping them happy is really very easy.

Don’t harvest every spear of asparagus.  Taking all the asparagus means the crown has nothing to help it replenish itself.  Year 3, you can harvest for the first 4 weeks.  Year 4 and beyond, you should be able to harvest everything for 6 to 8 weeks but note…

There are some sure signs that you should start getting a bit particular about what you harvest.  To ensure that your asparagus plants stay healthy from year to year, ALWAYS STOP HARVESTING when 3/4ths of the spears are down to pencil – size, about 3/8ths of an inch in diameter.

Also, oddly-shaped spears and woody spears are indications that your harvest season is over.

Asparagus plumosus with berries (unripe); {tāu...

Asparagus spears left in the ground plume, adding beauty to the garden and protecting the crowns.(Photo credit: Wikipedia)

Once you stop harvesting, let the remaining spears in the patch grow up and fern.  These ferns aren’t just nice to look at.  They offer protection to the asparagus crowns so Do NOT cut the ferns down, even in the fall. 

Let them overwinter because they protect the crowns from freezing.  I usually cut and remove the dead ferns in late February.  And I mean remove them.  They are taken out onto the back acre and piled up with the brush that will be burned in March or April.

Make sure you side dress asparagus with some nice, rich compost every spring.  And make sure you mulch heavily (3 to 4 inches of straw) around the rows to stop weeds from growing in the patch.  Then sit back and wait for that glorious, first harvest of fresh asparagus.

This is my final post on growing organic vegetables.  I will post three more growing stories — on blueberries, blackberries and sour pie cherries.  And then, I’ll be on to prepping this manuscript for publication on Kindle!

So, next week, how I harvest 60 quarts of blueberries every year from just one corner of my yard!