
My tomatoes
I know, it’s been awhile since I posted. I’ve been busy!
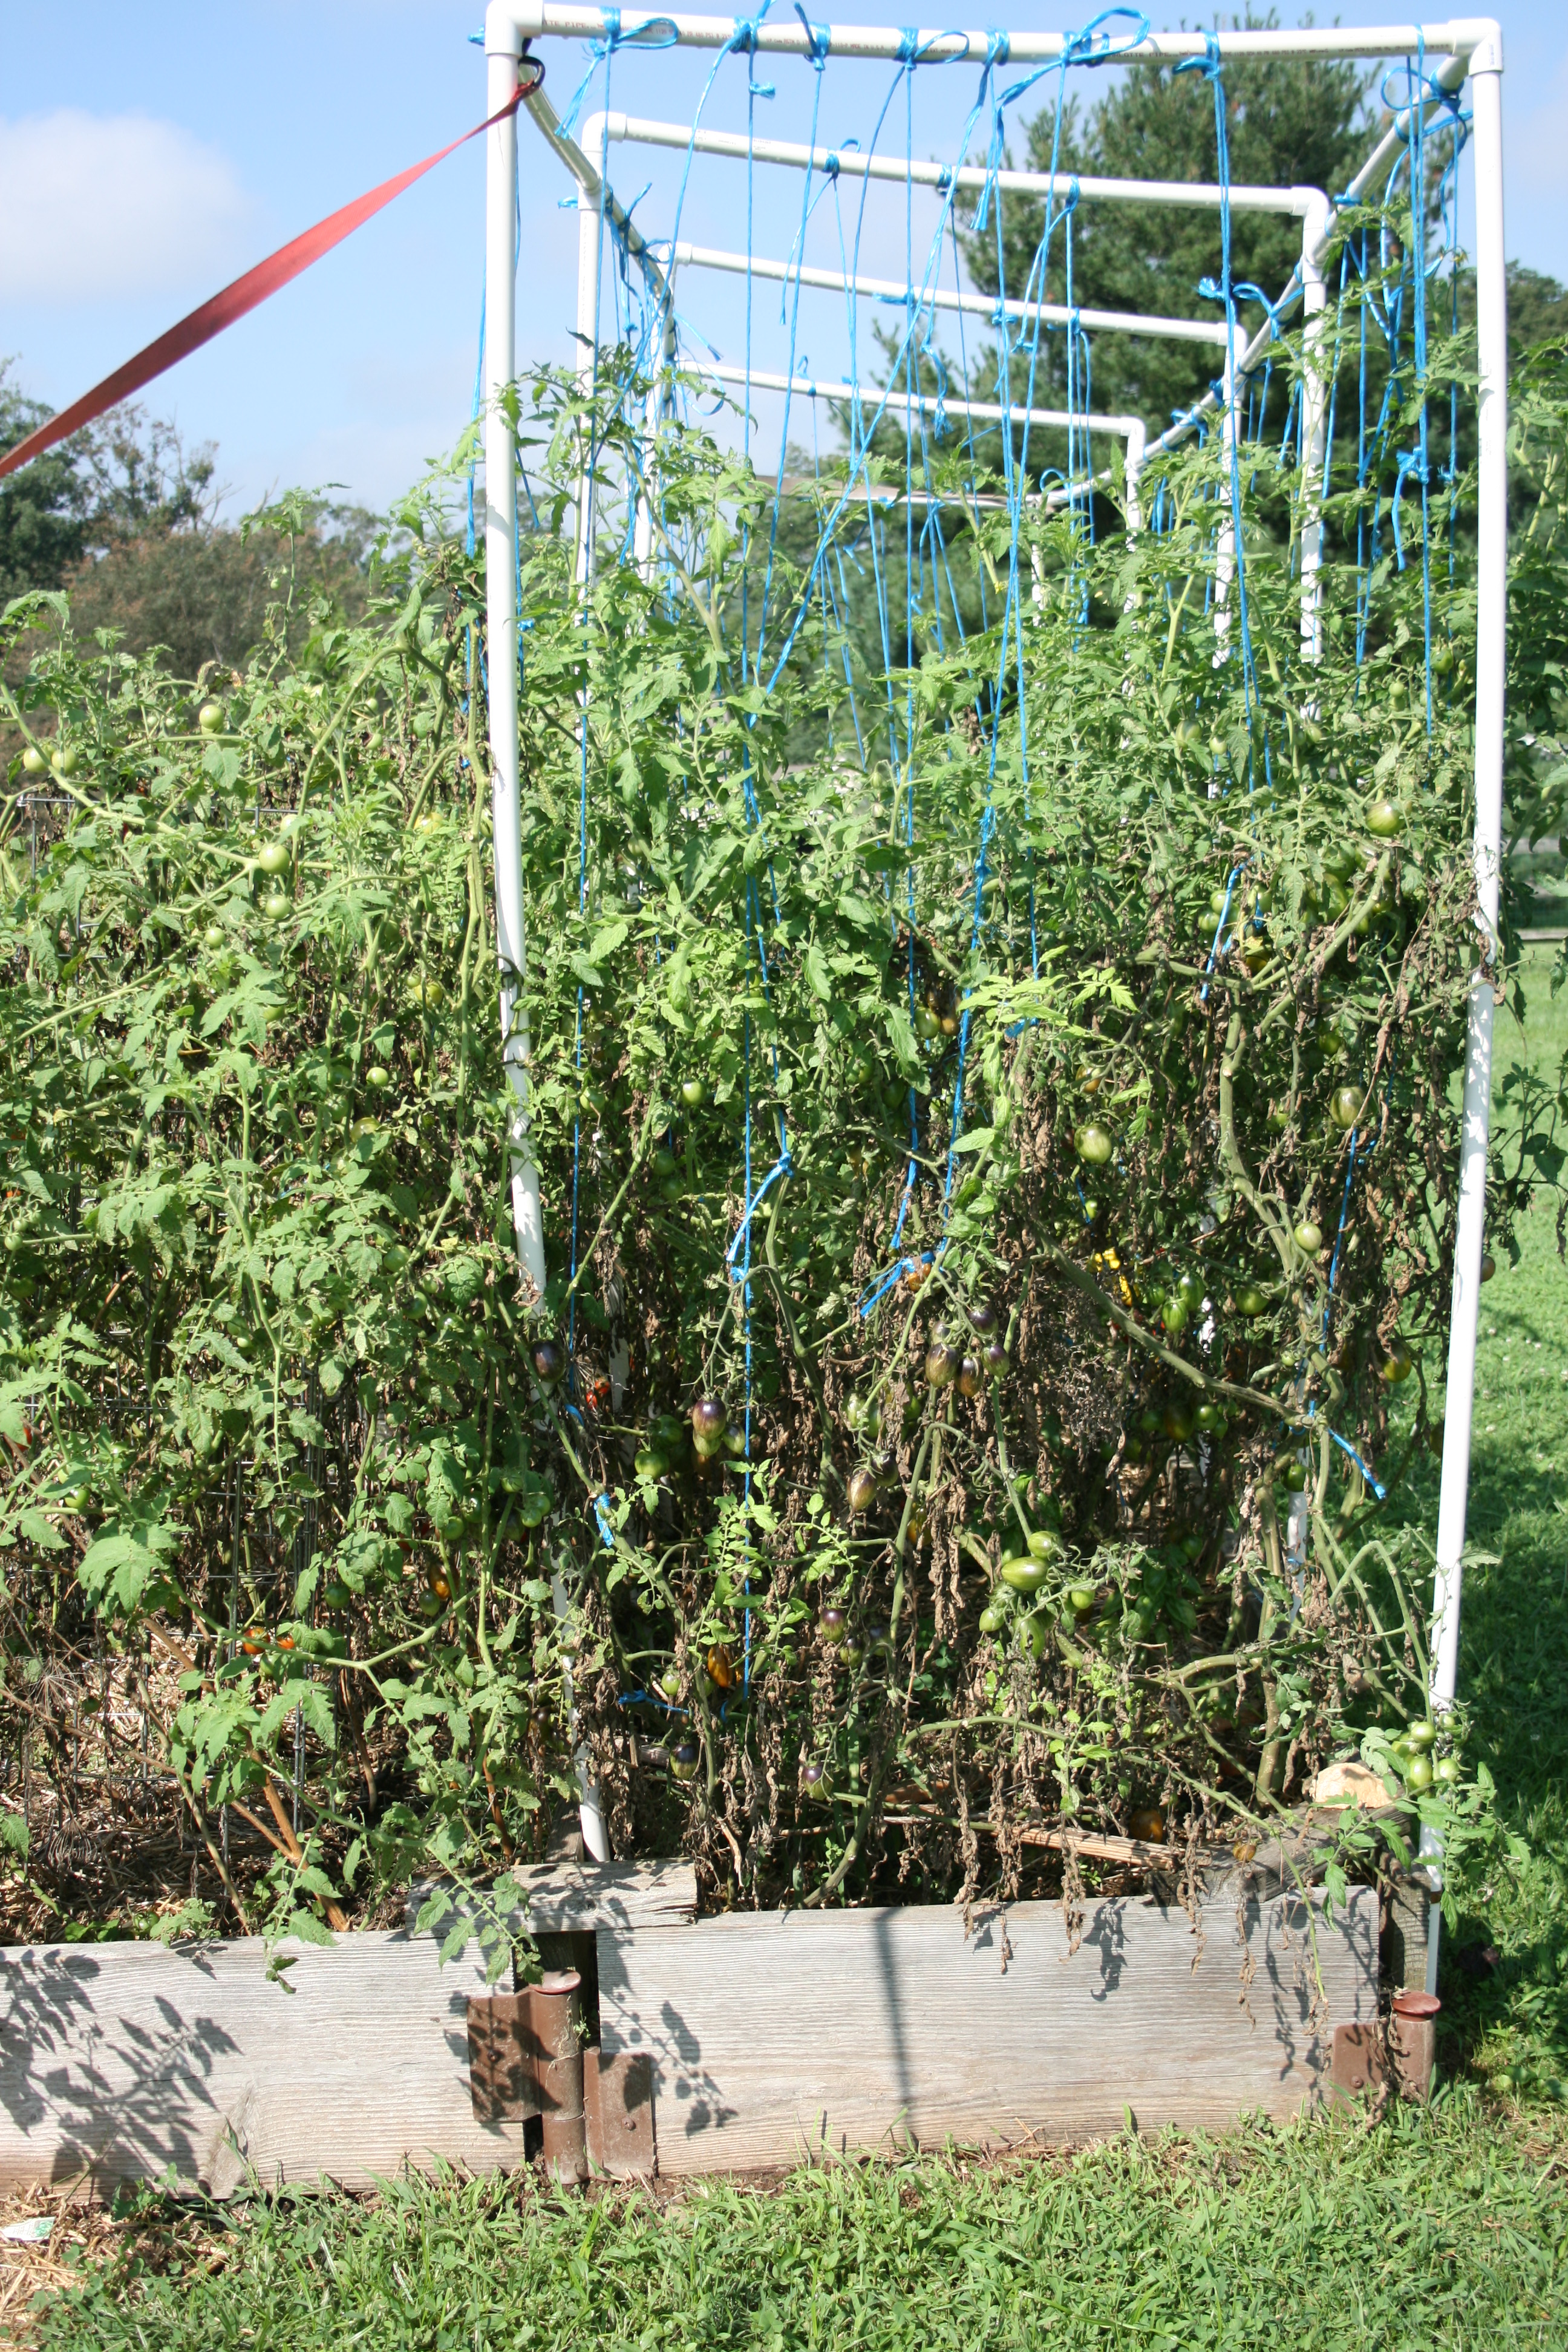
My garden is looking a bit ratty, especially the tomatoes. Because of all the rain we have had, you can see that almost every plant has Septoria. The yellow-ringed brown spots cover many of the leaves and the ones farthest gone have turned brown and died.
Septoria
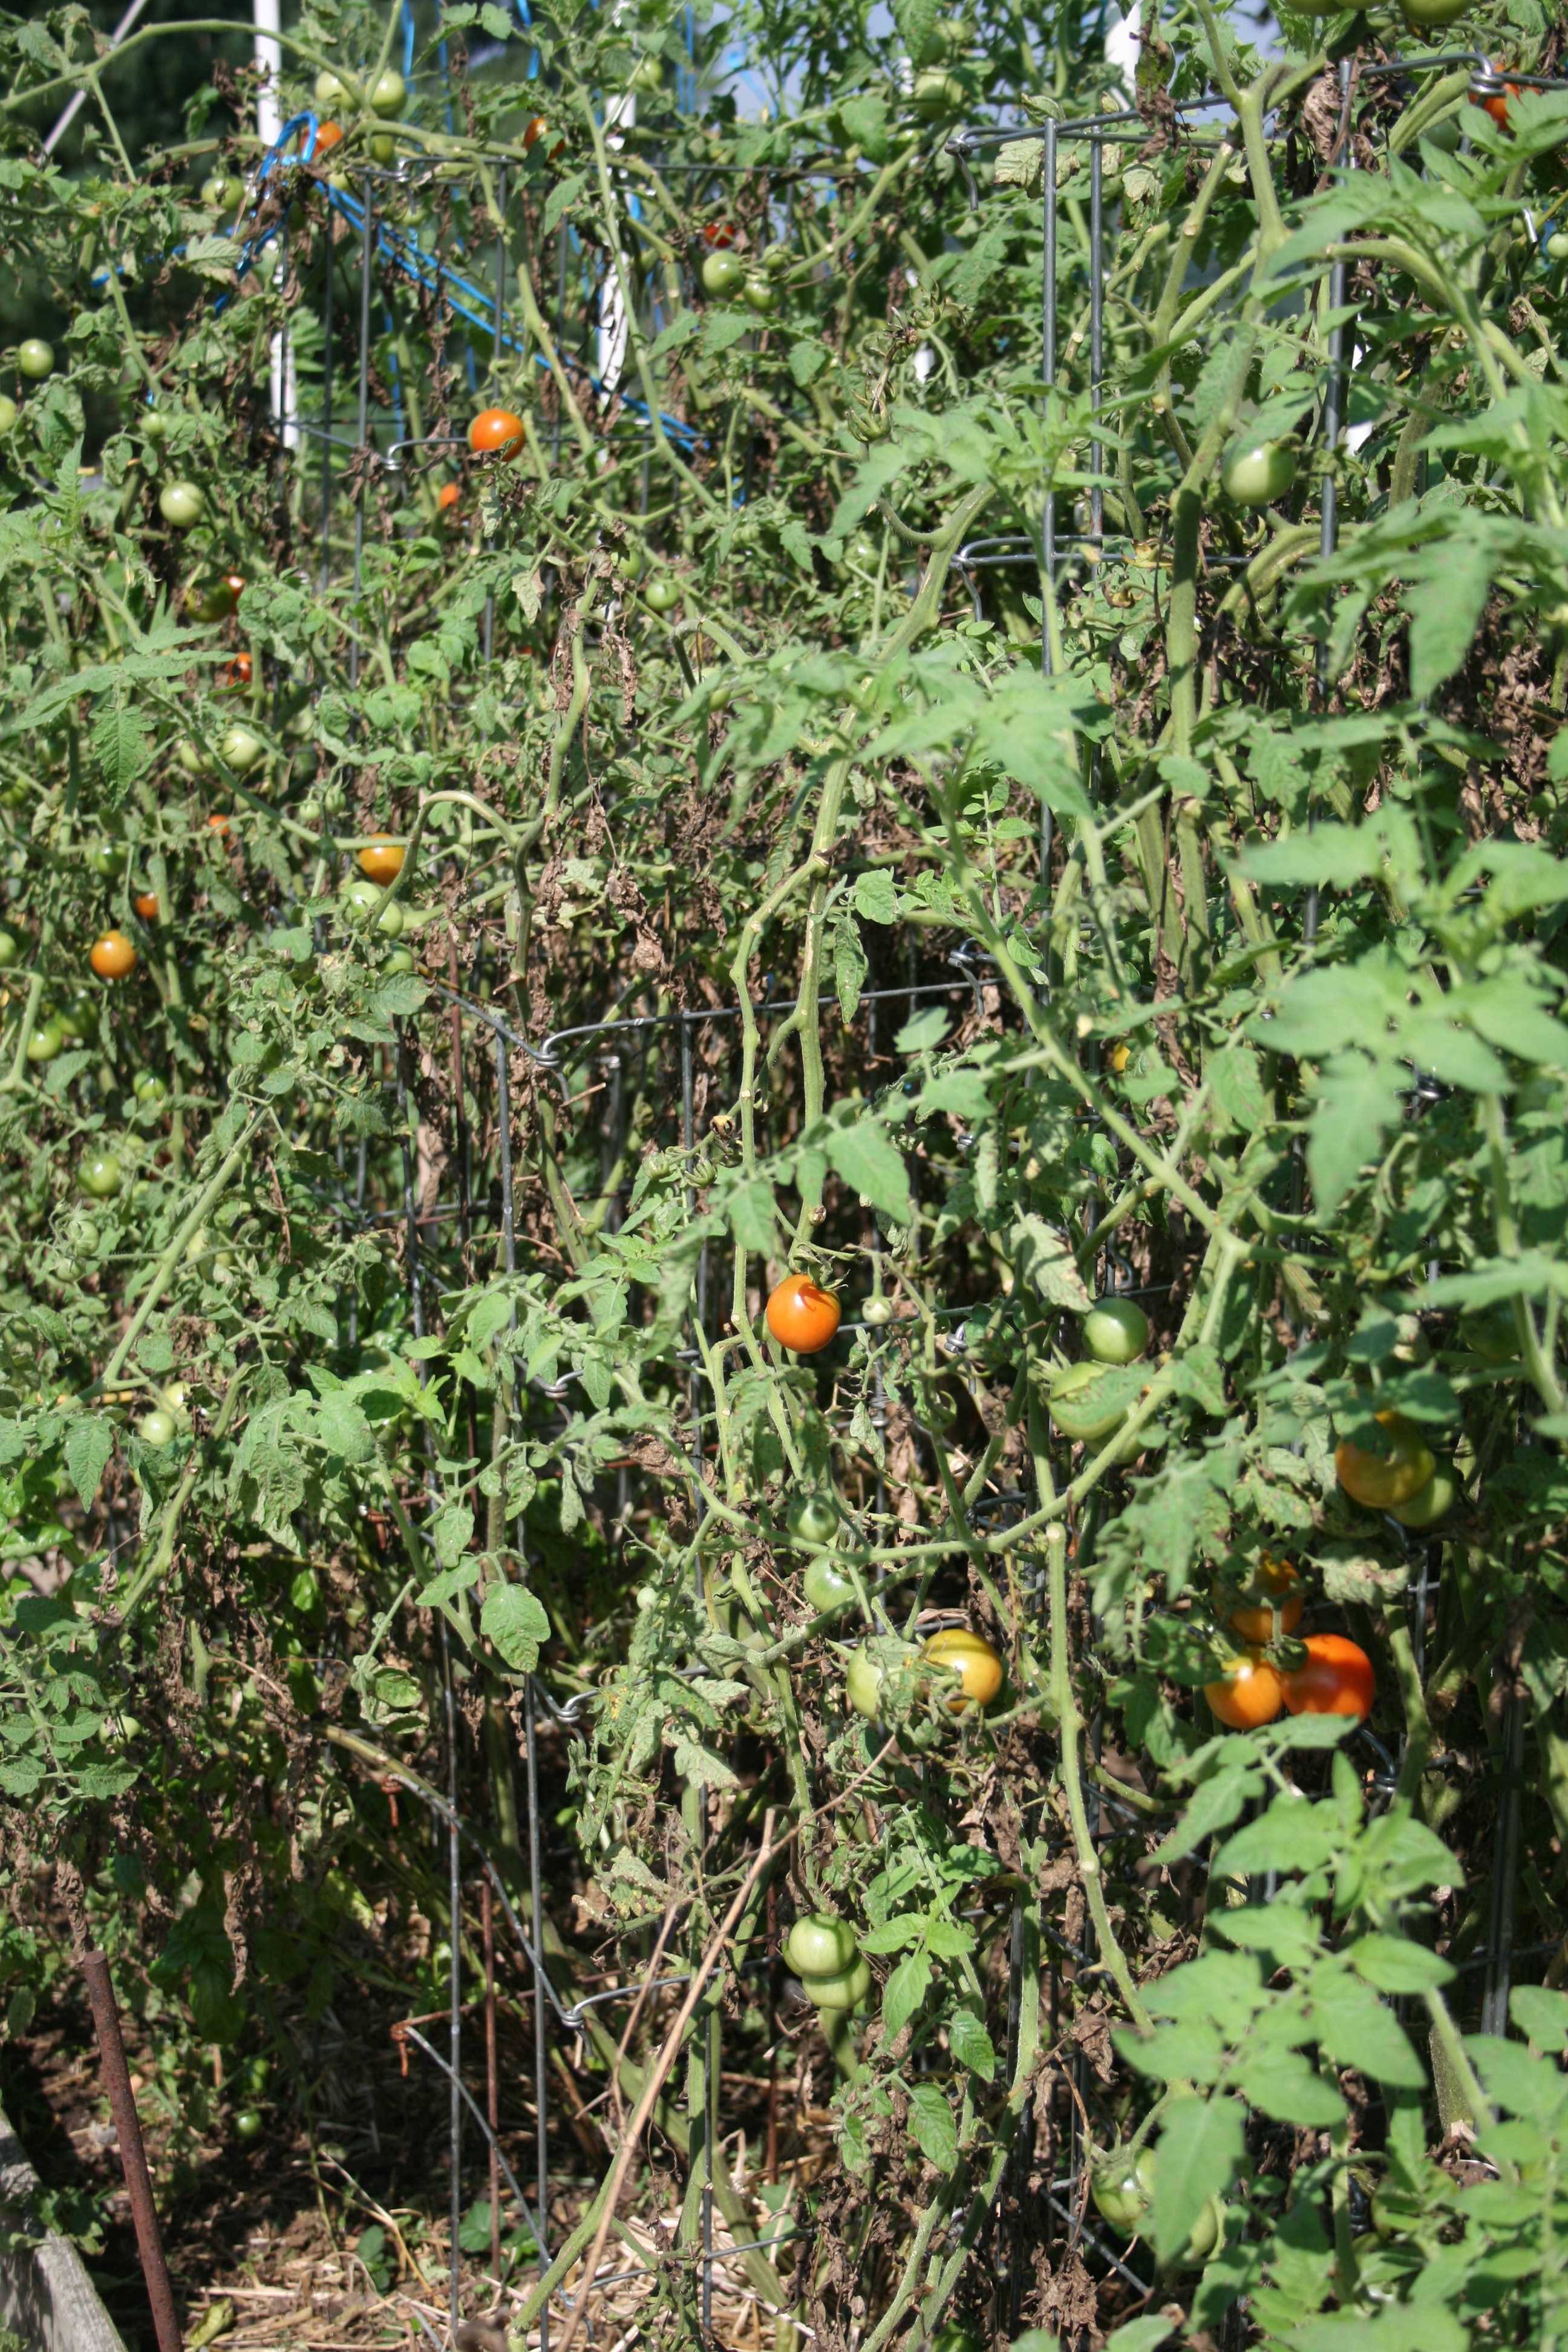
Despite the bout with disease, the absolutely drenching rains and the wonky temperatures, as you can see, these plants continue to produce. I am getting 2 to 3 quarts of Fox Cherry, Atomic grape and Genovese tomatoes every 2 or 3 days!
And I have a volunteer Fox Cherry that decided to plant itself in my compost bin and this baby is producing fruit that is just now starting to ripen. Oh my, more tomatoes! I’ve already made sauce, salsa, scallopine and paste!
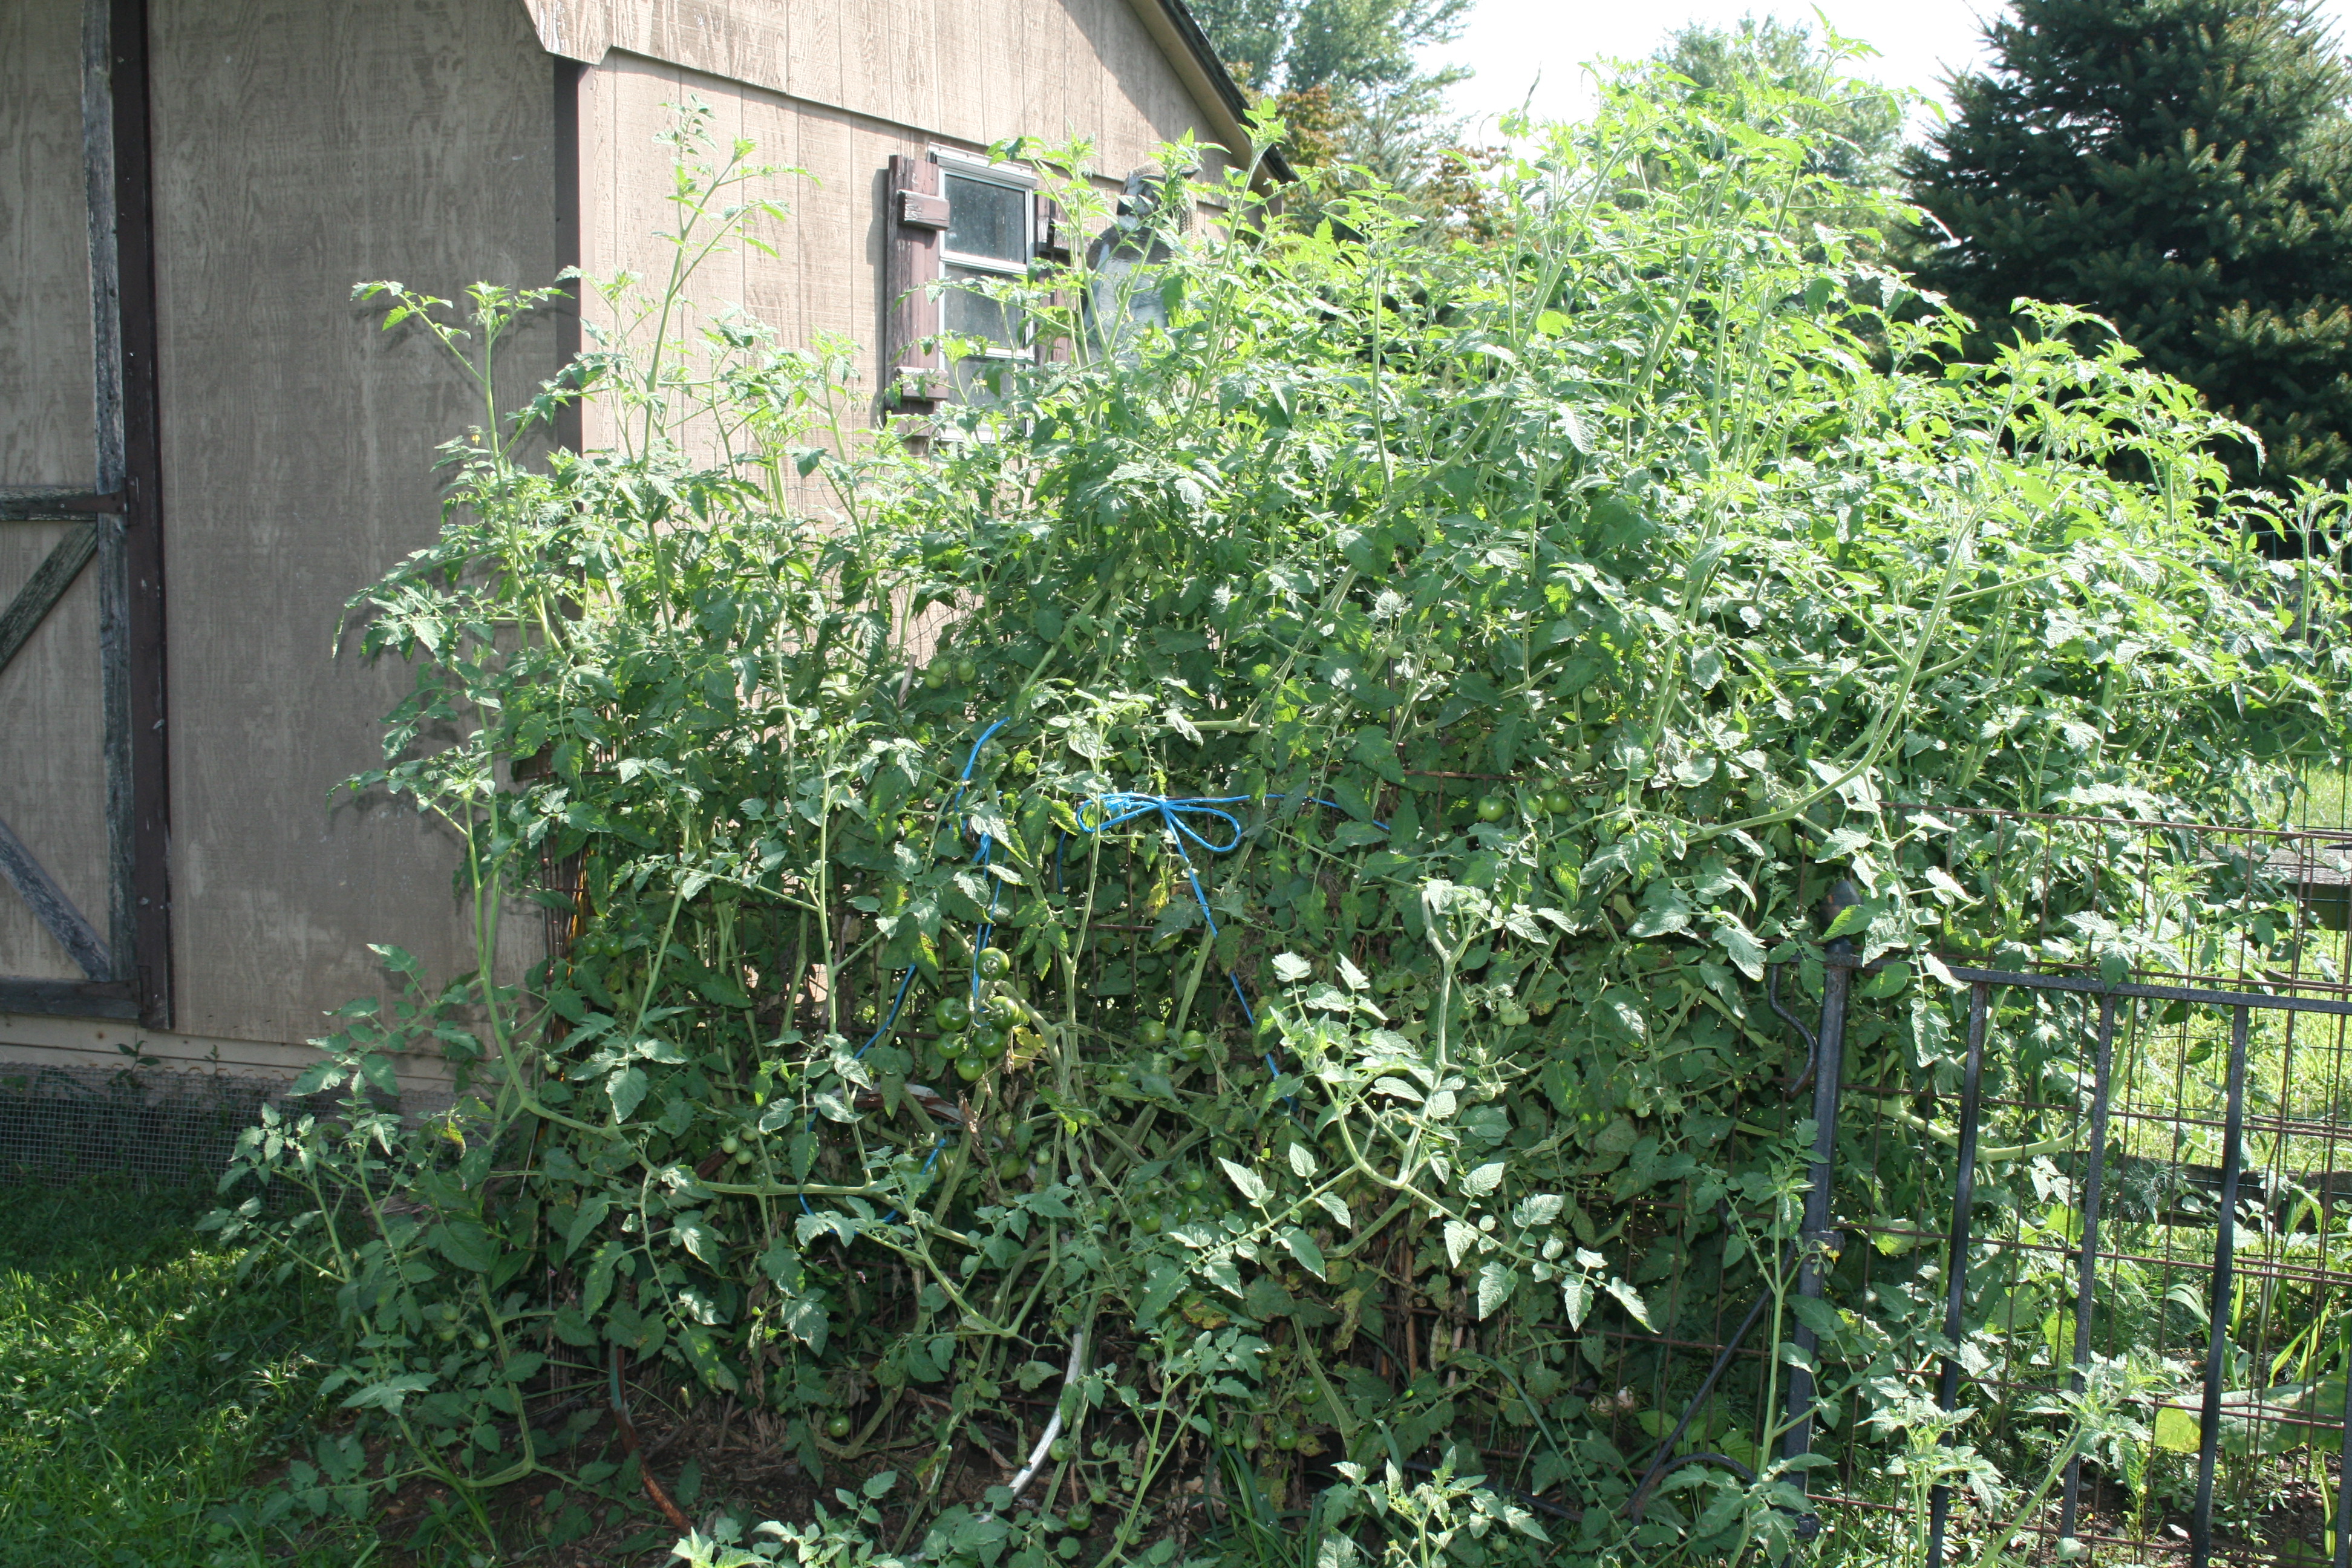
Volunteer Fox Cherry is huge!
Today, in self defense, I am making ketchup. This is a first for me but I am LOVING what I see and smell.
There are a lot of recipes online for homemade ketchup but the one I liked best was by Pioneer Woman.

Ketchup bubbling away!
This recipe has the least amount of sugar and the subtlest spicing done with fresh onions and garlic, also from my garden.

Homemade wine vinegar
And I got to use some of the wine vinegar I made and bottled last year. The color, flavor and taste of this vinegar is superb — a full mouth feel and soft wine finish.
The recipe for this amazing and rich tasting ketchup is below!
Blueberry, blackberry and cherry jams are lined up on my pantry shelf. Blackberry and cherry brandy are aging in gallon jugs. And I’ve put up eggplant, green beans, made salsa, scallopine, tomato sauce and tomato paste!
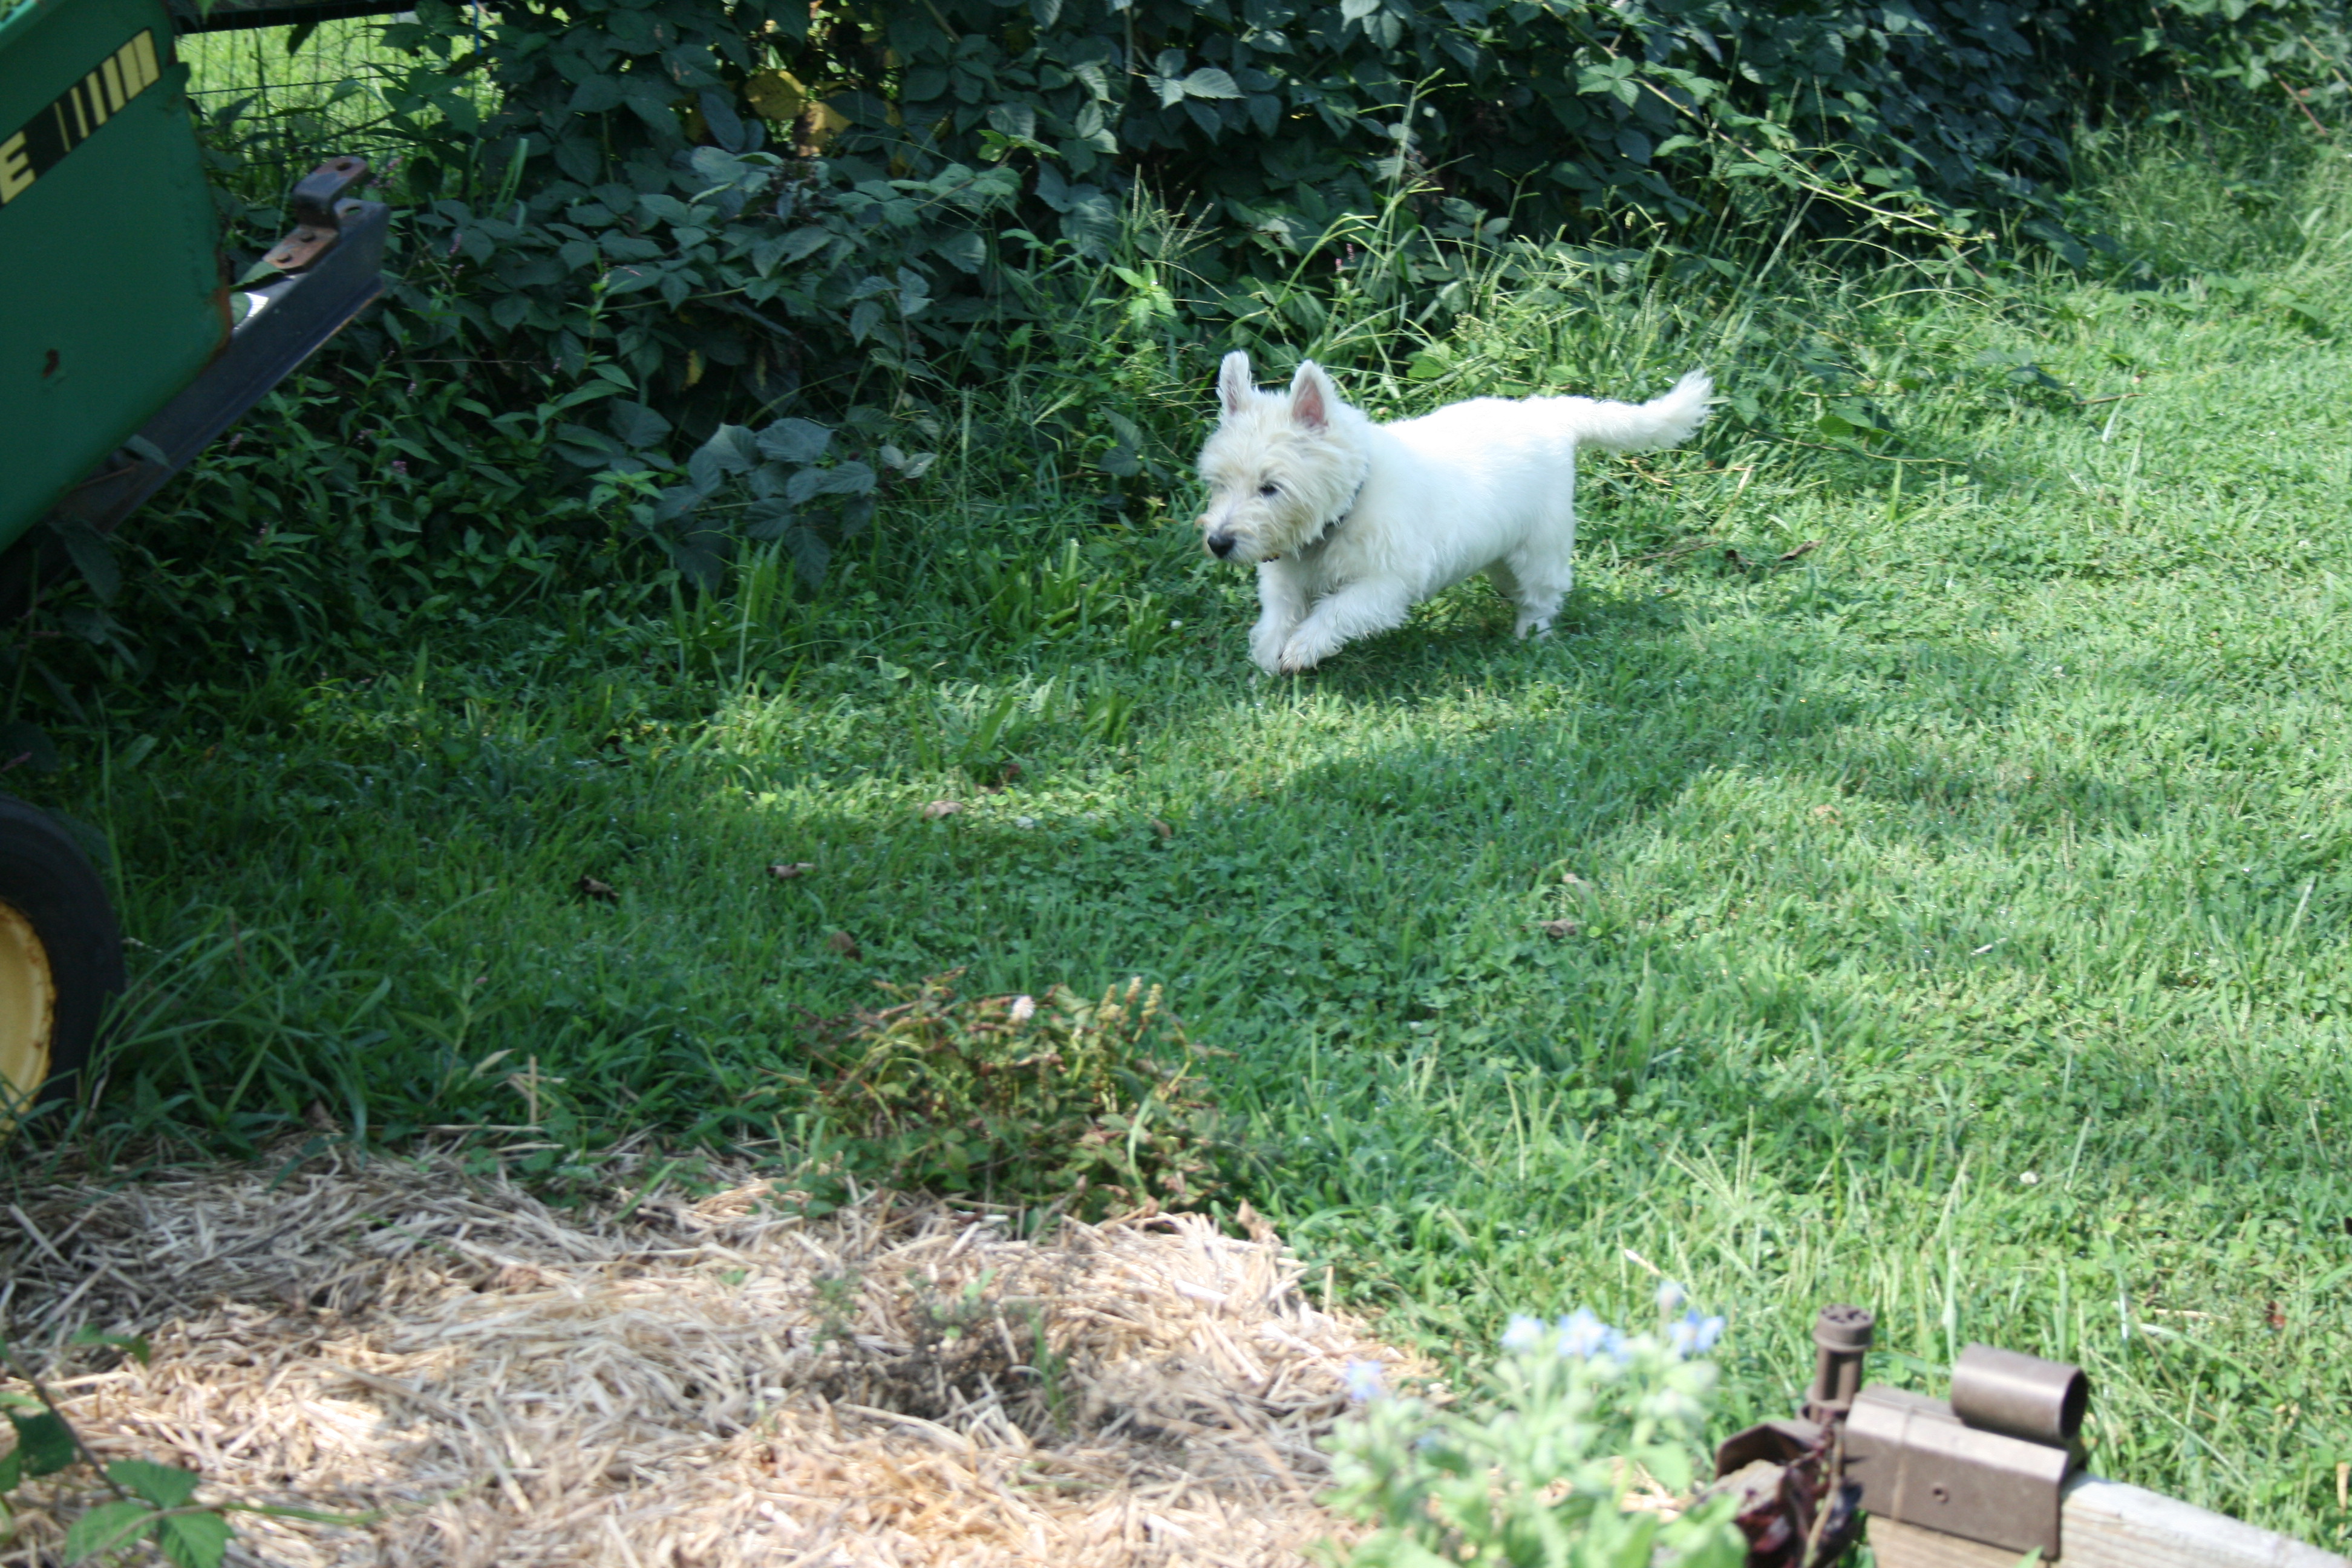
Linus loves the garden.
So this has been a very good year for my garden. And for my volunteers…who include this new rescue Westie, Linus!
Linus joined our family a short 8 weeks ago after the tragic death of one of our Westies, Spike. He has settled in and is really loving the back yard!
One last thing to share. This is a bite I sustained last Tuesday. It is most likely that of a brown recluse spider. The pain was immediate and immense. Almost simultaneously, my arm stared to itch. There was a single strike mark which raised into a 1/4 inch high blister surrounded by a 2 inch square of rapidly rising smaller blisters.
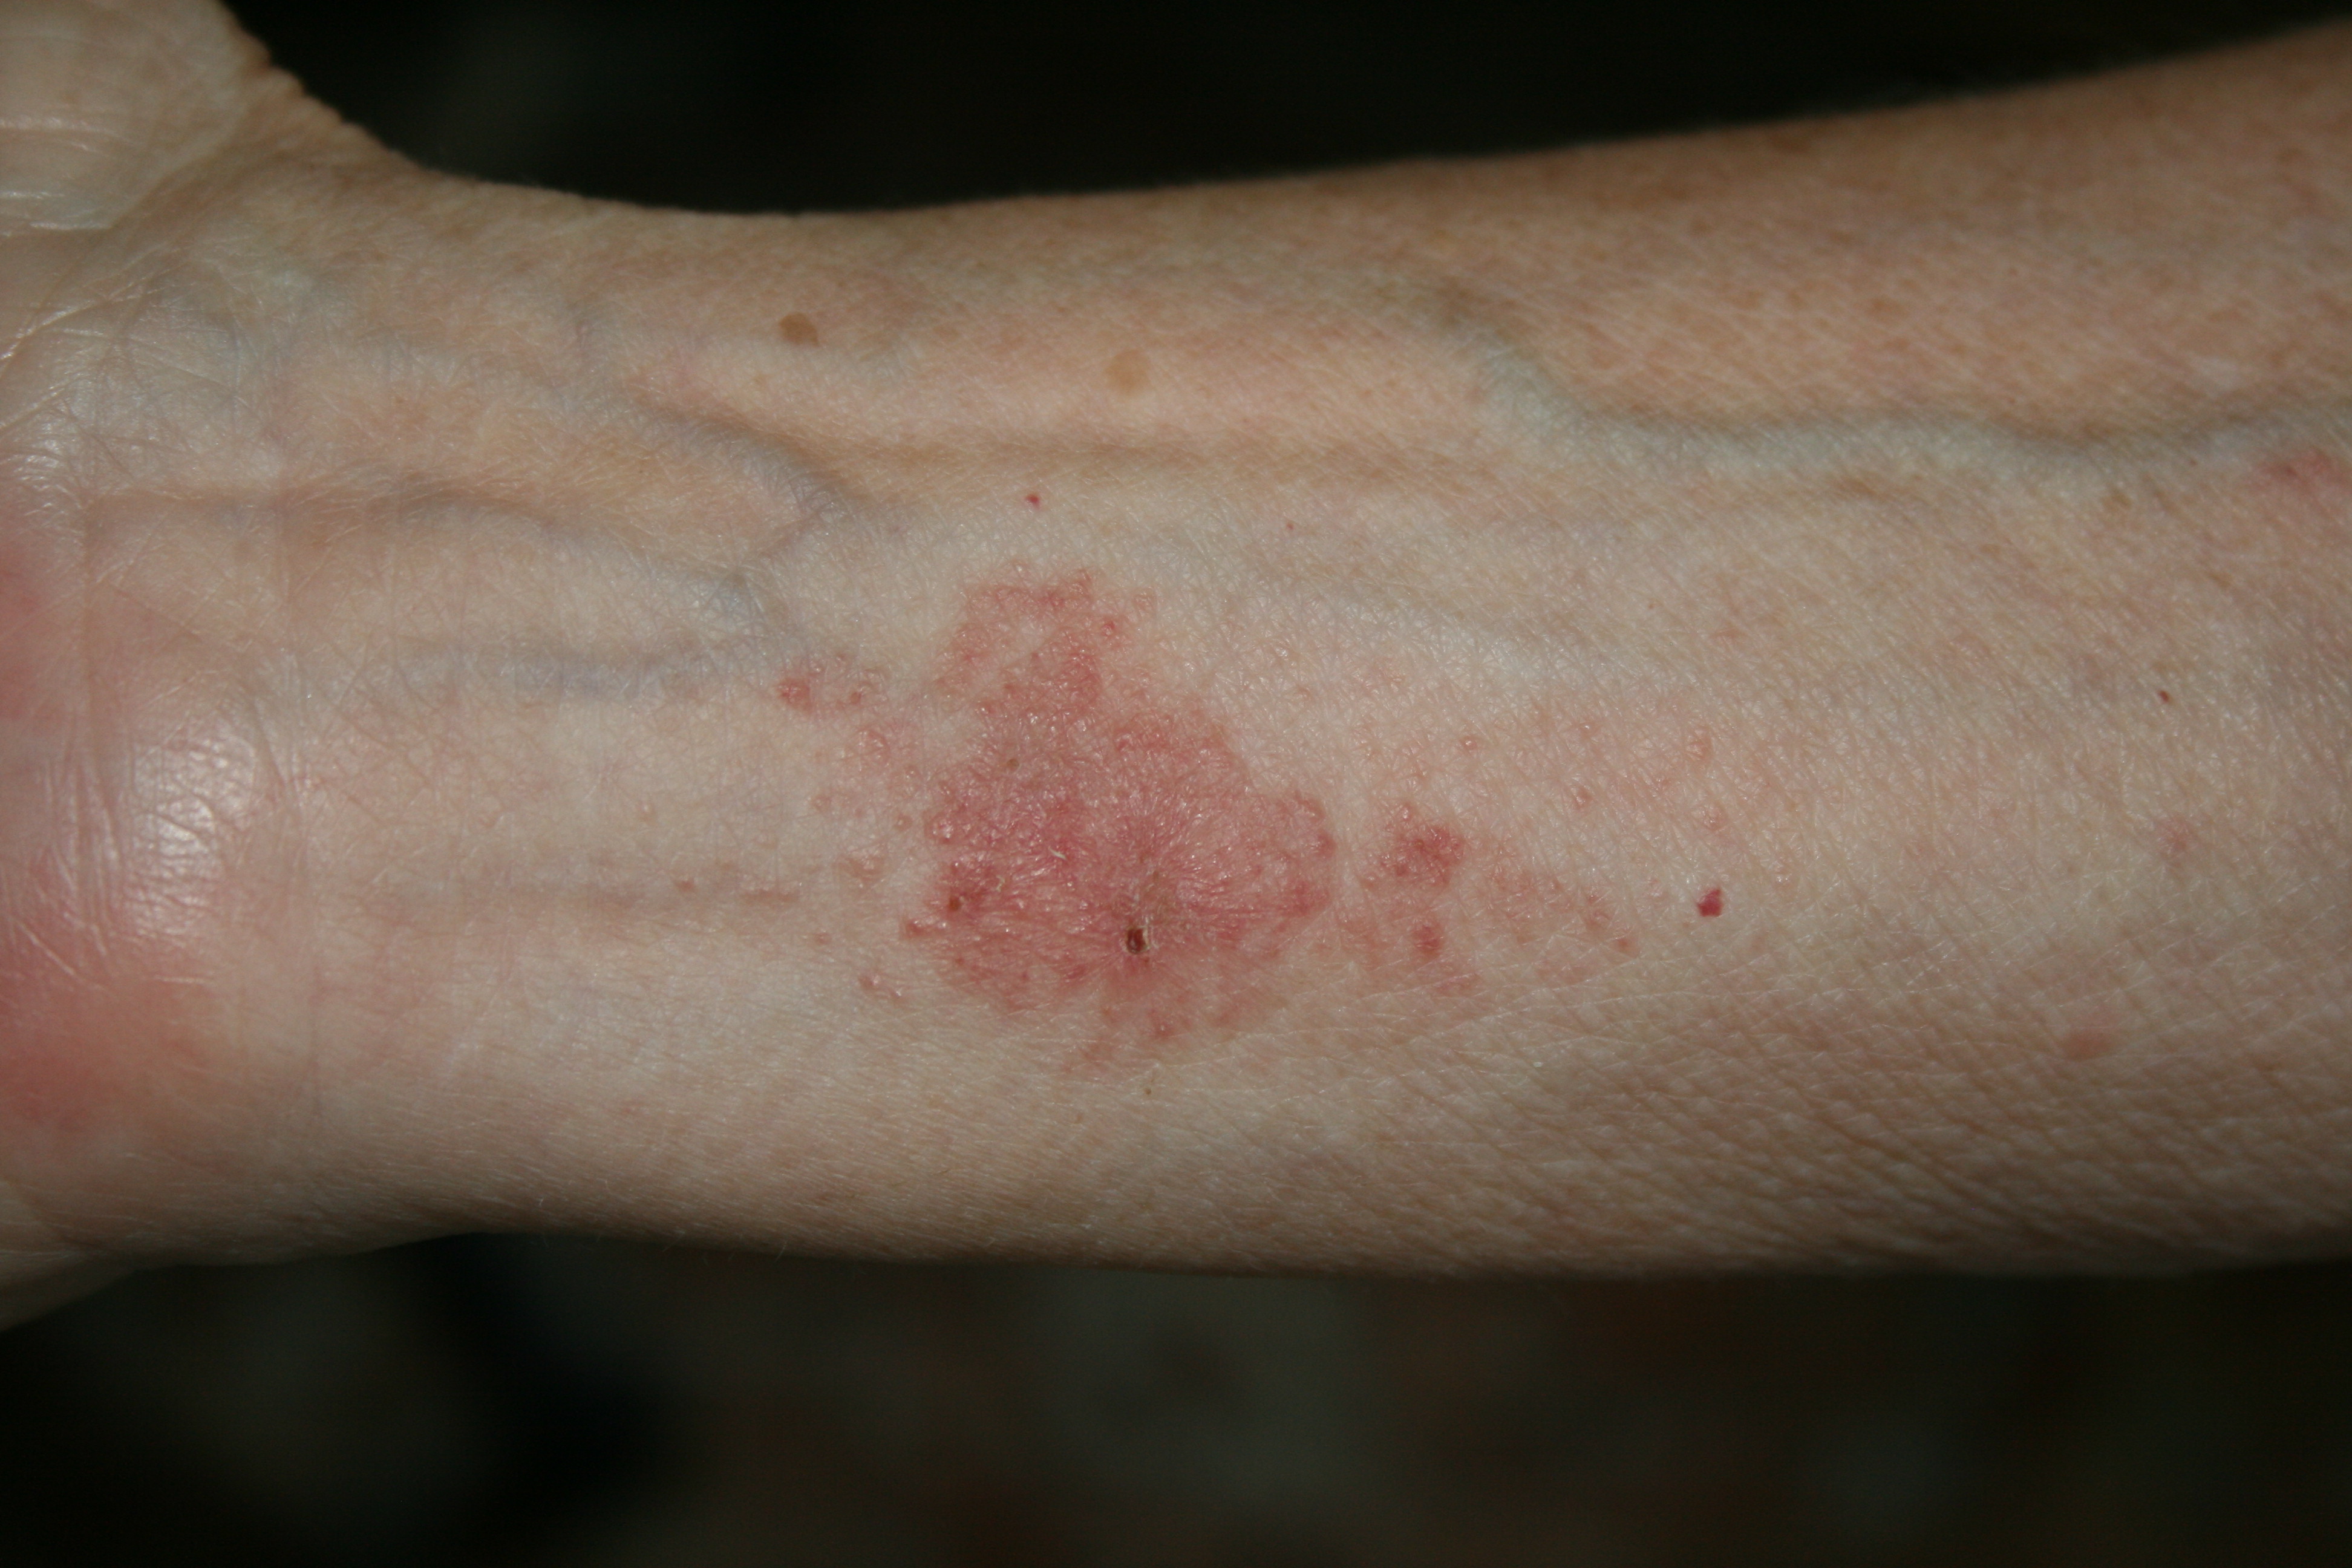
Week old spider bite
I did not consult a physician but did use my family’s tried and true remedy for all bites – a baking soda paste, applied immediately to the wound.
The pain and the itching were completely controlled but this bite mark is persisting and will probably leave a scar, maybe in the shape of a heart!
So, in this very wet summer, please make sure you keep your eyes open, be careful and enjoy the fruits of all of your labors.
Recipe: Pioneer Woman Homemade Ketchup
INGREDIENTS
8 Tablespoons Olive Oil
12 cloves Garlic, Minced
4 Medium Onions, Diced
8 Quarts processed tomatoes
1/2 cup Brown Sugar
1/3 cup molasses
1 & 1/3 cup Apple Cider or Wine Vinegar
4 Tablespoons Worcestershire Sauce
2 teaspoons Chili Powder
1 teaspoon each of Powdered Ginger, Ground Allspice & Cinnamon
NOTE: if making large batch of ketchup, simply determine total ounces of tomatoes and increase all other ingredients, accordingly.
Directions:
Process tomatoes using the Vittorio juicer to remove seeds and skins. Put tomatoes in large, non-reactive sauce pot and cook overnight on very low flame to reduce and boil off water.
Heat a large, non-reactive frying pan over medium heat. Add olive oil and onions, sauté until translucent, about 8 minutes. Add garlic and sauté until fragrant, about 2 minutes.
Add sugar, molasses and vinegar to the onion mixture and bring to a slow boil, lower to a simmer and cook for 10 to 12 minutes while the sauce reduces and thiikens slightly..
Add the onion mixture to the tomatoes and continue to simmer, uncovered overnight until very thick. NOTE: Because there is added sugar in this recipe, make sure to keep an eye on it and stir it to keep it from scorching.
Jar and, depending on jar size (pints or quarts) water bath appropriately. Cool, label and store.

