Category Archives: Tools for the Organic Gardener

Controlling Japanese Beetles Naturally

I am at war with Japanese beetles, the offspring of last year’s huge and devastating population. This year, I think I’m going to win!

Surround stops Japanese Beetles.

Japanese Beetles hate Surround!

Why? My secret weapon? I am using Surround.

Surround is 95% kaolin clay (5% inert) which is mixed with water and sprayed on plants.

This year, all the blackberries and the blueberries in my yard are wearing coats made

Blueberries covered by Surround.

Beetle free blueberries coated by Surround.

of Surround which I sprayed at the first sign of Japanese Beetles in my back yard.

When I say “first sign” I mean it. Apparently, the beetles release a pheromone when they find good food. Any beetles in the vicinity fly in and start feasting.

Surround doesn’t harm any other insects. But Surround does make berries and leaves taste really bad to the beetles! The proof is on the plants and in the bucket.  This year I have only gotten about 45 beetles, total.

Very few Japanese Beetles in 2016 thanks to Surround

Surround meant fewer than 45 Japanese Beetles in a week!

Last year, I plucked morning and evening, got thousands of Japanese beetles in my bucket and I still lost all the blackberries, beans and apples. The only difference this year is Surround!

Surround also keeps my 10 most hated bugs, including Colorado Potato Beetles, Cucumber and Squash beetles, off of plants so, yes, every squash and cucumber plant in my garden is also sporting a beautiful coat of kaolin clay.

FYI the beetles I have found were on the only 2 plants I didn’t spray with Surround — a Pussy Willow and Borage, which I planted for the bees.

Borage without Surround equals Japanese Beetles.

Borage is one plant I didn’t spray!

Based on my current state, which is only one week into beetle season, I may win the war this year.

If I do, I give all the credit to Surround. If you’re being “bugged,” consider giving it a try.

Battle Japanese Beetles – Organic Tips

Last year, Japanese beetles arrived early and stayed late!

Drowning Japanese Beetles

Japanese Beetles win!

As an organic gardener, all I could do was try to drown as many as possible but I was outnumbered.

They started with my green beans literally wiping out 8 foot high pole bean plants and chewed through my Bumble Beans, too.

Japanese beetles eat green beans.

Green beans fall to Japanese invasion

Japanese Beetles destroy Chinese Cabbage

Japanese beetles make lace with Chinese Cabbage.

Japanese Beetles strip my apple tree of leaves.

Every leaf on my apple tree turned to lace. Japanese Beetles!

Then they moved to my Chinese Cabbage. By the time they were done, the plants looked like a bit of lace tatted by devils.

Then they moved to my blackberries. They finished their backyard rampage by stripping every leaf off my 25 foot tall apple tree while I stood by, helpless.

So, this year, I plan on fighting back…organically, of course.

I have ordered 50 pounds of Surround – kaolin clay – from one of my very favorite (and quirky) places to buy plants and products in person and online  — Edible Landscaping.

I need to spray it on the plants when I first sight the Japanese invaders.

However, this summer’s weather is wreaking havoc with predicting their arrival! So, I was wondering if there was a web site that could tell me when these little devils would be arriving in my neighborhood.

That’s how I found Big Bug Hunt!

NOTE: Big Bug Hunt is just getting started which means they are just beginning to collect data so they can’t help us this year. That’s where we come in. Gardeners are asked to report bug sightings in their  back yards and zip codes.

The web site has a few hiccups so you’ll have to be patient if you want to participate.  And I hope you do so I can get a better handle on when the Japanese Beetles will arrive in my backyard!

Great Ground Cover for Shady Spots

Gardening in the sun comes easy to me. In the shade? Not so much.

Organic gardening is easy.

Sunny days make organic gardening easy.

That’s why I was really glad to see Garden Rant publish a WONDERFUL article by Susan Harris, who is one of my favorite garden writers, that is packed with ideas for filling in the shady spots in your landscape, literally.

I have found some these plants, like Comfrey, on my own but, if I’m being honest, accidentally!

So, here, in one place, courtesy of Garden Rant, is a really solid list of plants to help fill in the blanks in the shady bits of your yard, garden, landscape.

Comfrey grows in shade and is good for your garden.

Comfrey feeds your soil and attracts pollinators.

BTW, Comfrey is a real find for any gardener. Nancy Bubel, author of The Seed Starter’s Handbook and my heroine of seed-saving fame, wrote a beautiful article about the joys and uses of comfrey way back in 1974 for Mother Earth News…and it is as information packed today as it was 42 years ago.

NOTE:  Mother Earth News posted this warning about the article that is important for you to read if you intend to use Comfrey for tea, as a vegetable or for your livestock:

This article was originally published as “Comfrey for the Homestead” in the May/June 1974 issue of MOTHER EARTH NEWS. At that time, comfrey had not yet been declared potentially poisonous to humans and animals and this article contained information about using comfrey as a vegetable, in tea and as livestock fodder; none of these applications are advisable, according to FDA and FTC recommendations. Comfrey contains at least 8 pyrrolizidine alkaloids, which can build up in the liver to cause permanent damage and sometimes death. Because of this, comfrey preparations are not sold for oral or internal use in the United States, the United Kingdom, Australia, Canada or Germany.

I planted my Comfrey before I knew any of this….but I use it only for improving soil, speeding up composting and attracting tons of pollinators.
Enjoy!


How To Water Your Garden

Successful organic gardening relies on a series of small but vital choices we, as the gardeners make. Something as simple as where you buy the seed you choose to plant is pivotal in today’s world of GMO where even the seed coat can affect the final product.

The view from the meadow.

Weather can help or hurt a garden.

Some factors, like the volatility of the weather, are out of our hands but other factors like proper hardening, picking the right site for each plant and deciding what day you put your babies in the ground all affect gardening success.

But one of the most important factors is watering. When do you water? How do you deliver the water? How much? How often?

These are all important watering questions but I like to think that “when” is one of the most important. Why? Because timing is vital especially to the “newly transplanted.”

Half a century ago, at my mother’s knee, I learned one tip that has helped me

Watering in new transplants is vital.

When you water new transplants is critical.

move vegetable and herb starts from peat pots to the ground, easily.

Transplanting is pretty simple. Dig the hole, peel the peat pot back so that none of it is sticking up above ground level, place the transplant in the new hole and firmly press dirt all around it.

But there is one more step you have to take to help ensure every plant you put in the ground survives. Mom called it, “watering in.”

Watering in is so simple but so many people forget to do it. Once the transplant is in the ground and the earth is tamped down around it, pour a couple of cups of water over the plant. This simple act – watering in – does a couple of critical things. It:

  1. Ensures the roots of your baby and the dirt are in solid contact.
  2. Eliminates air pockets that could dry out bits of the baby roots and kill the plant.
  3. Stops the dirt from acting like a sponge and wicking off the water.

Watering in new transplants works. This year, I transplanted a total of 199 fruits, vegetables, herbs and flowers in my garden. I only lost 2. I credit watering in with my success.

Watering in is just one tip in Deep-Rooted wisdom.

Deep-Rooted Wisdom is my favorite gardening book.

It’s been 60 years since my Mom introduced me to this concept and this summer, for the first time, I read about this technique in what has rapidly become my favorite gardening book.

Deep-Rooted Wisdom by Augustus Jenkins Farmer was a gift from my sister-in-law,(I think the best gift I got for my 68th birthday!) Watering in is just one of the common sense ideas for gardening that the author offers.

Read up, give them a try and let me know what happens in your garden!

If you want more watering tips, check out the best soaker hose I have found! It’s also one of the tools I consider “nice to have.” You can garden without it but over time, the hoses will pay for themselves.

Happy gardening!


Tips for Gardening For Aging Backs

I admit it.  My back hurts.

It pretty much hurts all the time now. Following two surgeries on my left hip, I was left with two scars (7 inches and 4 inches) slashing horizontally from spine to hip bone and doing battle every day to see which cut muscle can spasm the most.

Some days, it seems like they are both winning but a little pain is not stopping me from putting in my garden this year. In fact, it’s made me rethink a few things.

Straw protects my garden.

Straw protects my garden in the winter.

First tip: Prep the Beds Early
All of my soil is covered by straw for over-wintering. Straw keeps down weeds but it also keeps the soil cooler, longer.

If you grow Mediterranean veggies like I do — tomatoes, peppers, eggplant – you know the soil has to be warm, warm, warm so the first job is pulling the straw back.

Instead of trying to get all my prep done is a day, now I spread it out over a week or two. The steps are easy but all of them require bending to which my back says, “No!”

So here are the steps I take to prep the garden:

  1. The first thing I do is pull back straw from my planting areas.
  2. Next, I move the fences and rails I am going to use to trellis everything from tomatoes to cucumbers to new locations.
  3. The raised beds get the next look-see. I add soil or compost to the beds, level them off and get them ready to receive my transplants.
  4. Last but definitely not least, I lay out my soaker hoses being careful not to knock about the baby lettuce already growing.

    Soaker hoses around baby lettuce.

    Soaker hoses are set in place early.

Second tip: Fast versus Slow
That blasted tortoise showed up this year and gave me some advice on how to win the race to put my garden in without too much pain. I am following it.

I used to put ALL of my plants in the ground on one day. When I say all, let me give you my count for 2016:

  • 16 cherry tomatoes
  • 4 San Marzano tomatoes
  • 12 Sweet Italian Peppers
  • 5 Rosa Bianca Eggplants
  • 6 Zuchetta
  • 14 cucumbers
  • 4 basil plants
  • 2 Italian parsley plants
  • Countless flowers for interplanting

That’s 63 plants and 63 holes of varying depths, all at once. And this list doesn’t include the 3 types of beans I put in the ground now that the lilac is finally in full bloom.

This year, I am staging my planting. I dug 16 holes for the tomatoes, a week before I needed them. All I have to do is set the tomatoes in holes, press, water them in and stake them and quit for the day. The “quitting” is the hardest part for me but I am letting my back give me orders this year.

If my back feels okay the next day, I will dig the holes for the eggplant and the peppers and plant the following day. Holes for herbs will be next, then planting. Last to go in the ground will be zukes and cukes around the end of May because these babies really like their soil warm.

Third tip: Plan for the Future

Raised beds keep my back happier.

Raised beds are easier on my back.

The size of my garden hasn’t changed much over the years but how I garden has.

I started with no raised beds; this year 6 of them. One is an old Chevy truck bed in the background.

Two are new galvanized oval-shaped beds and

3 are home-made, 12 foot long boards held together with corners from Gardener’s Supply.

Raised beds let me work with soil that is softer, more friable and easier to dig in. I also can reach the ground a bit easier as it is close to my knees. I can sink stakes and cages and trellises into my raised beds without my hand sledge.

I plan on adding 2 more raised beds next year so I will have even less digging to do when it comes to prep and planting.


Planting Elderberries in the Meadow

Grassy meadow in my backyard.

Our meadow grows great grass!

We call this our meadow. Honestly, it’s really just half an acre of ground we
didn’t want to mow any more.

Lemon balm likes the meadow

Lemon balm took over the old firewood pile.

The idea started when I transplanted some of my mom’s Lemon Balm in an area that had been the firewood pile.                    Lemon balm grows fast and this took off and created an oval that’s about 6 feet wide and 12 feet long. Then milkweed dropped by for a visit and decided to stay, creating a ring around half of the lemon balm bed. The only plants that have tried to interfere were two invasives – Mile A Minute (it grows that fast) and every surface including the back of the leaves has stickers) and Bittersweet Vine.

The rest of the half acre is “naturalized.”

Okay, it looks pretty seedy but I have been working on this for a couple of years with little or no success. The grass is MONSTER and its rhizomes are about 1/2″ thick!

I’ve planted 18 perennials out in the meadow…black-eyed susans, shasta daisies, perennial flox, and cone flowers — all supposed to be hardy, to love the sun and to return, year after year. Most of them packed up in the dead of night and moved to the neighbors.

So, now my new approach is to plant bushes.

Transplanted elderberry growing in the meadow.

The first elderberry goes into the meadow.

Of course, the bushes have to produce so, I am putting 3 elderberry bushes in and 2 Goji Berry bushes. Just for fun, I picked up a Hazelnut tree at Sugar Bush Nursery and am adding it to the mix.

Luckily, we had dragged branches out to the meadow over the last 2 years, piled them up and left them. Occasionally we would look at each other, look at the pile and say, “We need to clean that up.” That didn’t happen until today.

Sticks moved so I could plant elderberries.

I call this sticks with ticks.

And when I started moving the pile from one bit of the meadow to another, I found absolutely beautiful, grass-free soil and a nice place to plant my berry bushes! (I also found 6 ticks on my neck, arms and head — I’m still itching.)

I dug holes for the elderberries, making them about 30 inches deep. Too deep for this bush which is shallow-rooted. But I knew my enemy — the soil.

Freshly dug, properly prepped holes for my bushes.

Freshly dug, properly prepped holes for my bushes.

It grows absolutely fabulous witch grass  and not much else. It would not be good for these berry bushes.

I broke up and added about 3 inches of twigs and branches – jumping on them once they were in the hole to break them even further.

Why branches?  In soil this hard, twigs help with drainage and keep these new bushes from drowning. They also break down slowly, adding nutrients to the soil that will feed the elderberries over time.

This hole is ready for its bush!

This hole is ready for its bush!

I topped the branches with  composted matter that included grass, straw, some well-composted manure and egg shells. On top of that, I put a 2 inch layer of soil. Now the holes are only about 8 inches deep.

The new baby bushes will be tucked in with some worm castings and some of the native dirt from the hole. They will also have ground cover and topped with grass clippings that will act as mulch and food.

Here’s hoping my new plan works and the meadow gives up a little real estate for these new baby elderberries and the Goji berries.

By the way, here’s the view of my garden and house from the meadow – what the bushes get to see when they look at home!

The view from the meadow.

Our house and garden from the meadow.


When To Plant Veggies

It’s that time of year…finally!

I think I can actually start planning on putting out some of my home-grown plants. Weather in zone 6B has finally moderated. No more wild extremes like 81 degrees on Monday and 27 degrees on Friday night!

We’ve been on a roller coaster ride for temperatures and high (and constant) winds in the Mid-Atlantic states. The weather has made gardening more like a series of fits and starts than planning and planting.

Cold temperatures and high winds stunted the garlic.

Garlic stunted by cold and wind.

My lettuce and kale got burned almost to the ground in spite of having been covered by a tunnel of plastic! Wind swept under one end of the tunnel and flipped it off on night. I didn’t catch it until the next morning and by then, the damage was done. Even my garlic took a hit and that’s hard to do.

But now, it looks like we are getting to the time when something other than kale, beets, lettuce, onions and garlic can be put in the ground so here are some tips for getting your babies and their new “digs” ready.

Prep your soil!

If your garden soil has been covered during the winter, uncover it. I pull straw back about 12 inches from the fences I use to support my plants so the soil can warm up.

If you’re going to amend your soil, adding worm castings or compost (or both), now is the time to turn it and add the amendments. I use 1-year-old horse manure so I have to dig down, put manure in the trench, and cover the manure with about 8 inches of soil. I want to feed my babies, not burn their new roots.

Lay down your soaker hoses. It’s so much easier to put soaker hoses on the ground before you put your veggie plants in so take an afternoon to organize and lay them out especially where you’re going to plant tomatoes, which you don’t really want to spray with water.

Harden them off!

Hardening off your plants does NOT involve tools or torture.  It just means that you have to introduce your transplants to the outdoors, gradually.

Five or six days before you want to put them in the garden, start setting them outside for a an hour a day for 2 days, 2 to 3 hours a day for 2 to 3 days, 8 hours a day for 3 days and only then (and only if it’s not hailing or very windy) do they get their first overnight! Keep an eye on them.  Make sure they have water and are not staked out in high sun or high wind.

NOTE:  when hardening off, stop fertilizing.  If the plants have small flowers or fruit on them, pinch both off.  You want to help transplants direct all of their energy to rooting in the soil before trying to set flowers or fruit.

Plant When It’s Warm!

I also used to hurry and plant my babies by May 7th or 8th. Frequently, the ground was too cold for warm weather crops like tomatoes and peppers and they simply stopped growing for a couple of weeks (or forever in some cases).  Putting plants in the ground too early can be deadly so give the soil a chance to warm while you get your plants ready for the great outdoors.

Remember, plants that I call “Mediterranean”like tomatoes, peppers and eggplant like warm earth and warm air. The optimal air temperature for them to go into the ground is 75 to 85 degrees. In my neck of the woods, that means these warm weather babies are typically transplanted the last week of May, especially if the weather is dicey.

So, even though it’s not quite time to start putting your plants in the ground, you can go out and play in the dirt, yourself. Get your garden ready for the big day! Your babies will thank you.

Growing Bradford Watermelons

I am super excited this year because I am going to try to grow watermelons this summer.  Not just any watermelons…Bradford watermelons.

So, what’s the big deal with Bradford Watermelons?

These are supposedly the sweetest watermelons available on the market today. Their Brix is over 12. Their sweetness is one reason this type of watermelon fell into disfavor with growers and disappeared from the marketplace for almost 100 years.

The watermelons were so sweet that they couldn’t be shipped very far before they began to rot. Hardier watermelons with thicker skins were developed just for distribution and the Bradford watermelon faded from public memory.

So, their sweetness attracted me but I think the reason these watermelons are so special is the back story about their revival.  I love the farm, and the way the great, great, great, great, great, great grandson (also named Nat) took up the mantle and brought this legacy watermelon back to life. (Or it could be the watermelon brandy that Bradford is now selling!)

In any case, I going to try growing a few but a couple of things make this new venture a bit tricky for me.

  1. Taste: I tried raising cantaloupe one year. I successfully grew beautiful plants were covered with large melons…that tasted like dirt! No joke, they were virtually inedible. So, I’m thinking perhaps my soil is not suited to raising melons.
  2. Real estate: watermelon like room to grow. They need real estate. I have room in the backyard but I also have a husband who is not all that thrilled by all the new holes I put in the ground every spring and summer.
  3. The seeds come with fairly long, very detailed planting instructions. I never read instructions. Perhaps I should…

I am going to direct sow these seeds – I got 10 for $10 and gave half away – in late May and will provide updates and pictures – good, bad or ugly – as my watermelon adventure gets off the ground!

Backyard Chicken Basics

Eglu with baby chicks

The Eglu lets chicks roam, safely.

I always wanted chickens so one year, for my birthday, my husband bought me an Eglu which is a British invention that makes keeping chickens easy and keeps the chickens safe, too.

Once I got their home assembled, it was time to order the chicks!

Because it can get to -20 where I live, I wanted a hardy breed. Research told me that the New Hampshire Red would fit the climate and lay beautiful, brown eggs. So I ordered 4 baby chicks from McMurray.

NOTE:  in case you’re wondering, no chickens died in this story….well they did die but they were old ladies by that time.

I did my homework on what baby chicks needed, took over the powder room on the lower level of my home and put together a brooder using a large cardboard

A homemade brooder from a box.

My brooder looked like this one from Seattle Seedling.

box, wood shavings (like the ones I use in my horse’s stall), a brooder heat lamp, a galvanized waterer and a little galvanized chick feeder.

When my one-day old chicks arrived in the mail, I was all set.

All 4 babies survived my ill-informed ministrations including cleaning their butts to prevent “pasting up.”

Within a week, they were outside and in their Eglu.

Eglu with baby chicks

The Eglu lets chicks roam, safely.

Baby chicks in their Eglu in my backyard.

The Eglu keeps the chicks safe as they explore the yard.

Here, you see them dining al fresco — enjoying the sun and fresh air without worrying about predators like the hawks and fox that are our neighbors.

So, I was all set for my backyard adventure with chickens, I thought.

However, even though I bought and read the top books on having hens in your backyard and even though I only got 4 baby chicks, I  wasn’t really prepared for getting, raising and caring for chickens.

In fact, once the chickens and I got down to business, I had more questions than answers!

For example, when could I expect my first eggs? Why do chickens but production in winter? How will the chickens do in blizzard conditions and sub-zero temperatures? What the hell is moulting? When does it happen? Is it really painful for the chicken? How do I know if my chicken has bumblefoot? (No joke — it’s called bumblefoot and it’s bad.)

I think if I had known all the things that could go wrong, I never would have gotten chickens. But I did and everyone survived. If I had it to do over, I would still read and research but I’d also get some hands on experience, too!

Watching my backyard chicks

Chicken watching with my Westies who seem really interested.

If you have a friend who already has chickens, visit, watch and learn. If not, universities, county extension offices and some hatcheries offer beginner classes.

Or, if your lucky enough to live anywhere near Hockessin, Delaware, you could sign up for the backyard chicken class being held at Mt. Cuba on Saturday, April 2nd!

If you do get into backyard chickens, there are also tons of forums where people just like us are happy to share what they know! And if you’re an organic gardener, chickens are some of the best organic pest control I can think of!

How Easy Is Organic Gardening? Very!

Organic gardening is easy.

Organic gardening is easy to do.

I wrote Grow So Easy; Organic Gardening for the Rest of Us for a young woman who wanted to go organic but was sure it was just too hard to do.

I also wrote it because I remember being in exactly that same place almost 40 years ago.

Organic gardening was hard and organic gardeners were weirdos, people who lived on the fringe of “real” life.  But I was intrigued so I decided I needed more information. When I wanted to learn about organic gardening, all those years ago, there was no Internet (hard to believe, right?).

I’d never heard of Ruth Stout or Jerome I. Rodale.  Euell Gibbons wasn’t touting Grape Nuts, yet and Adele Davis had already been dismissed as a “nutrition nut.”  Jim Crockett (Crockett’s Victory Garden on PBS) hadn’t even shown up on television (yes, Virginia, we did have television back then)!

So, I had to start my search the old-fashioned way.  I got on my bike and went to the library.

Using the Reader’s Guide to Periodical Literature (oh god…I am a dinosaur), I searched for magazines to help me get started.  There weren’t many — a handful really — but I did find information and people to help pave my path to becoming an organic gardener.

Today, it’s a lot easier to find organic gardening resources.  Connect to the Internet, search for those terms and you will get more than 4 million links to sites that offer everything from tips to tools.

But beware, many of these so-called “resources” just want to sell you something. I think I had it easier (back in the stone age), to find one or two clear voices, crying in the gardening wilderness!

I learned a lot from these “old guys and gurus” of organic gardening. I want to share what I learned and launch your gardening careers fast and easy.  So, I’m going to start with this basic truth:

…organic gardening is as easy as you want to make it.  It’s all about what you want to grow.

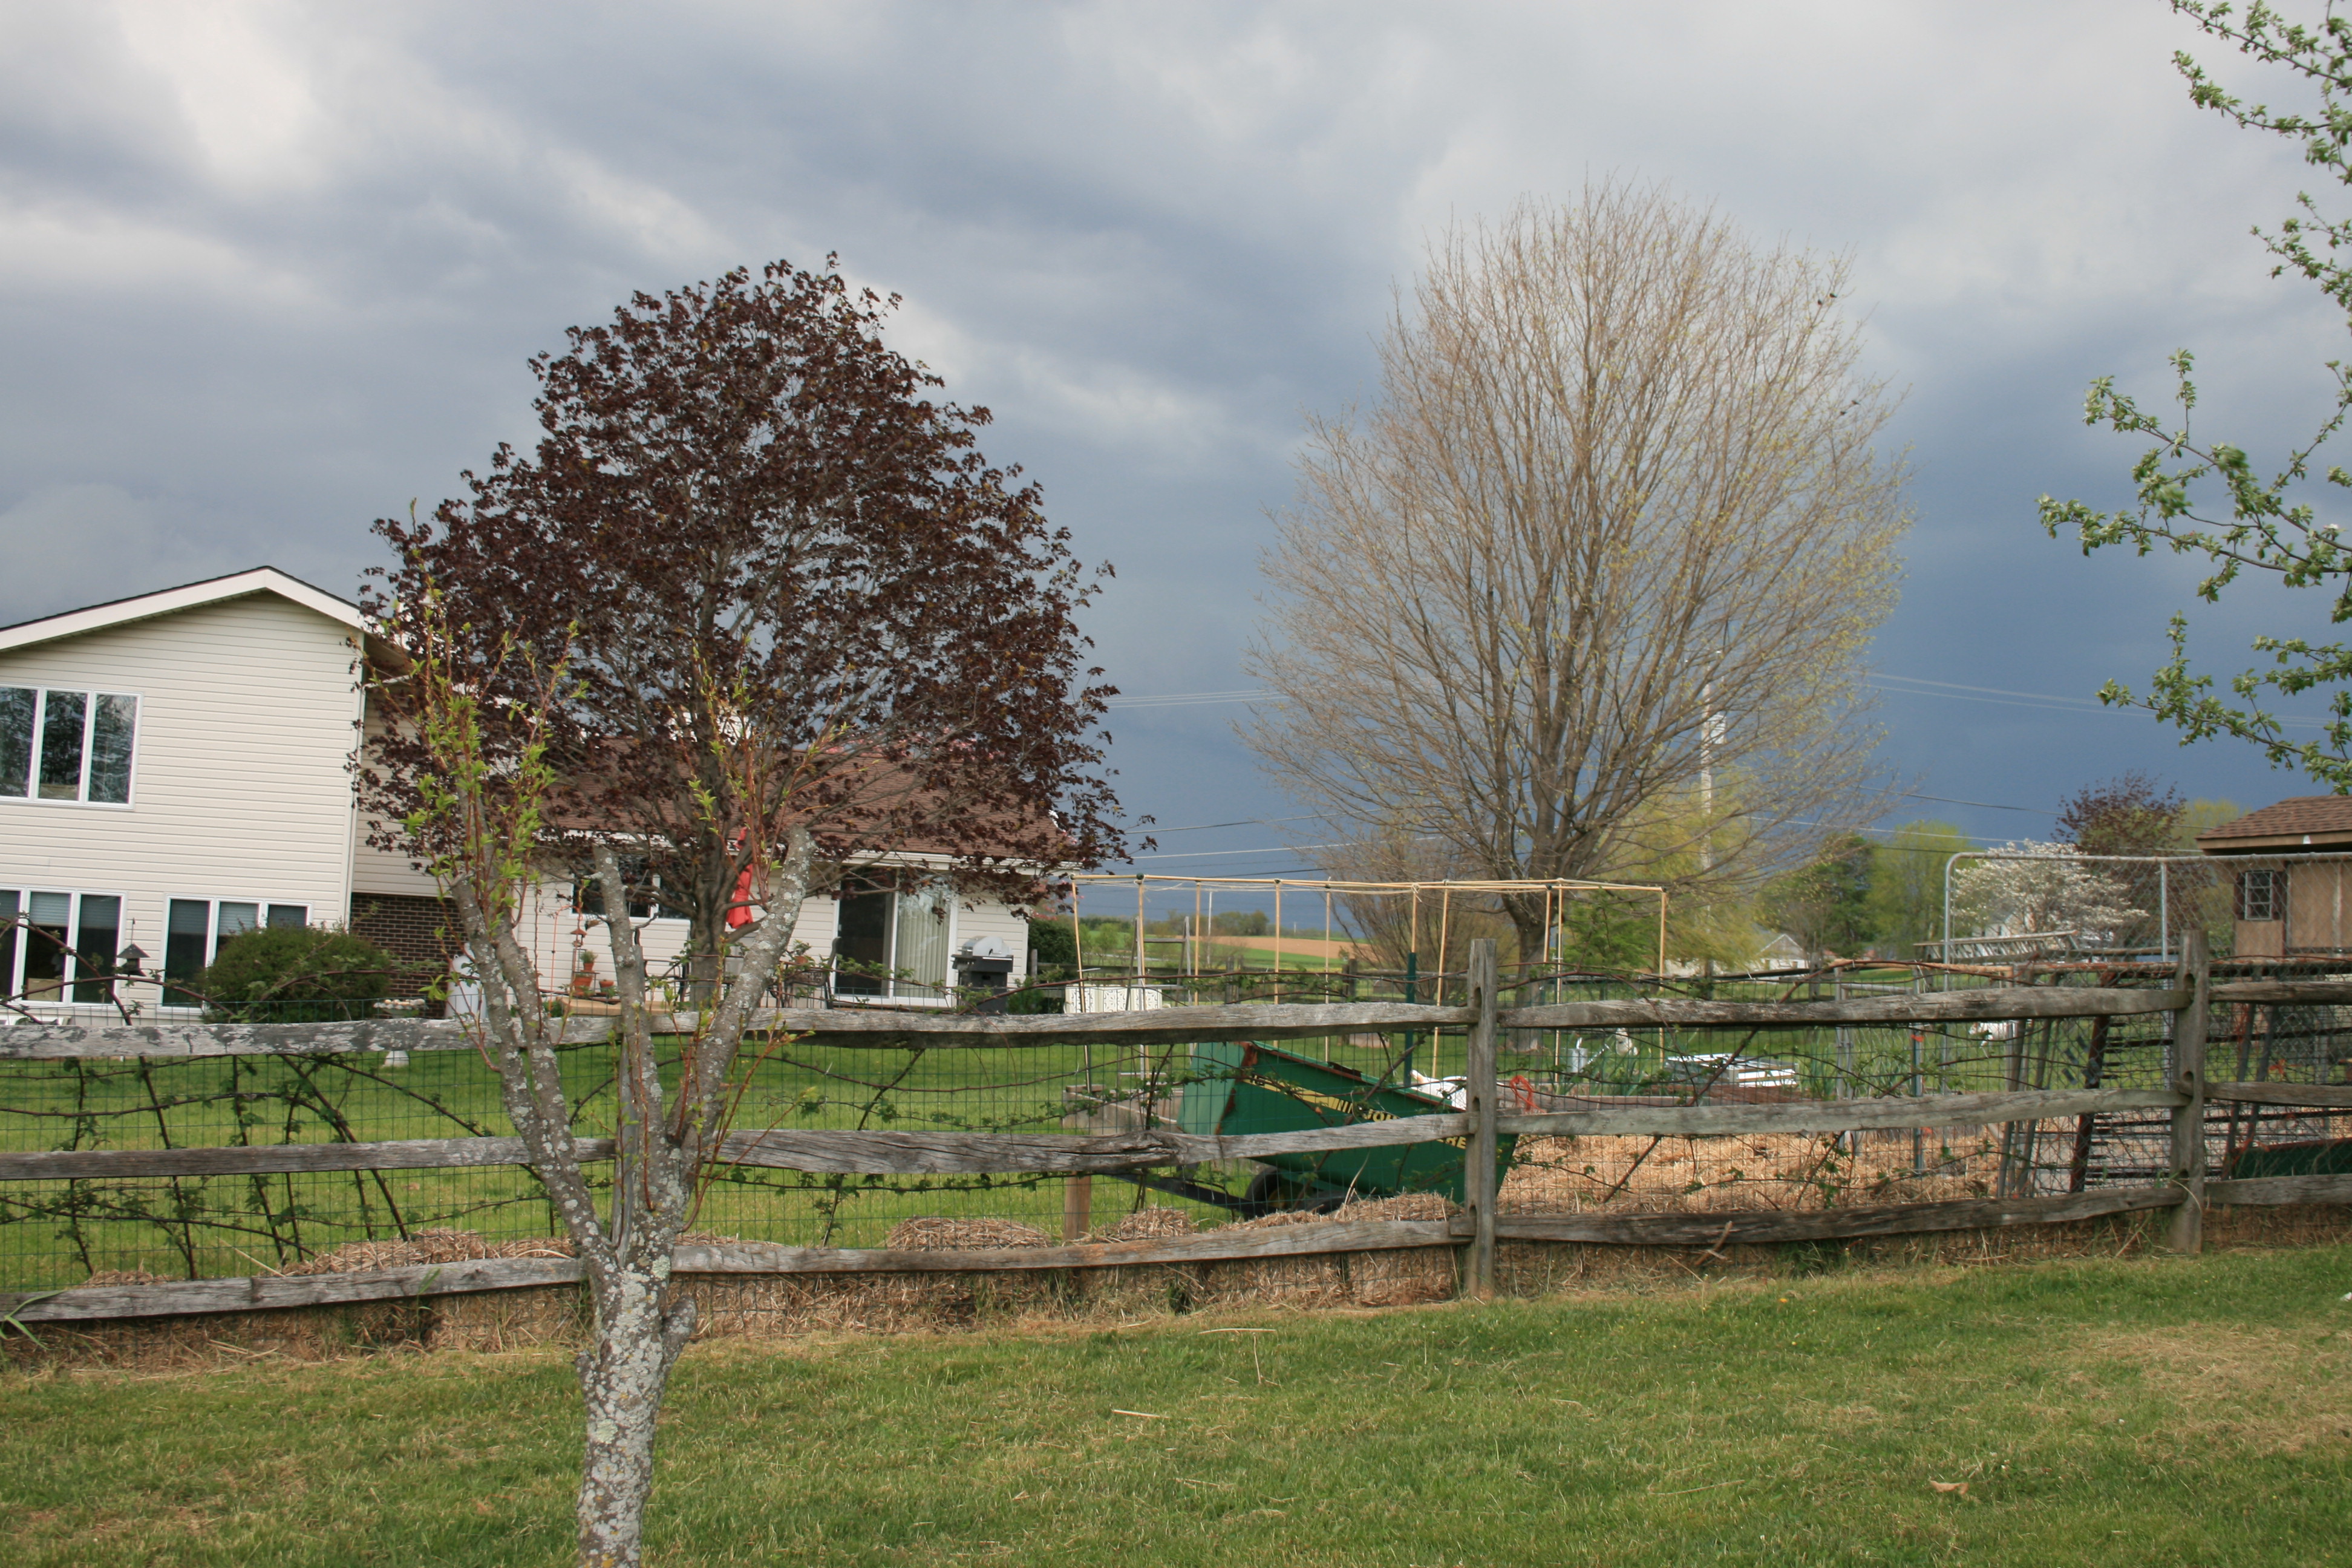
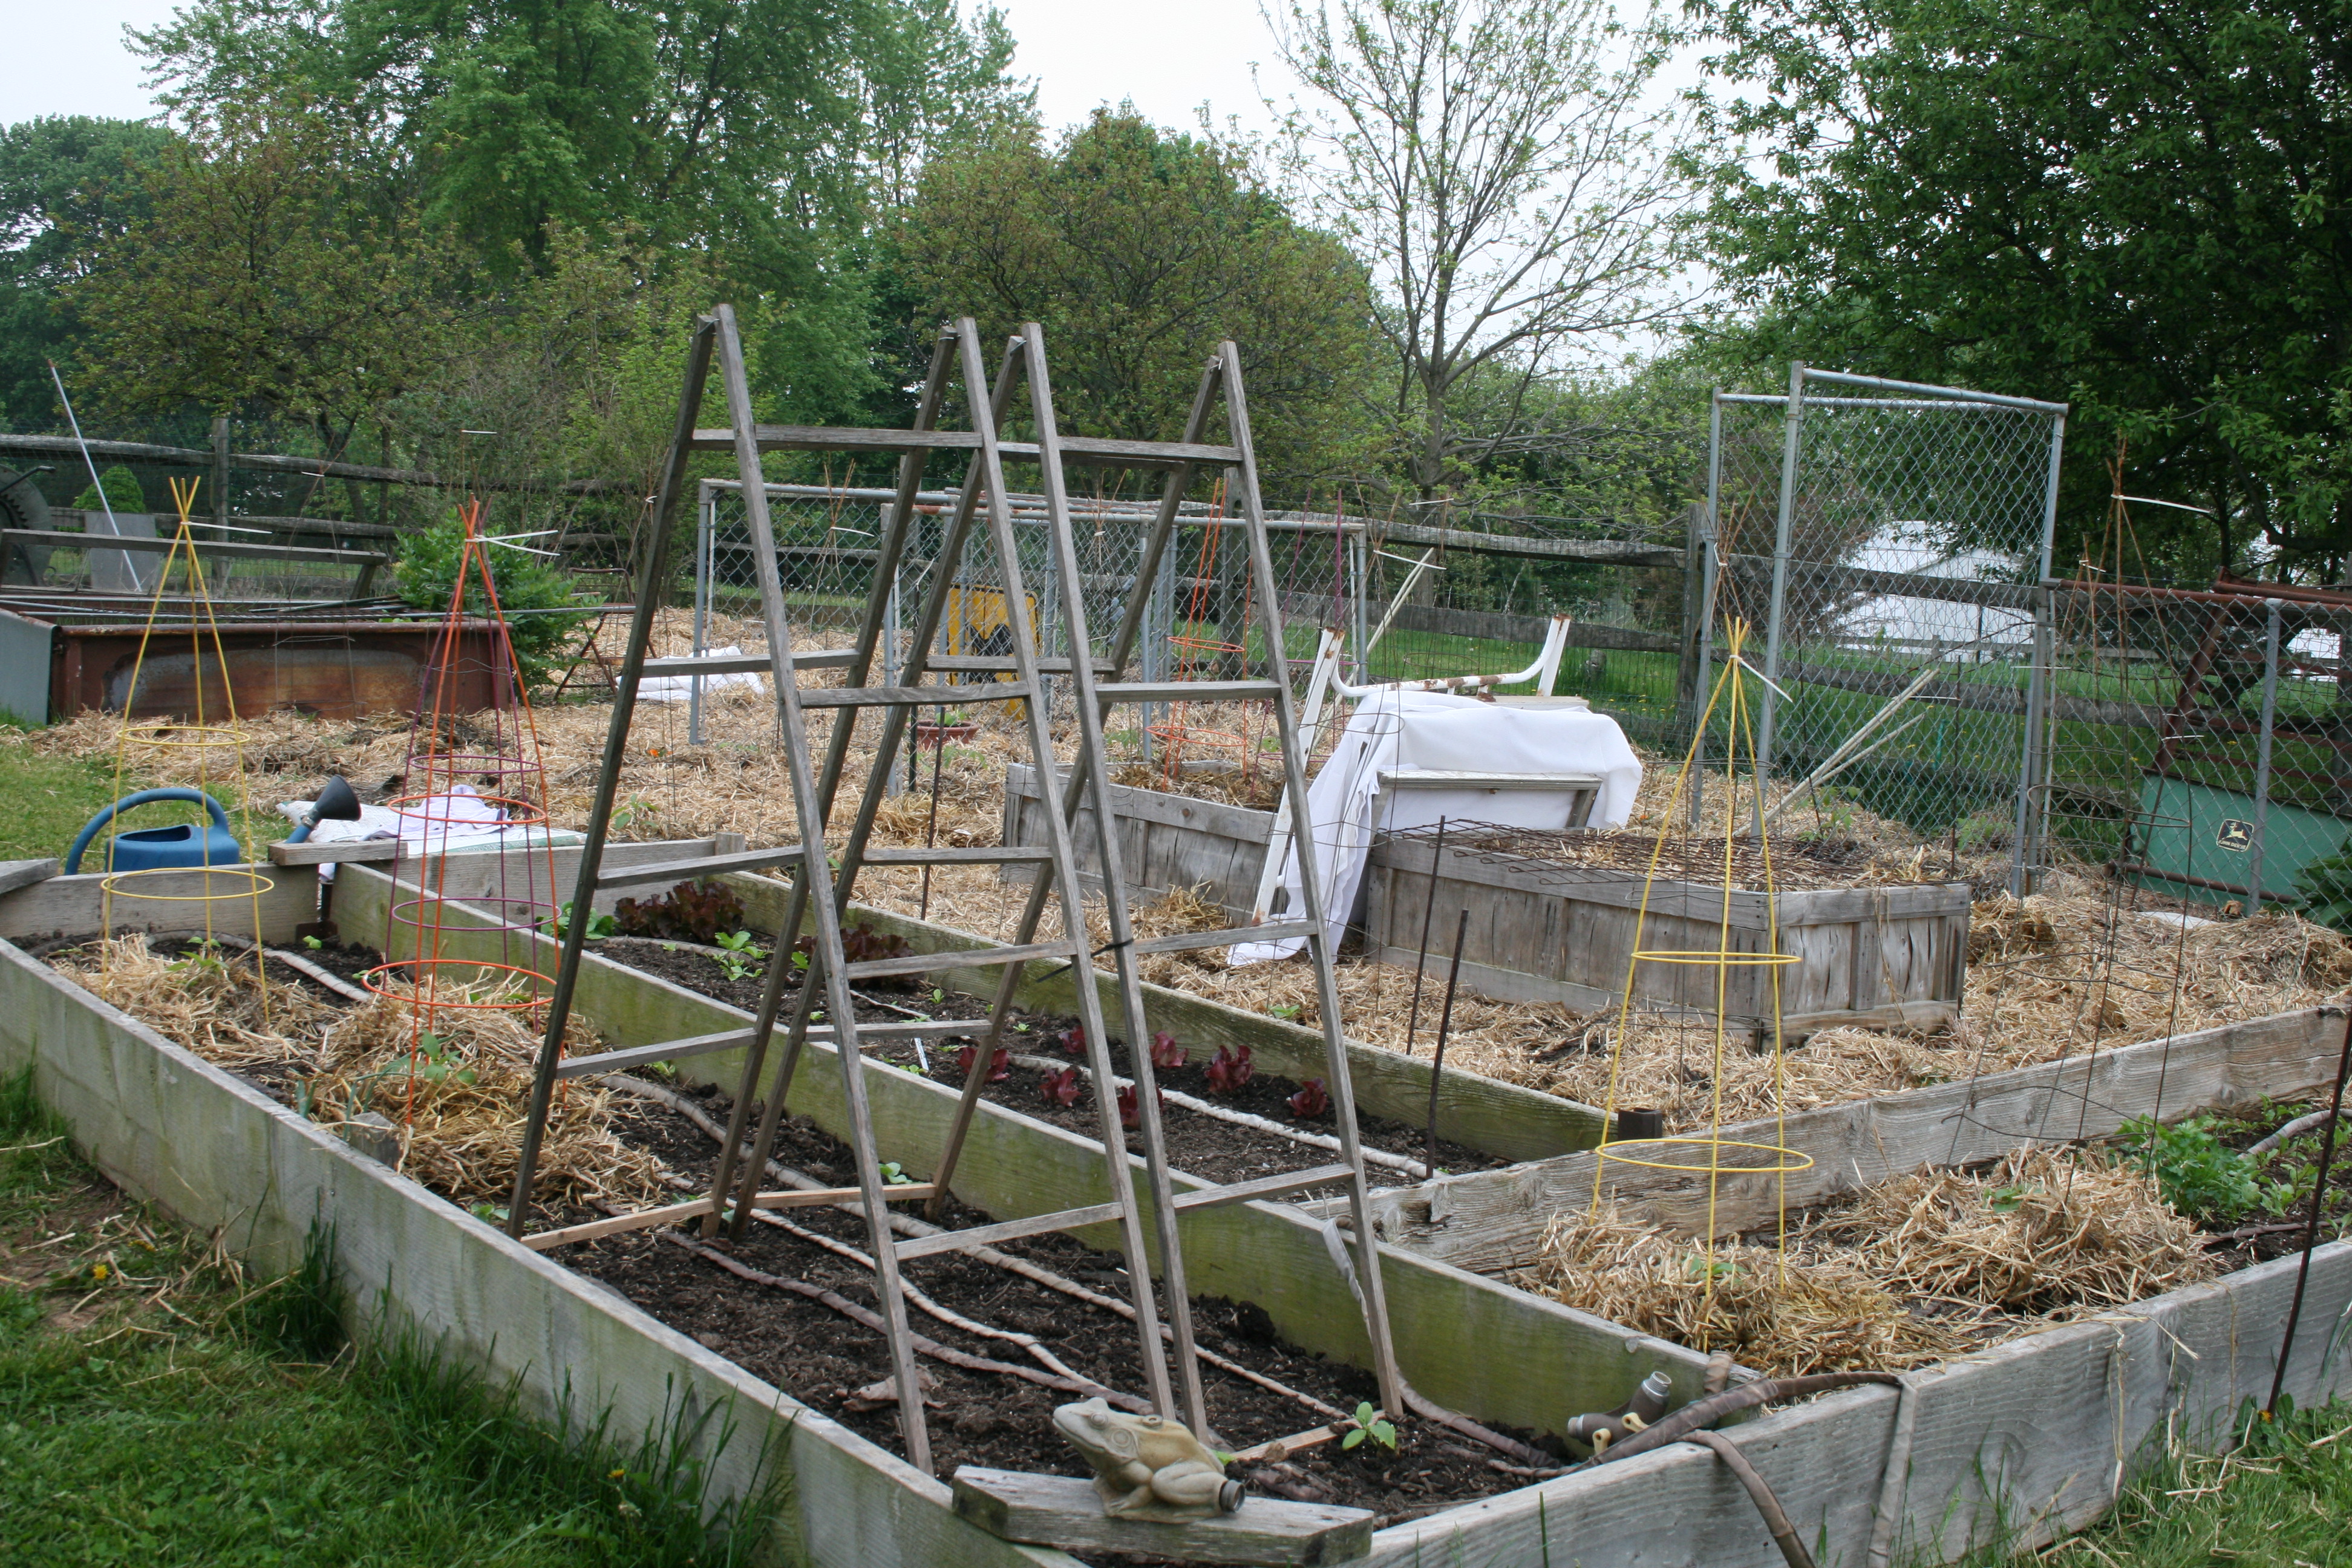
Start by figuring out what you want to plant, how many plants you want to put in (based on how large your garden space is) and what works in your planting zone.

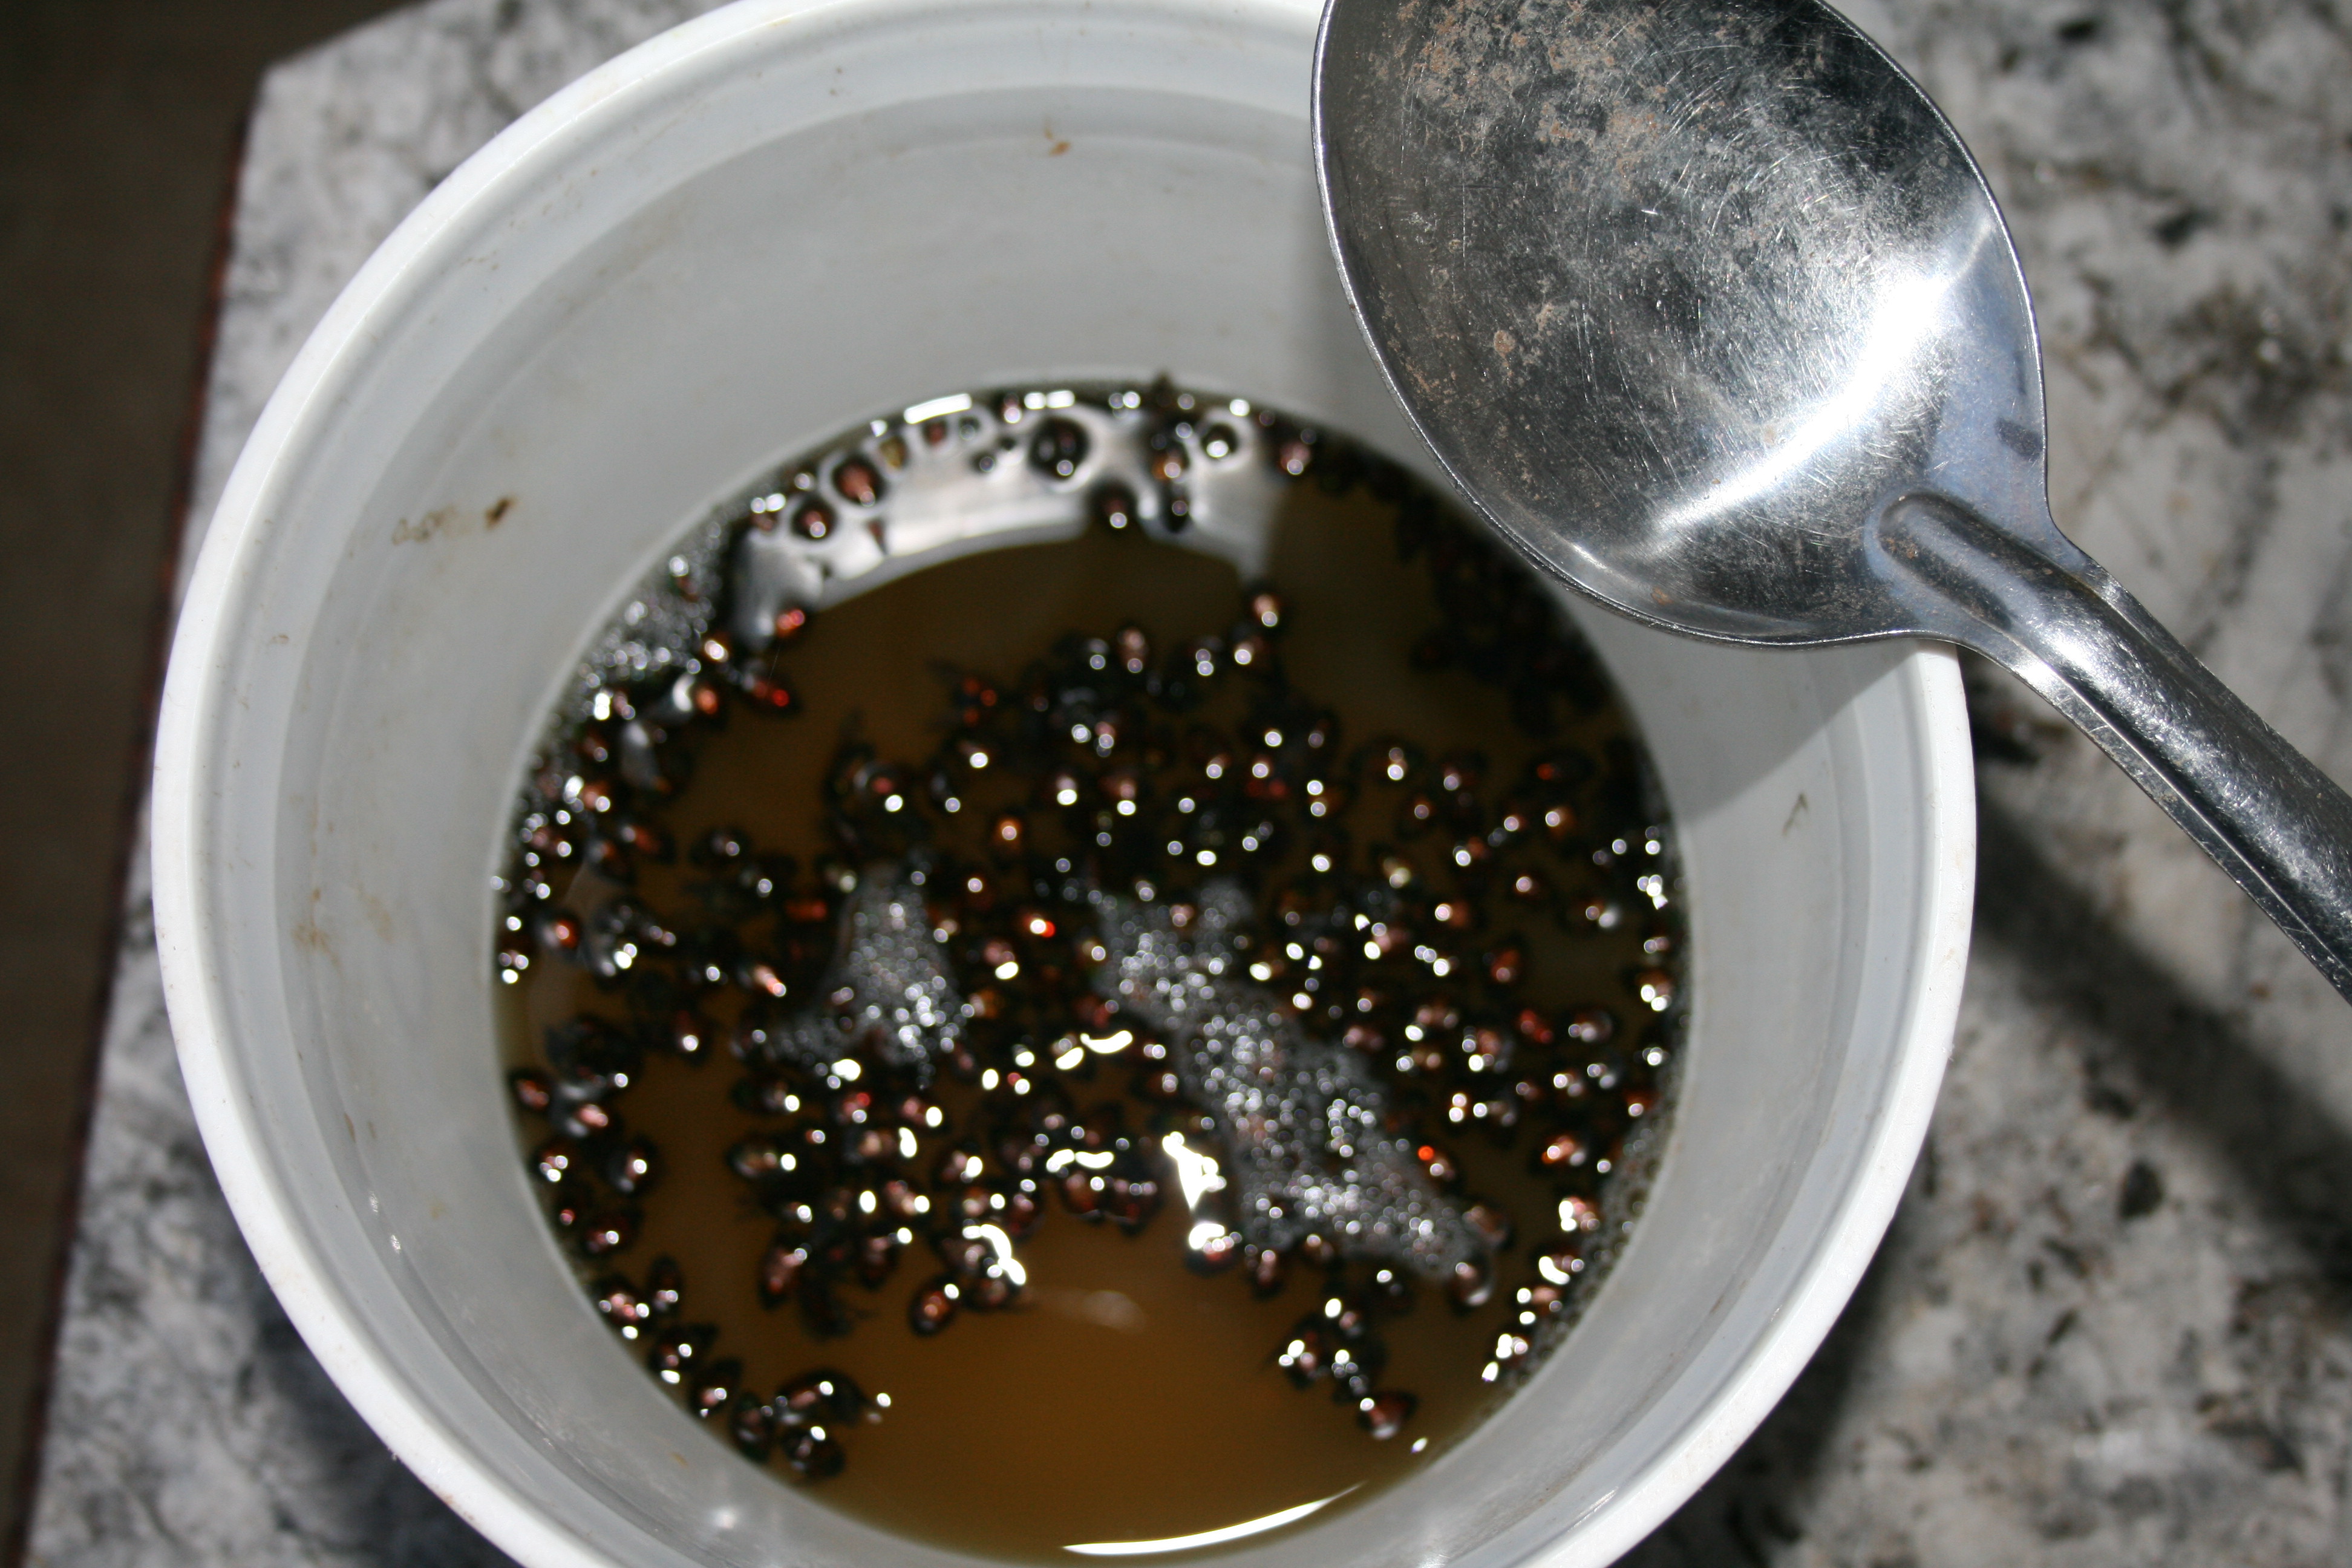
If you just want to get out there and get started…here are two staples in my garden that are easy to grow and don’t have many bugs that “bug” them.

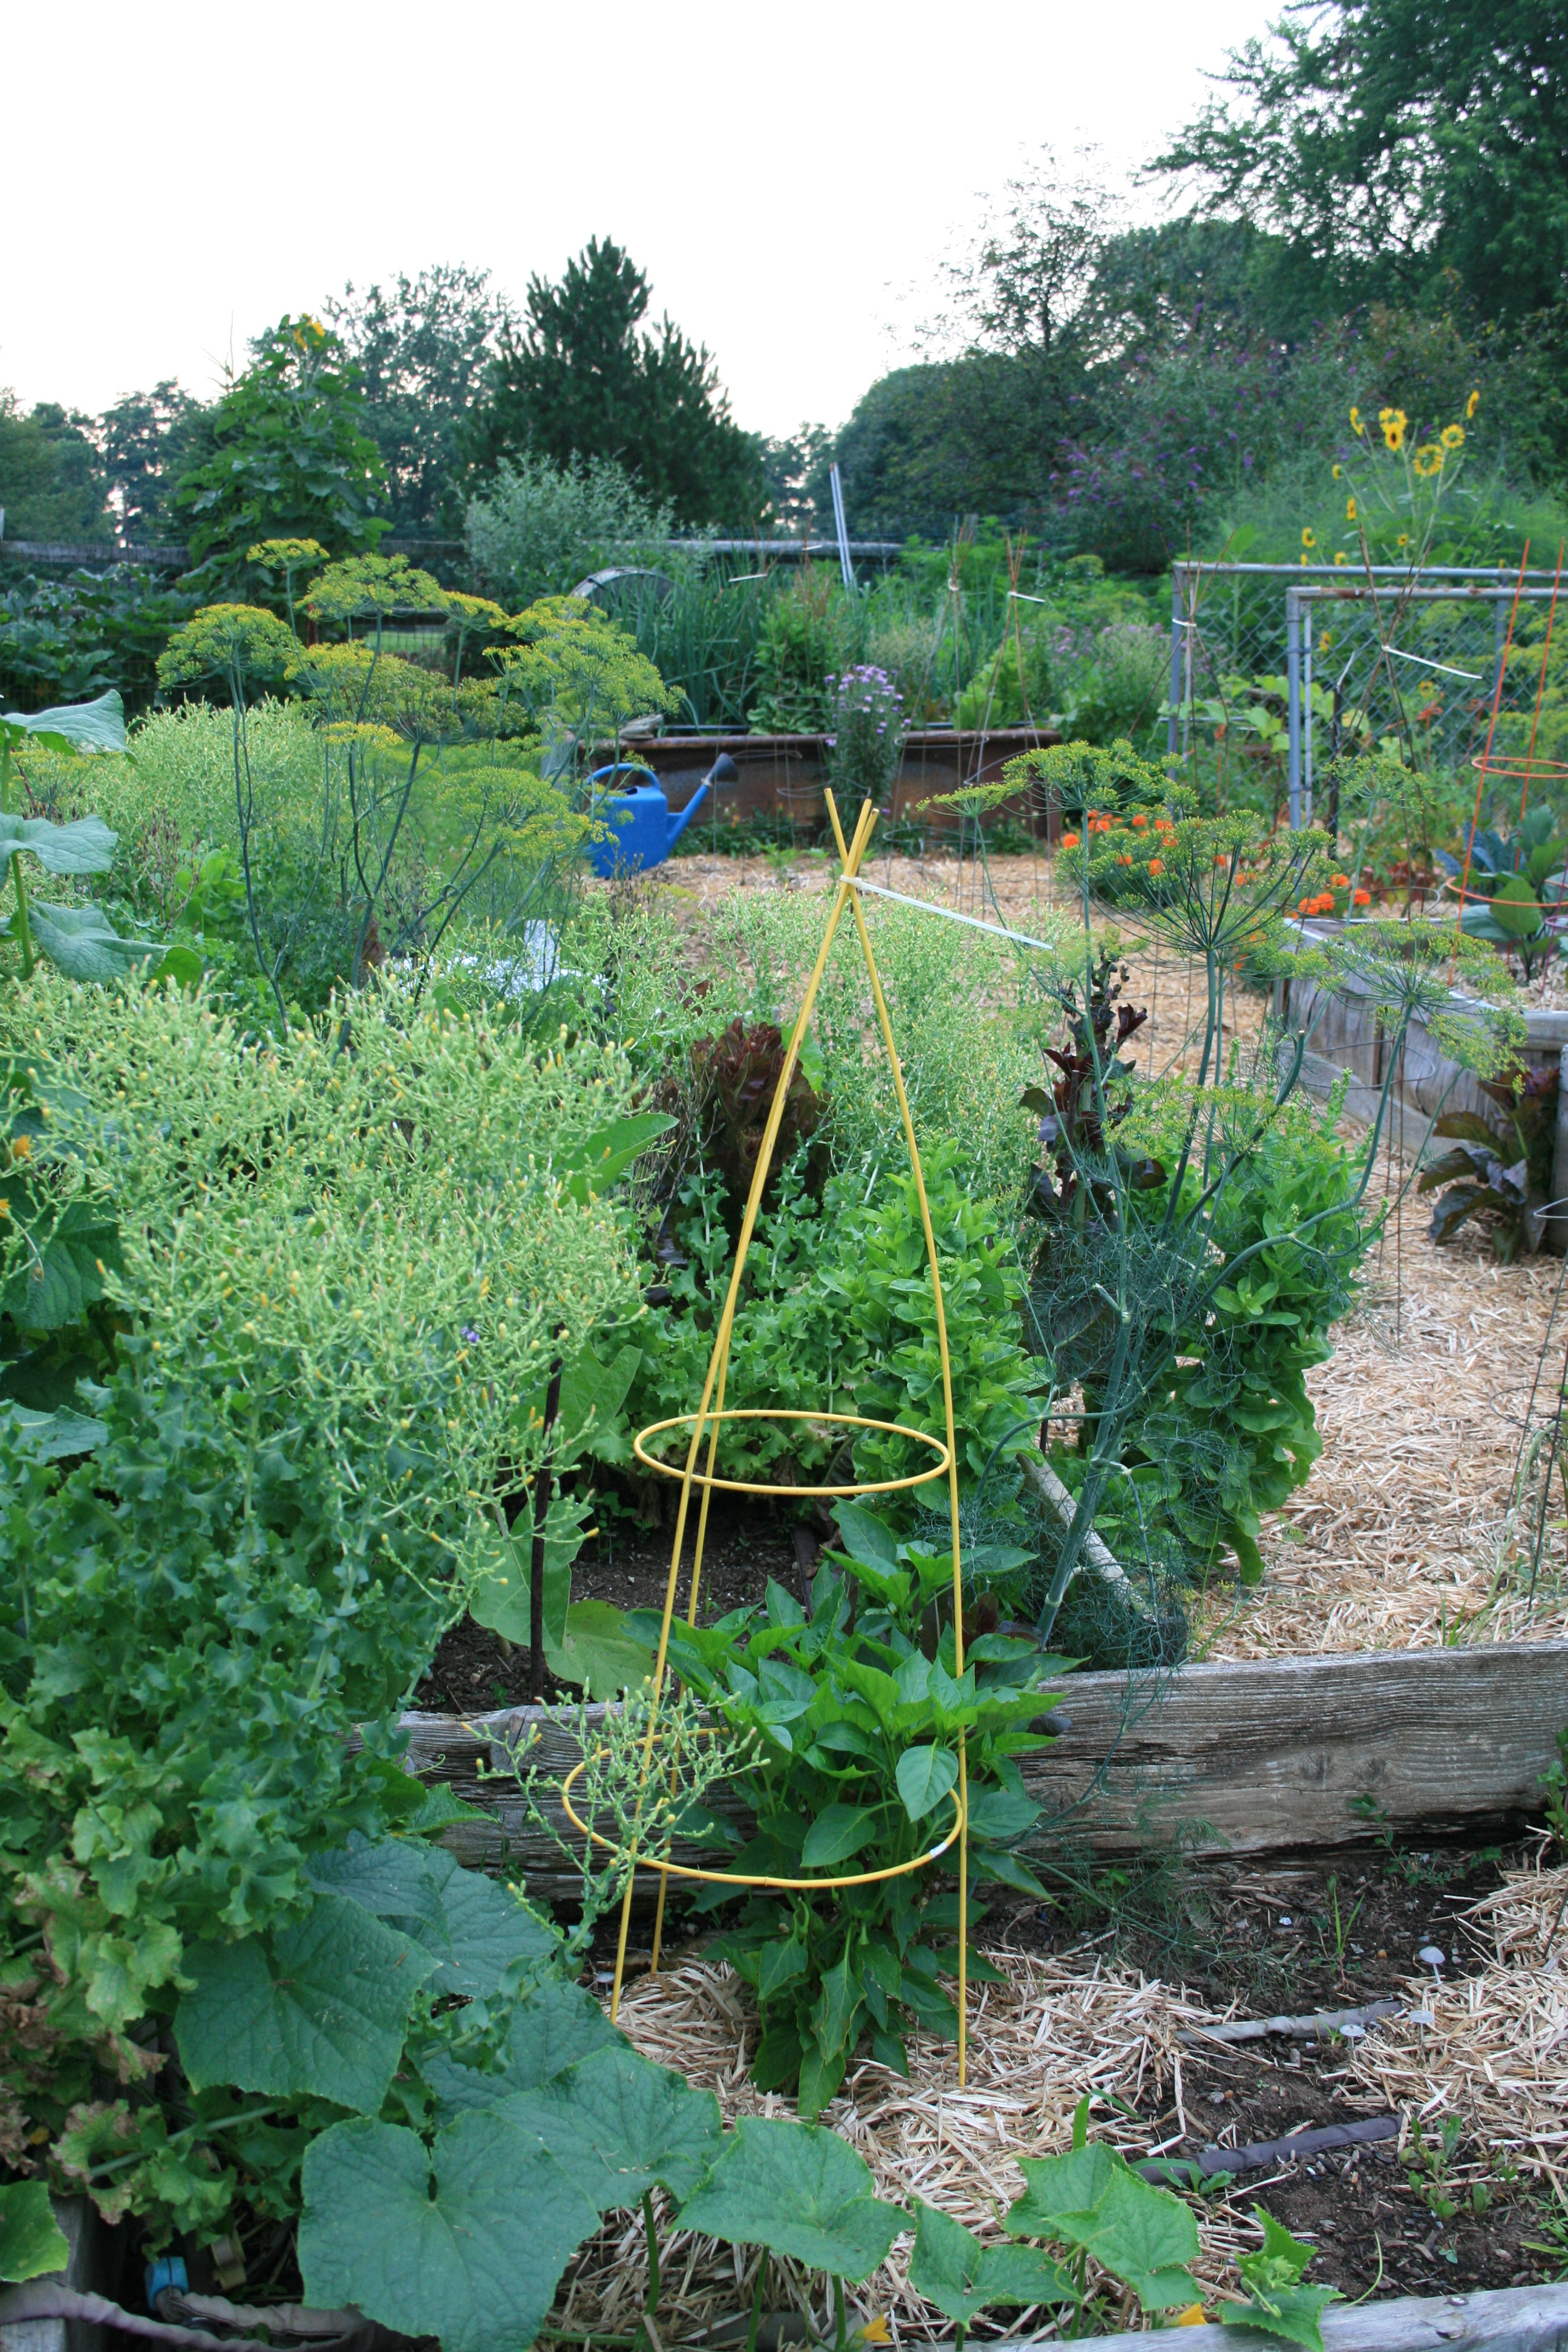
I always have tomatoes – they’re a great vegetable to grow in a pot (if you don’t have enough room to garden or your dirt’s not ready yet) or a plot.  If you’re just starting, try to buy compact or “bush” plants.  They’re easier to handle and don’t grow nearly as tall as indeterminate varieties like Brandywine or Early Girl.

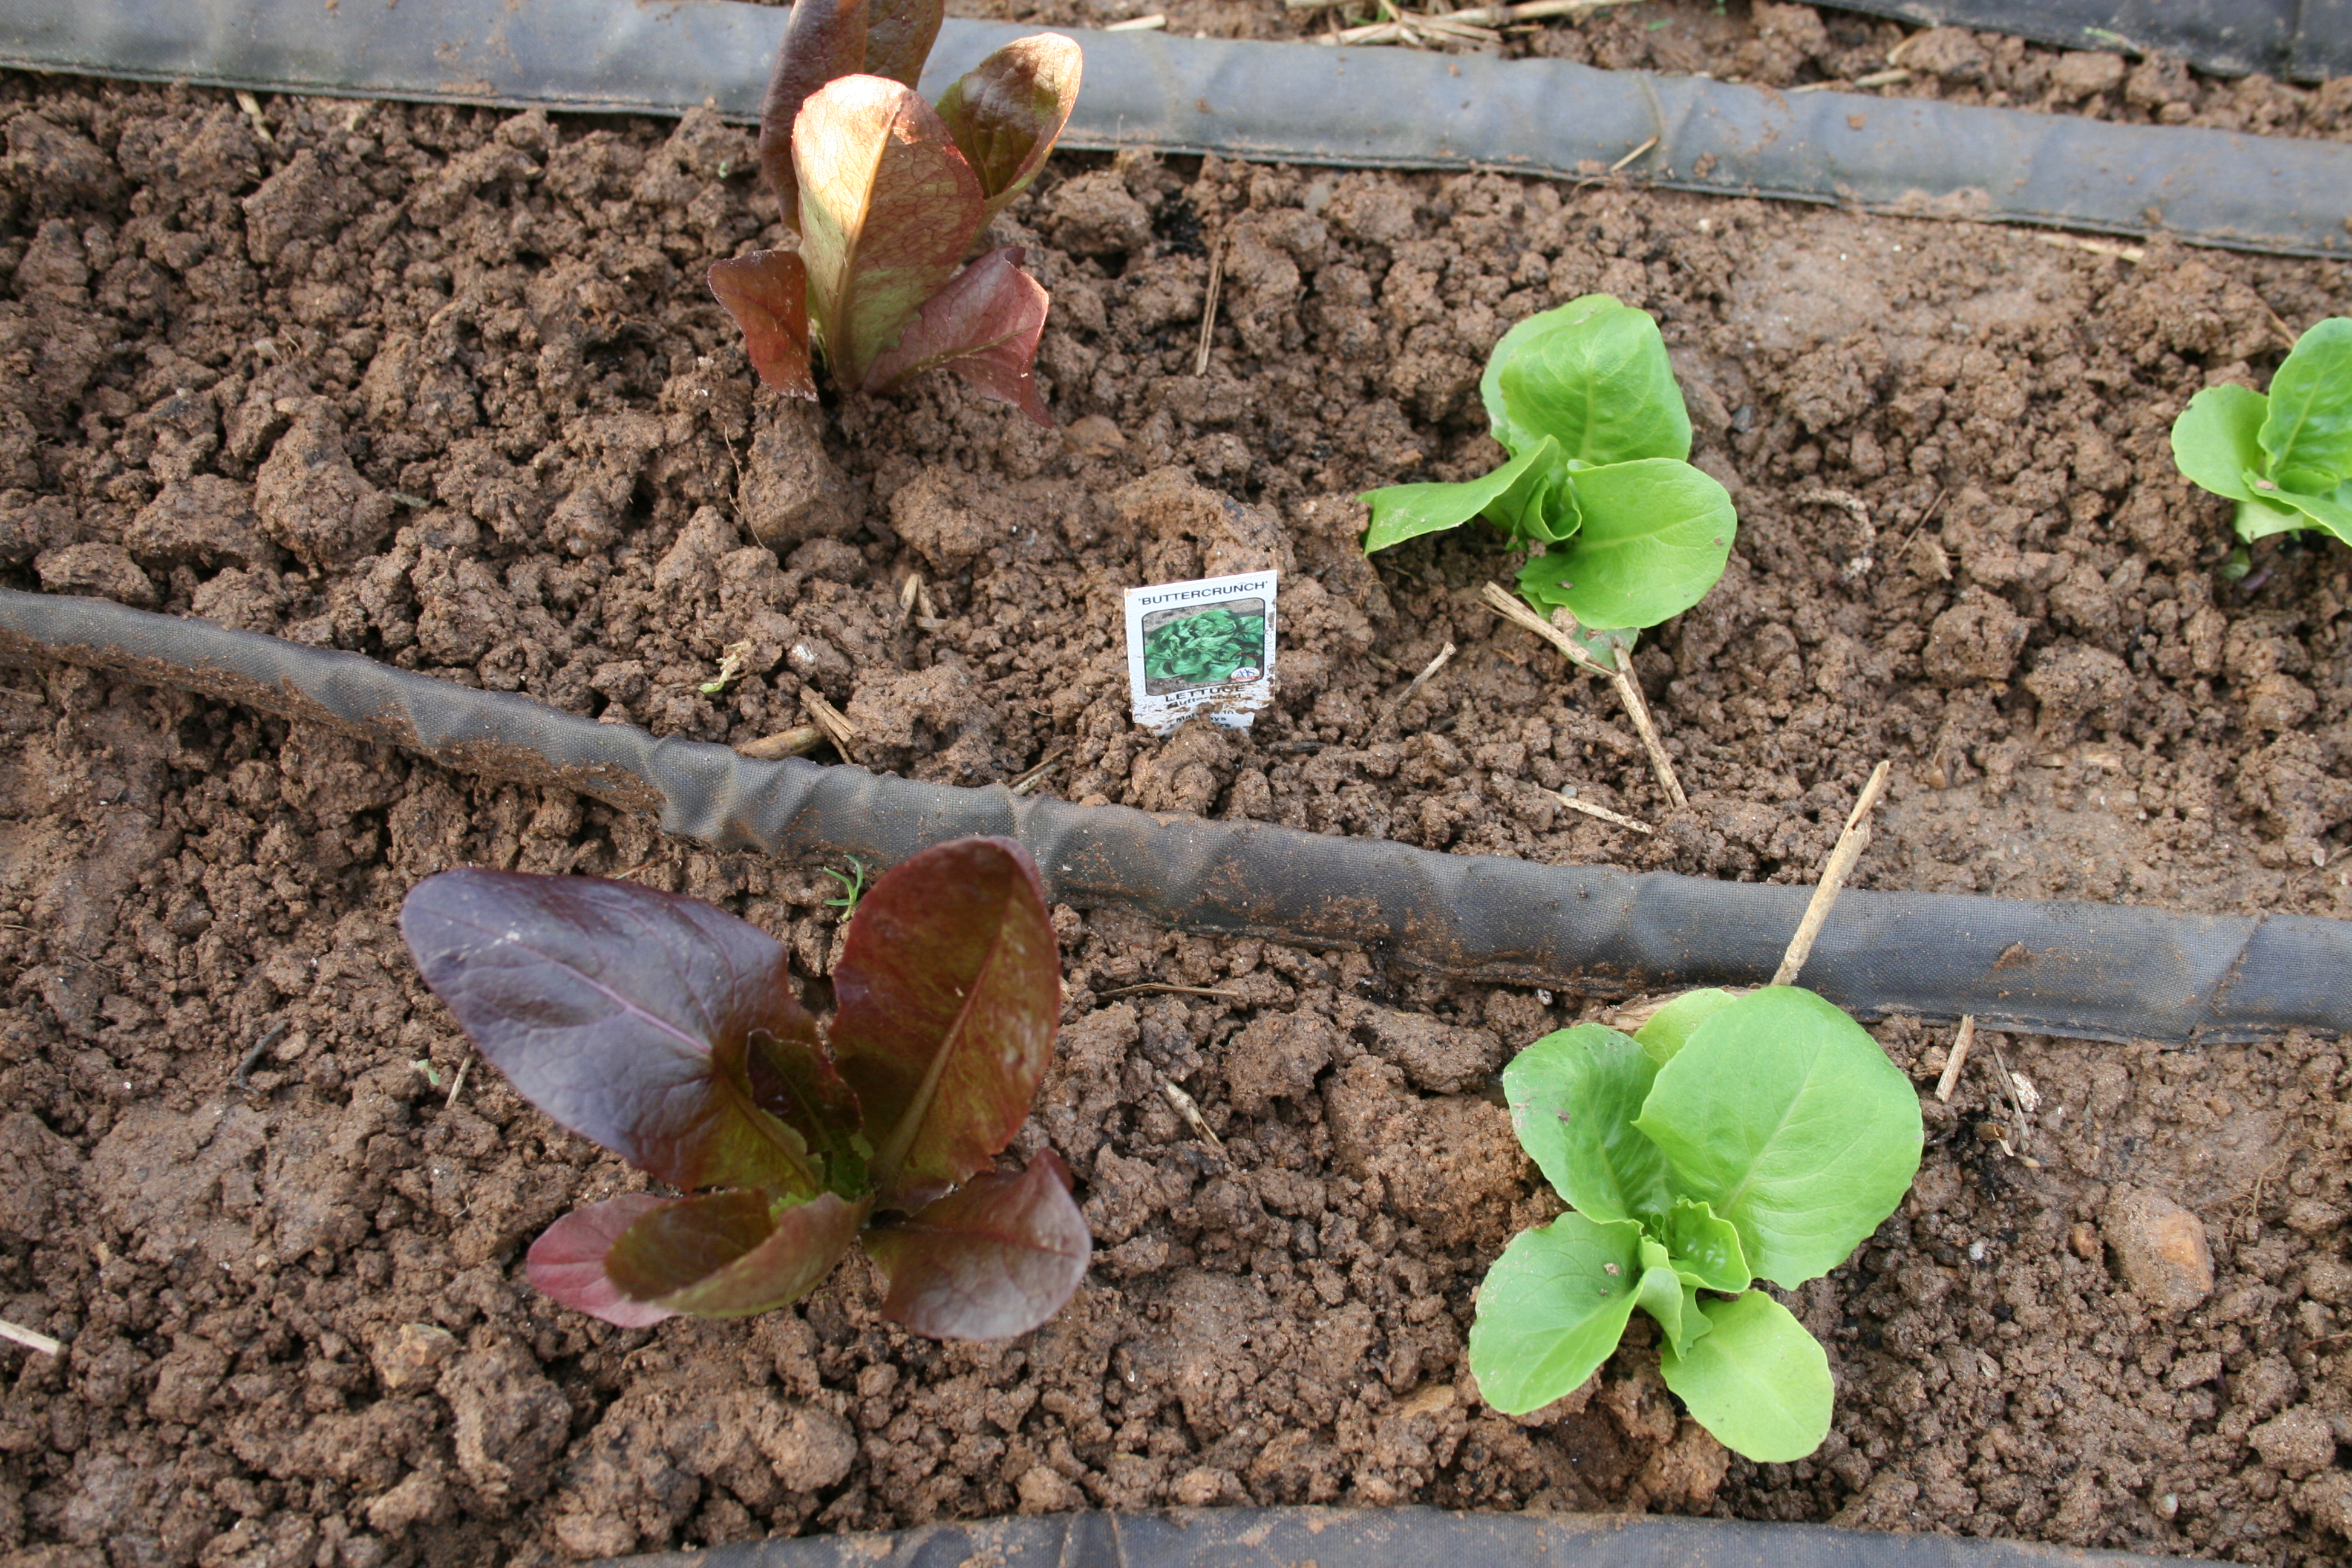
I always plant lettuce, too.  A bag of spring greens  in my grocery store costs $5.00 for 12 ounces.  Fifty two weeks of buying greens comes to just under $300.  You can raise enough for you and your significant other for less than $3.00 a year.  

You can buy seed and follow the directions on the packet to plant it.  Or your can buy small starts or plants and toss them in your dirt (in a pot or a plot).  All lettuce needs is dirt, water and a little sun.

And when it gets a bit too warm for lettuce and it starts to bolt (get tall and taste bitter), if you let it go to seed, you can plant a new crop in the fall for free!

One tip from someone whose motto is, “If it’s worth doing, it’s worth overdoing.” Start small and only plant those crops you want.

Since it’s already planting season just about everywhere in the United States, I want you to gather up your courage, grab your car keys and head out to a nursery near you to buy your first plants (time enough for seed starting next spring).

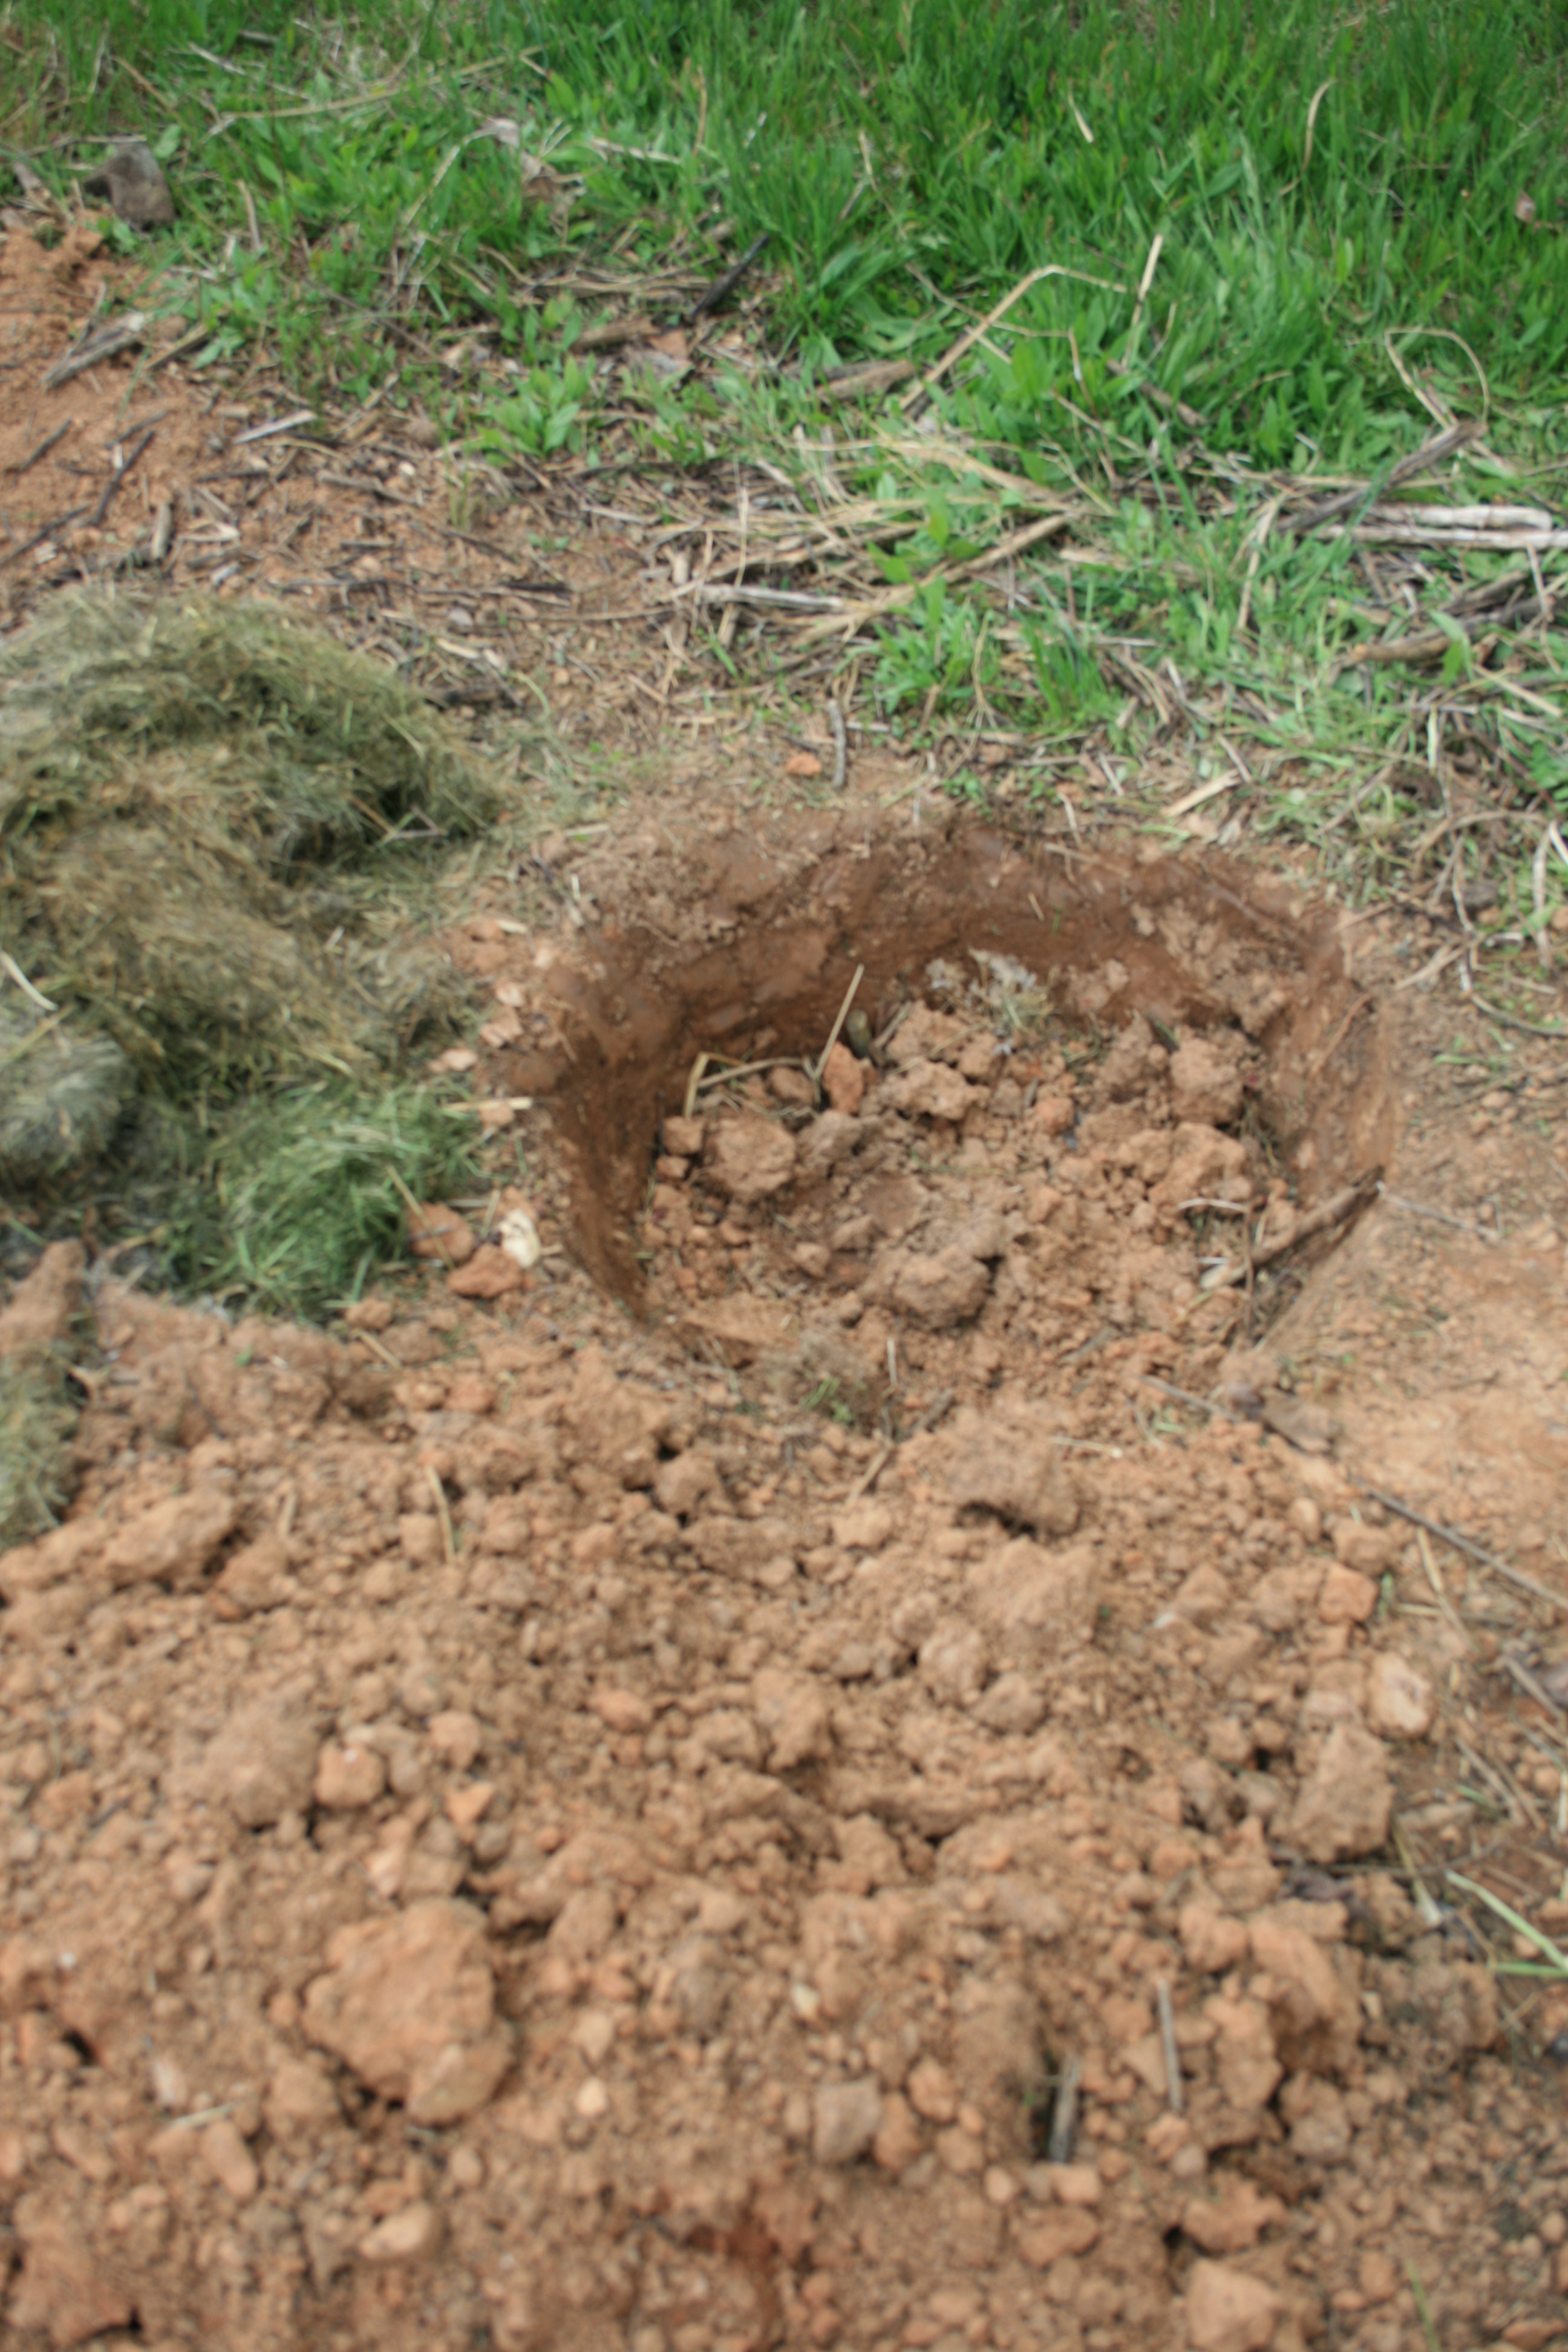
Dig a hole, water your transplants in and sit back and watch mother nature take over.  Need more help? Download my e-book. Free for Prime members and only $2.99….for everyone else.