Tag Archives: organic gardening

Grow So Easy Organic – Find Free Tools to Start Your Garden

Want to start organic gardening but don’t want to spend a lot of money?  You can and it’s pretty darned easy.  Unlike traditional gardening, if you go organic, there are a lot of things you will NEVER have to buy.

You do not have to buy any chemicals or herbicides.  You don’t have to have fancy sprayers or a rototiller – not even one of those small ones named after the bug that prays.

The short list of what you need is dirt, water, seeds and sun.  If you try organic gardening and don’t like it, you’ve probably only invested a few dollars and some time.

But if you do try it and you do like it, you probably already own just about everything you might need to get started.  What you don’t own, you can usually get, for free.

So, here’s my list of what you need to be an organic gardener:

  1. Dirt – free.
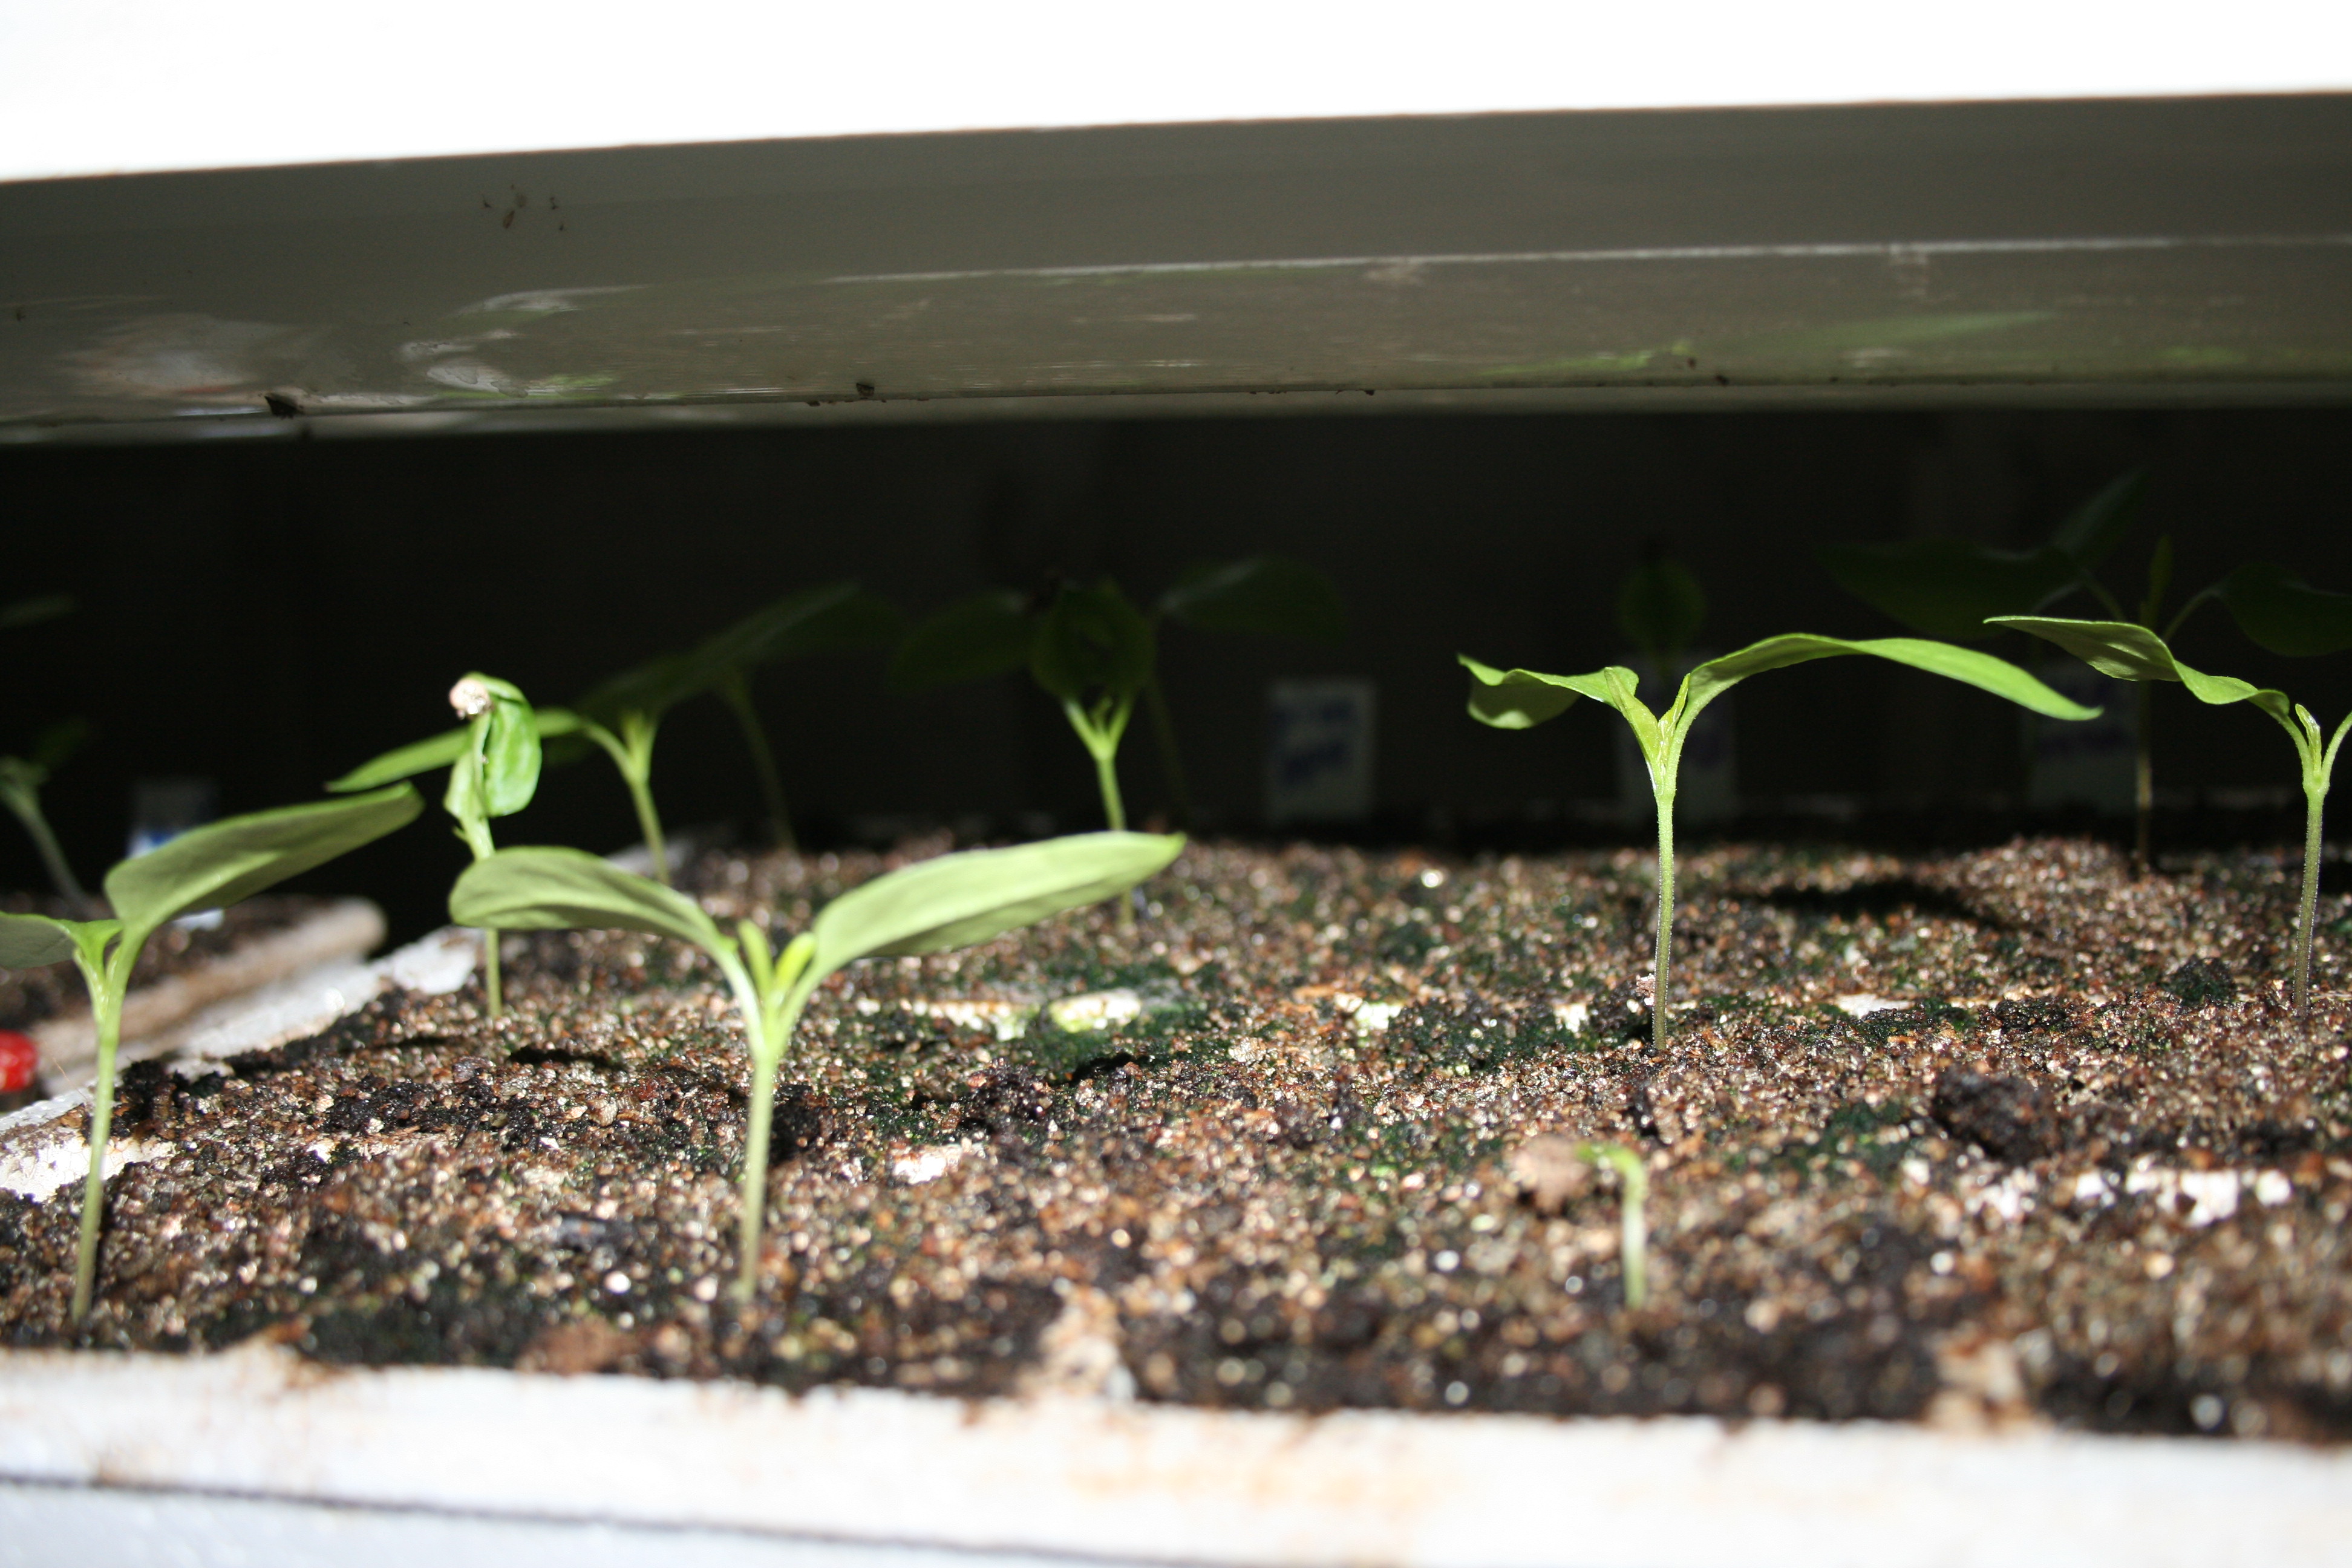
  2. Seeds – cheap to buy and even cheaper if you save some for next year’s garden.
  3. A big spoon or small shovel – something to dig holes with when transplanting.
  4. Newspapers – free if you ask your neighbors and co-workers for them.  You can use them for mulch and make transplant pots with it, too.
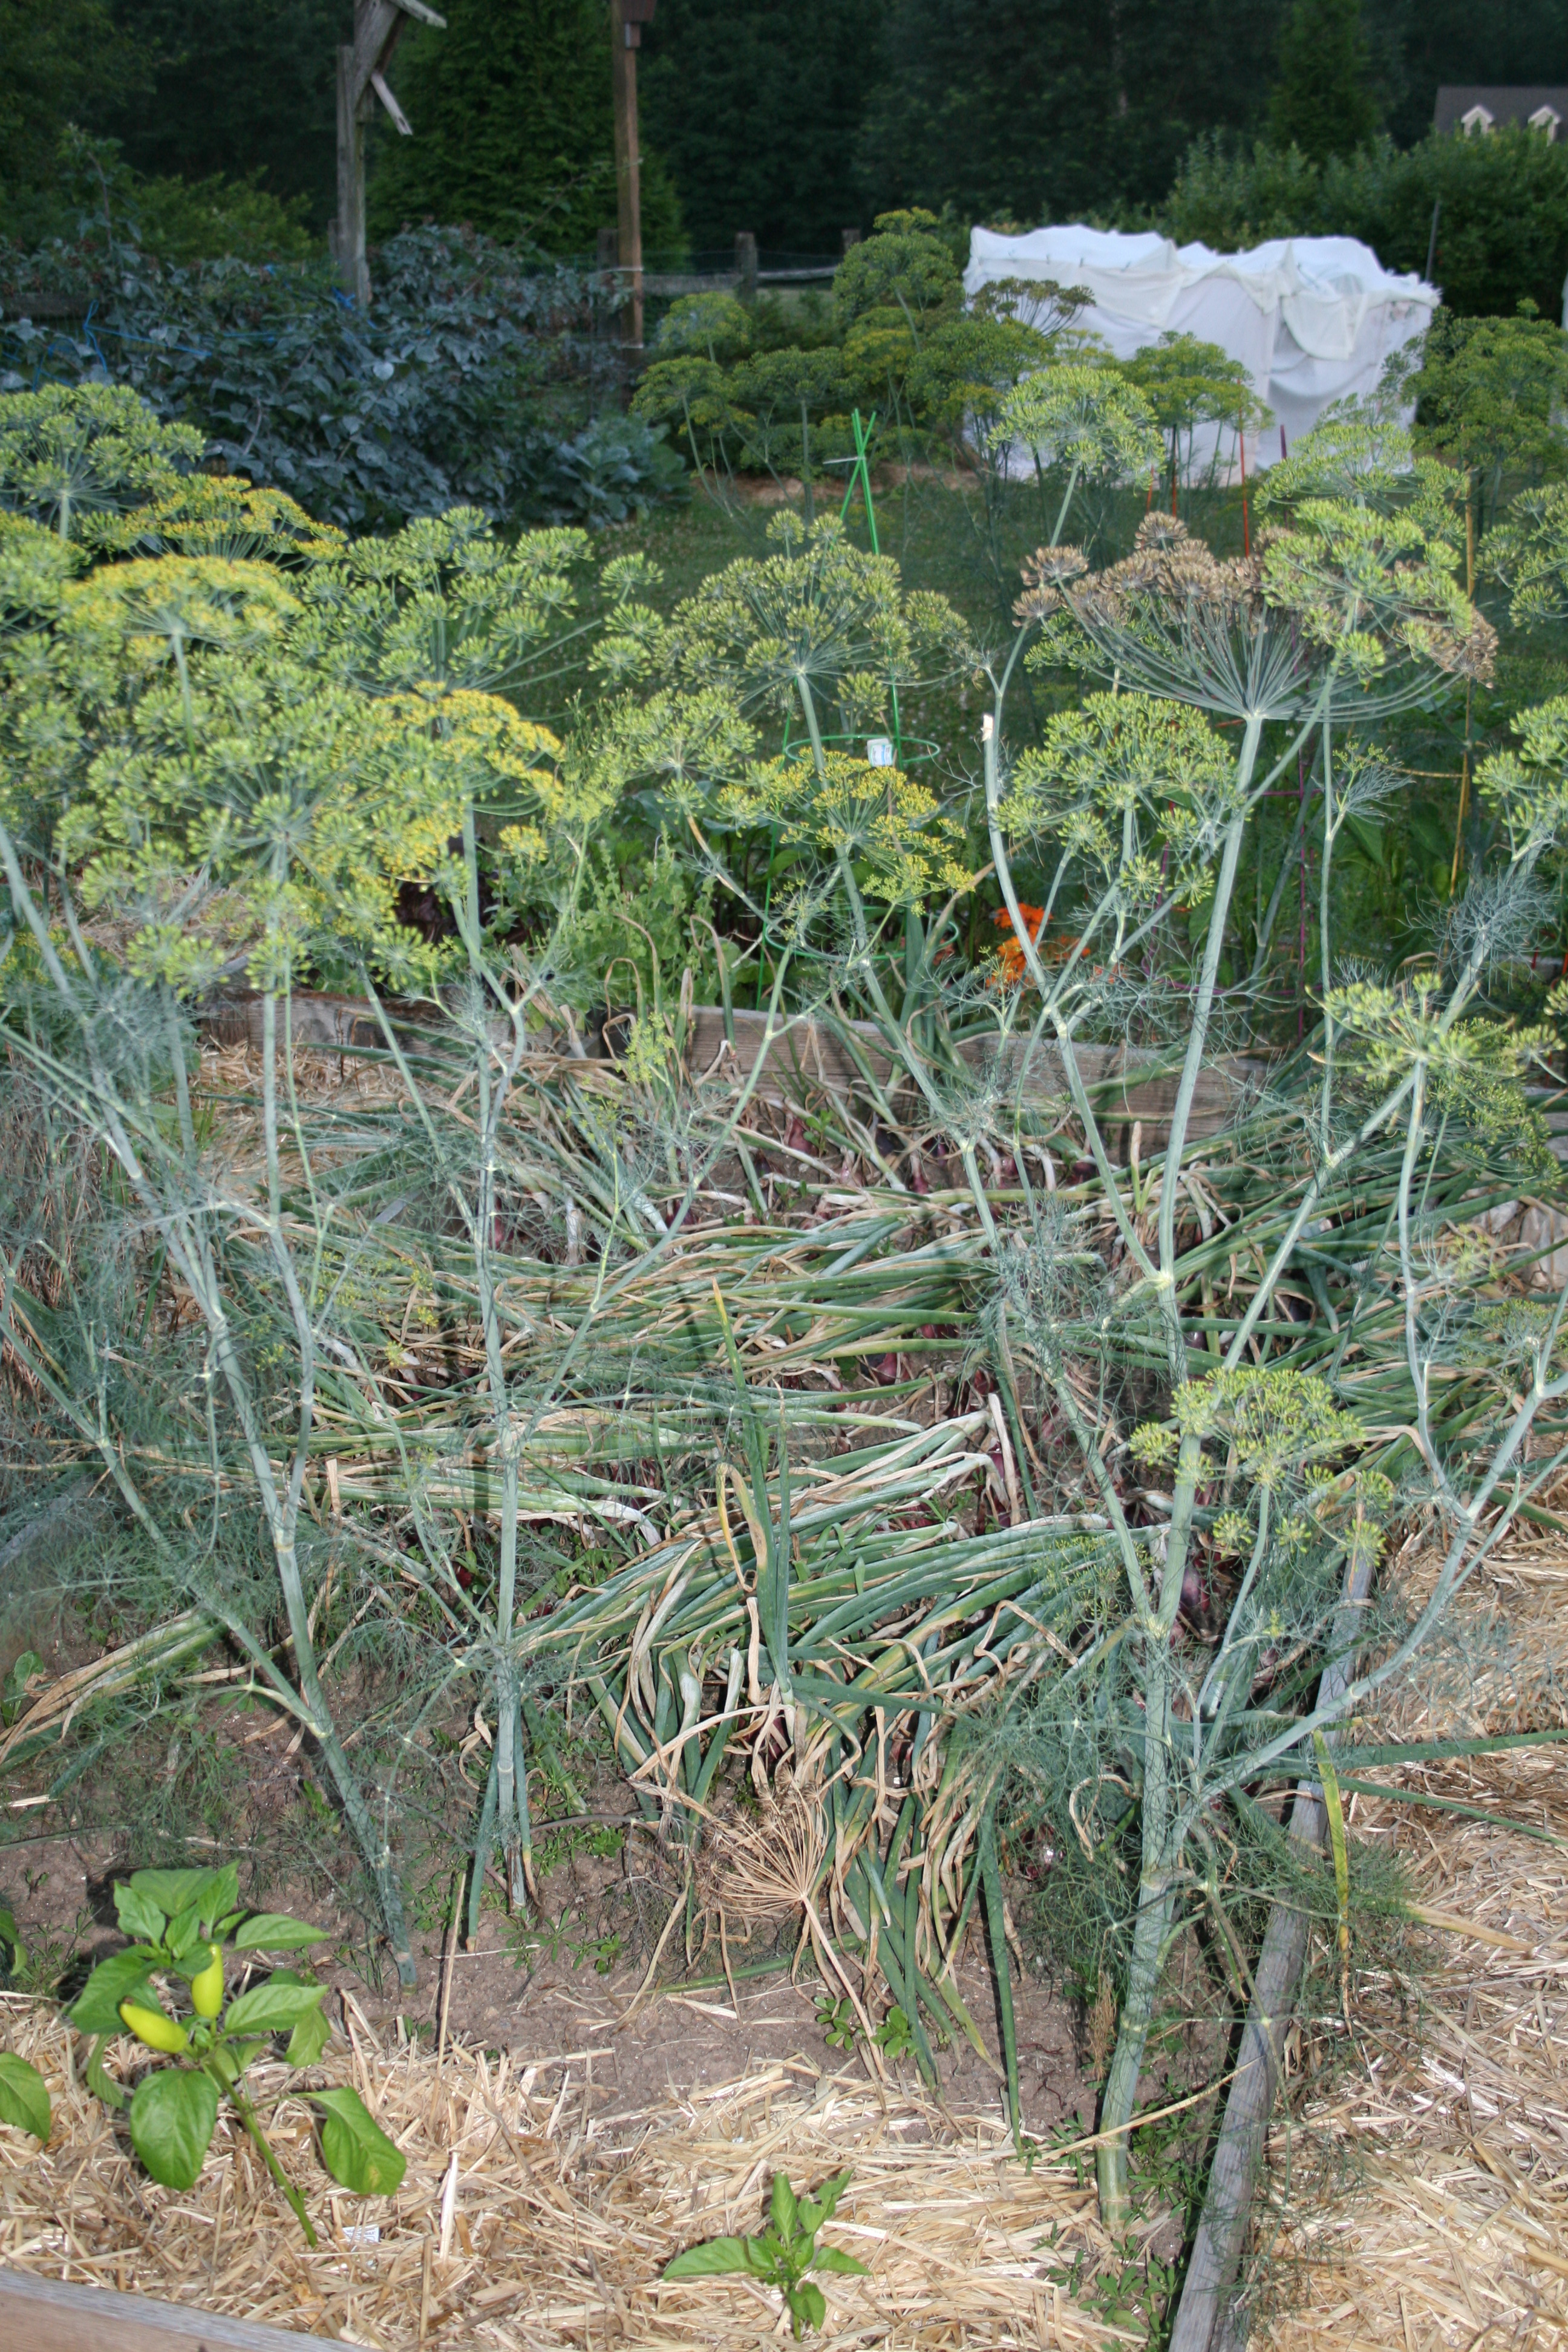
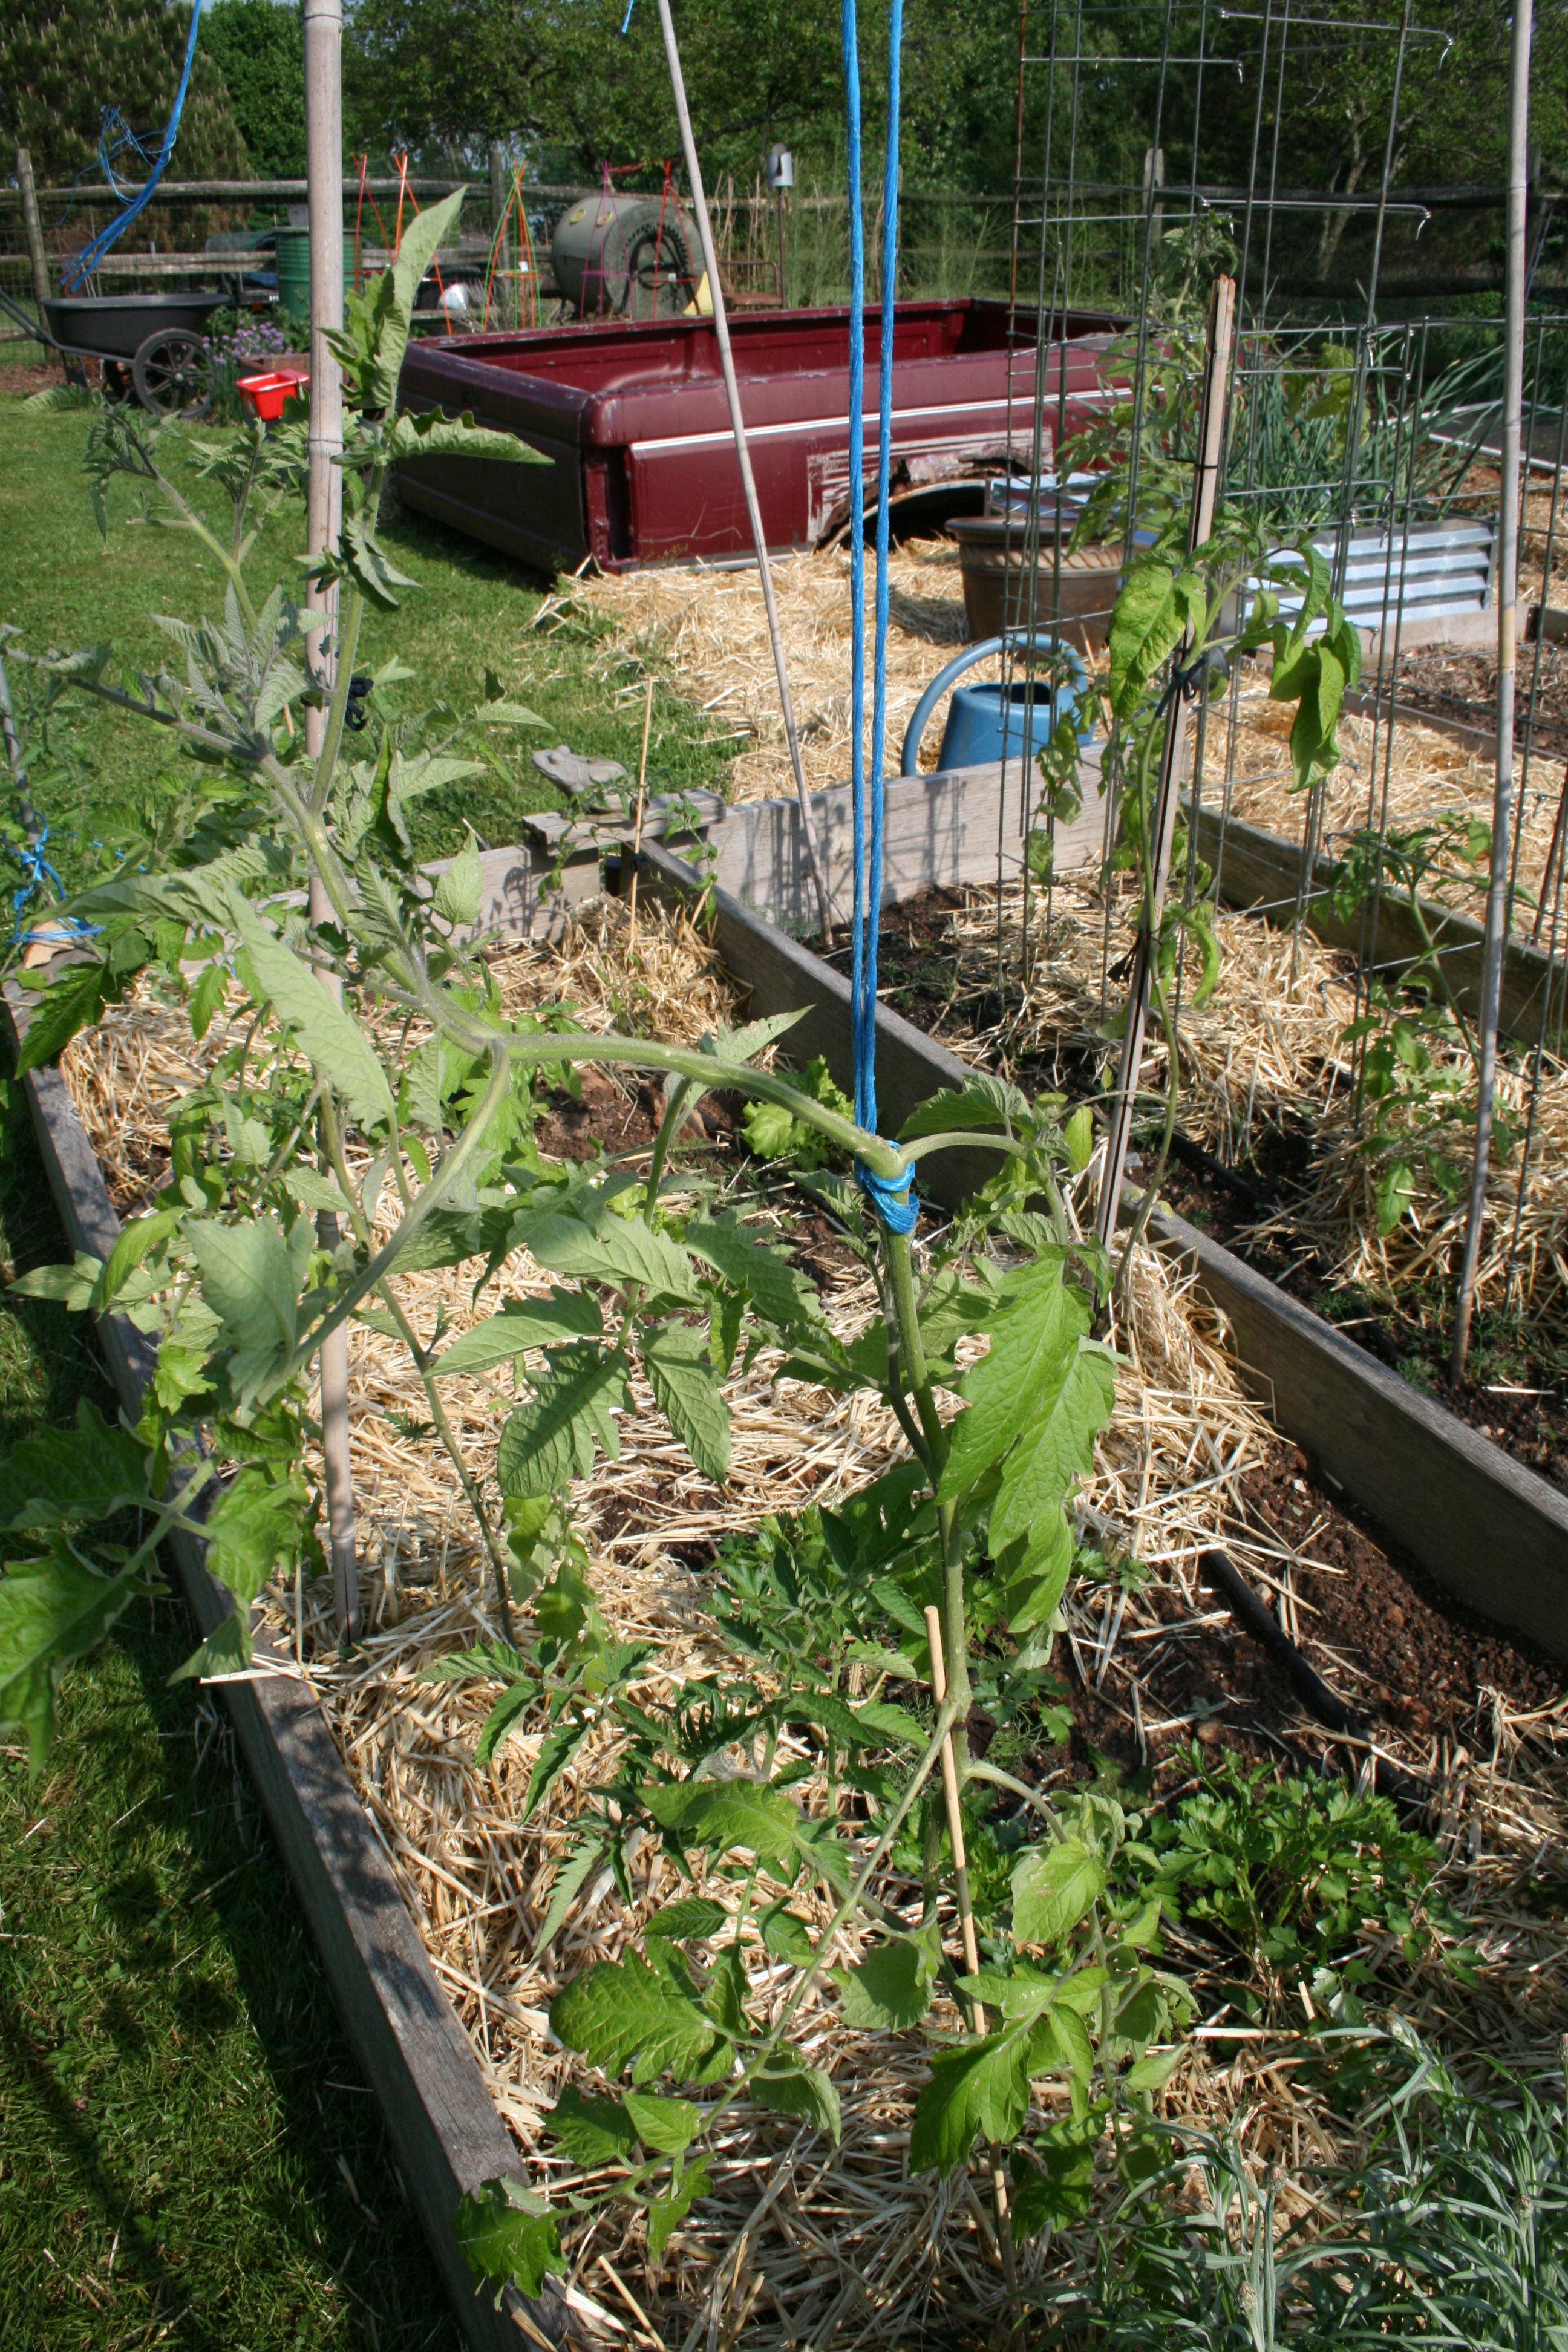
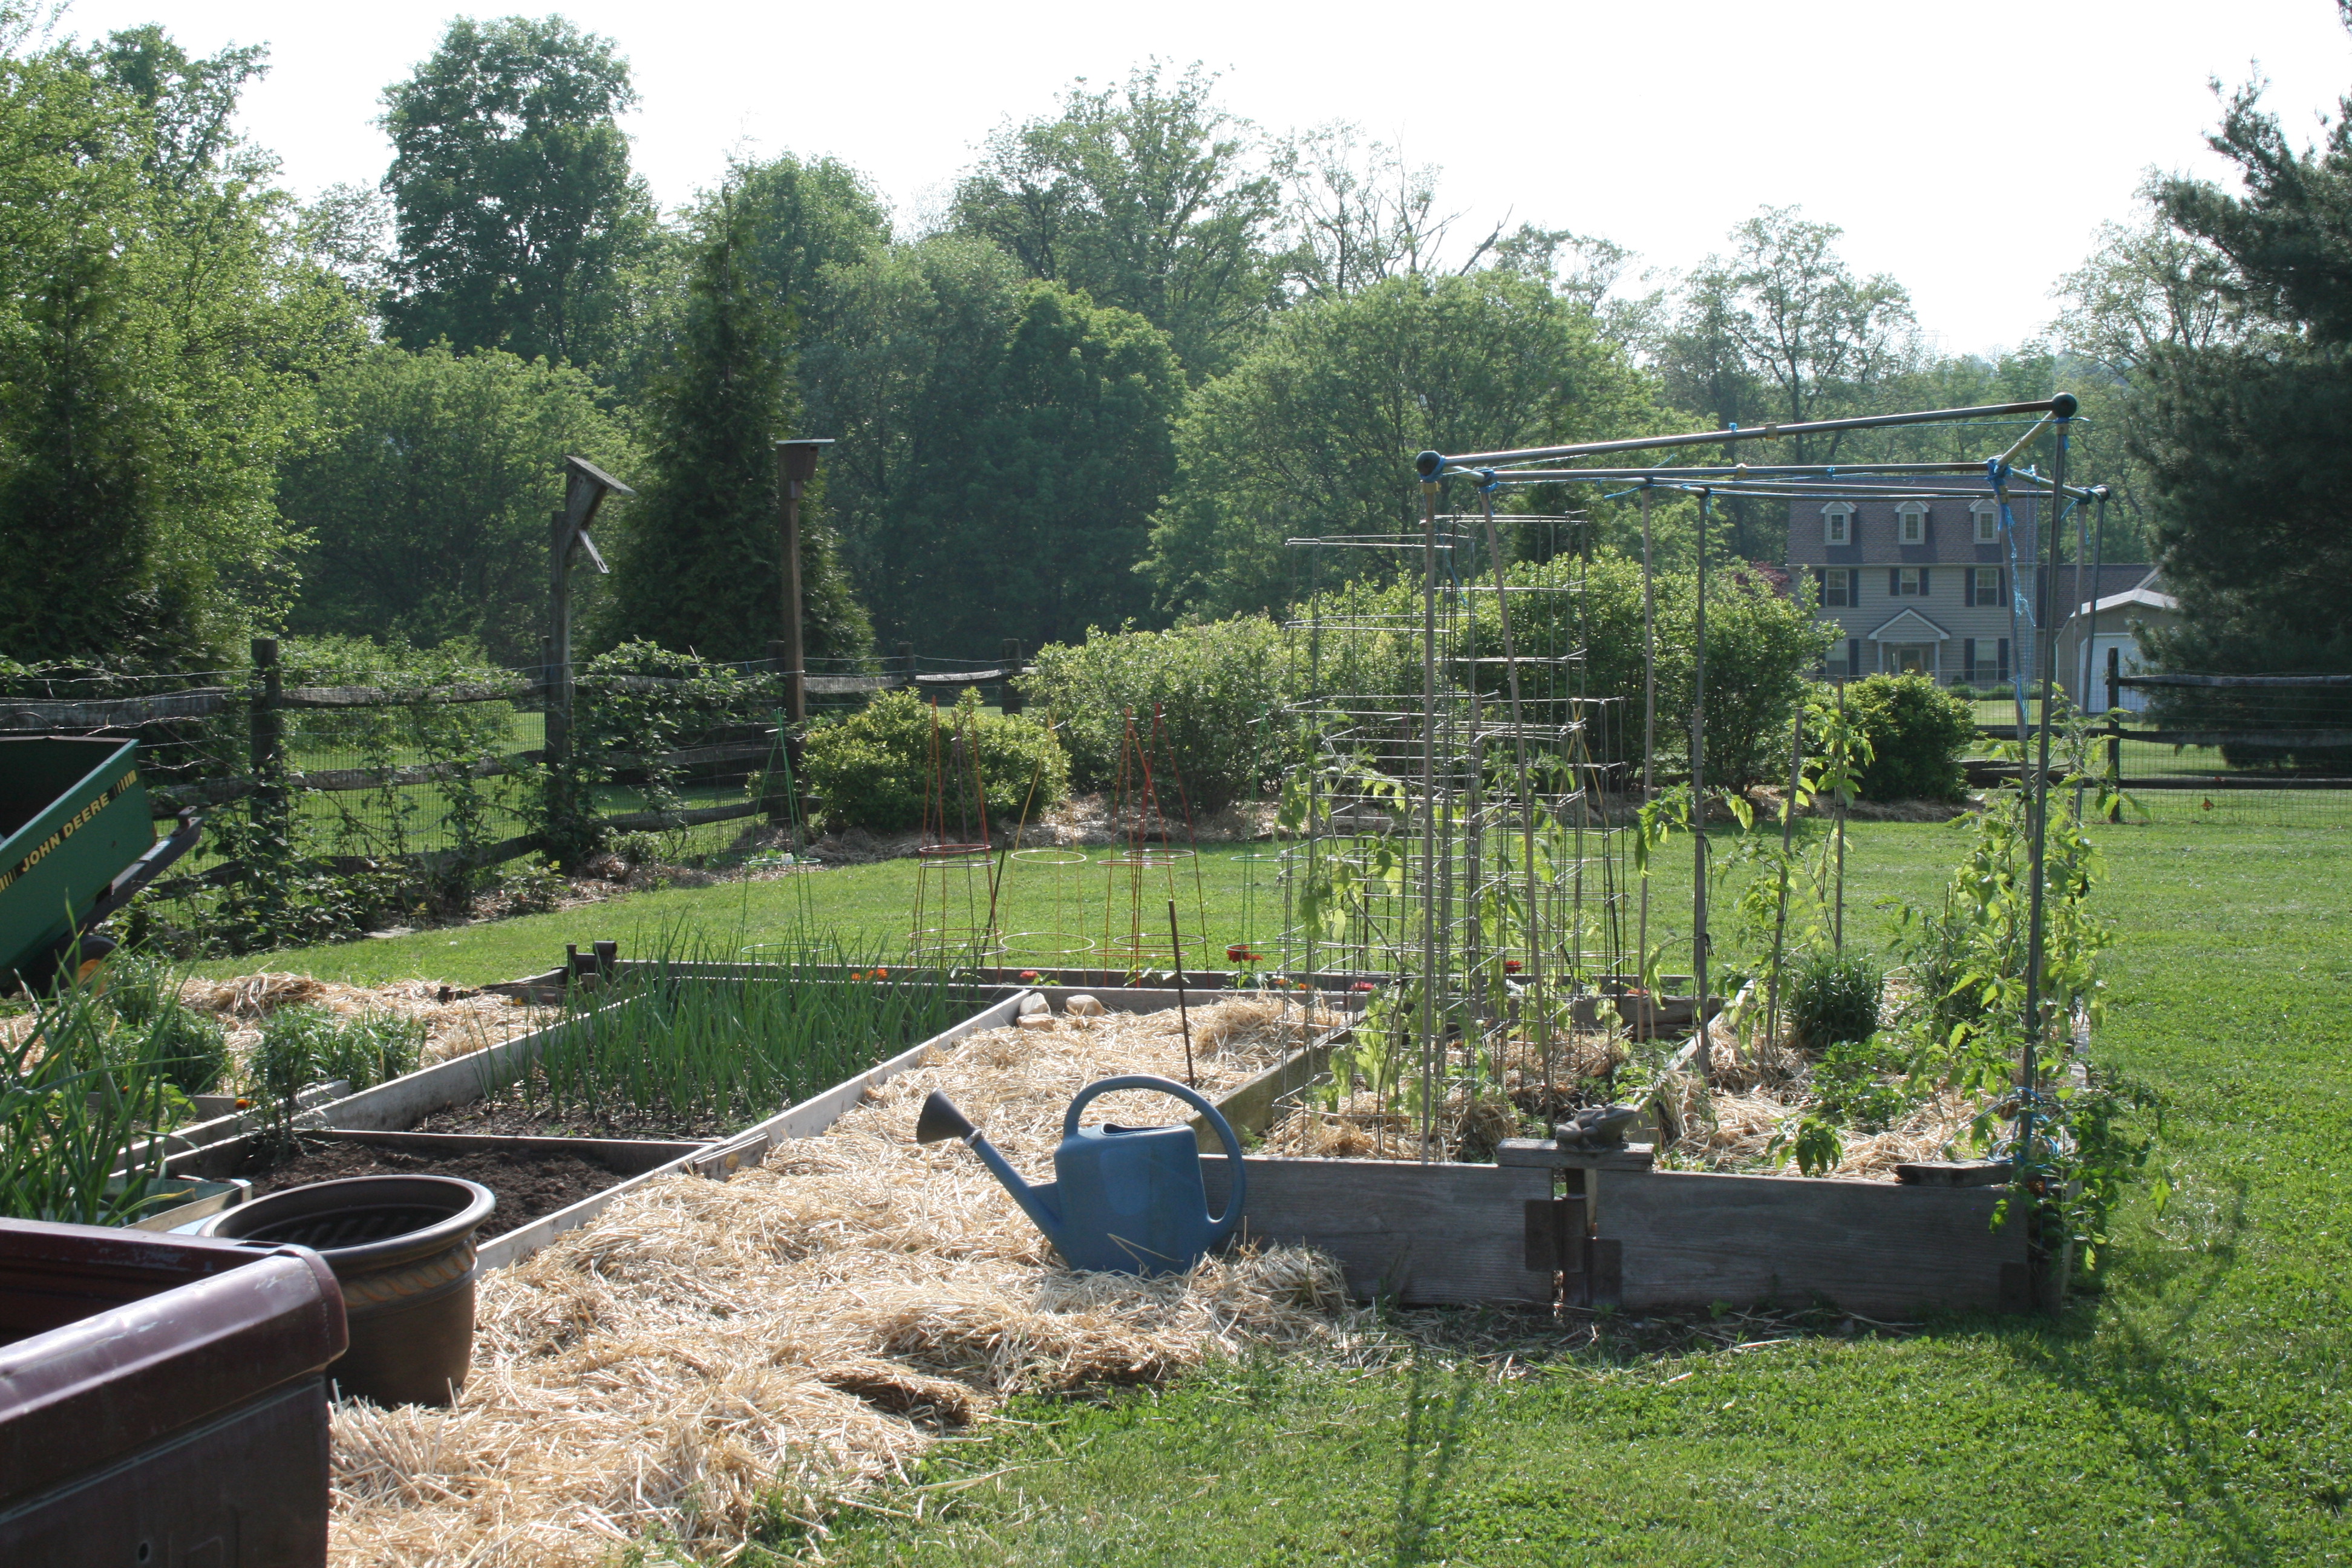
  5. Straw – free if you find a farmer who has old or moldy straw to get rid of and which works just as well as the golden yellow stuff.
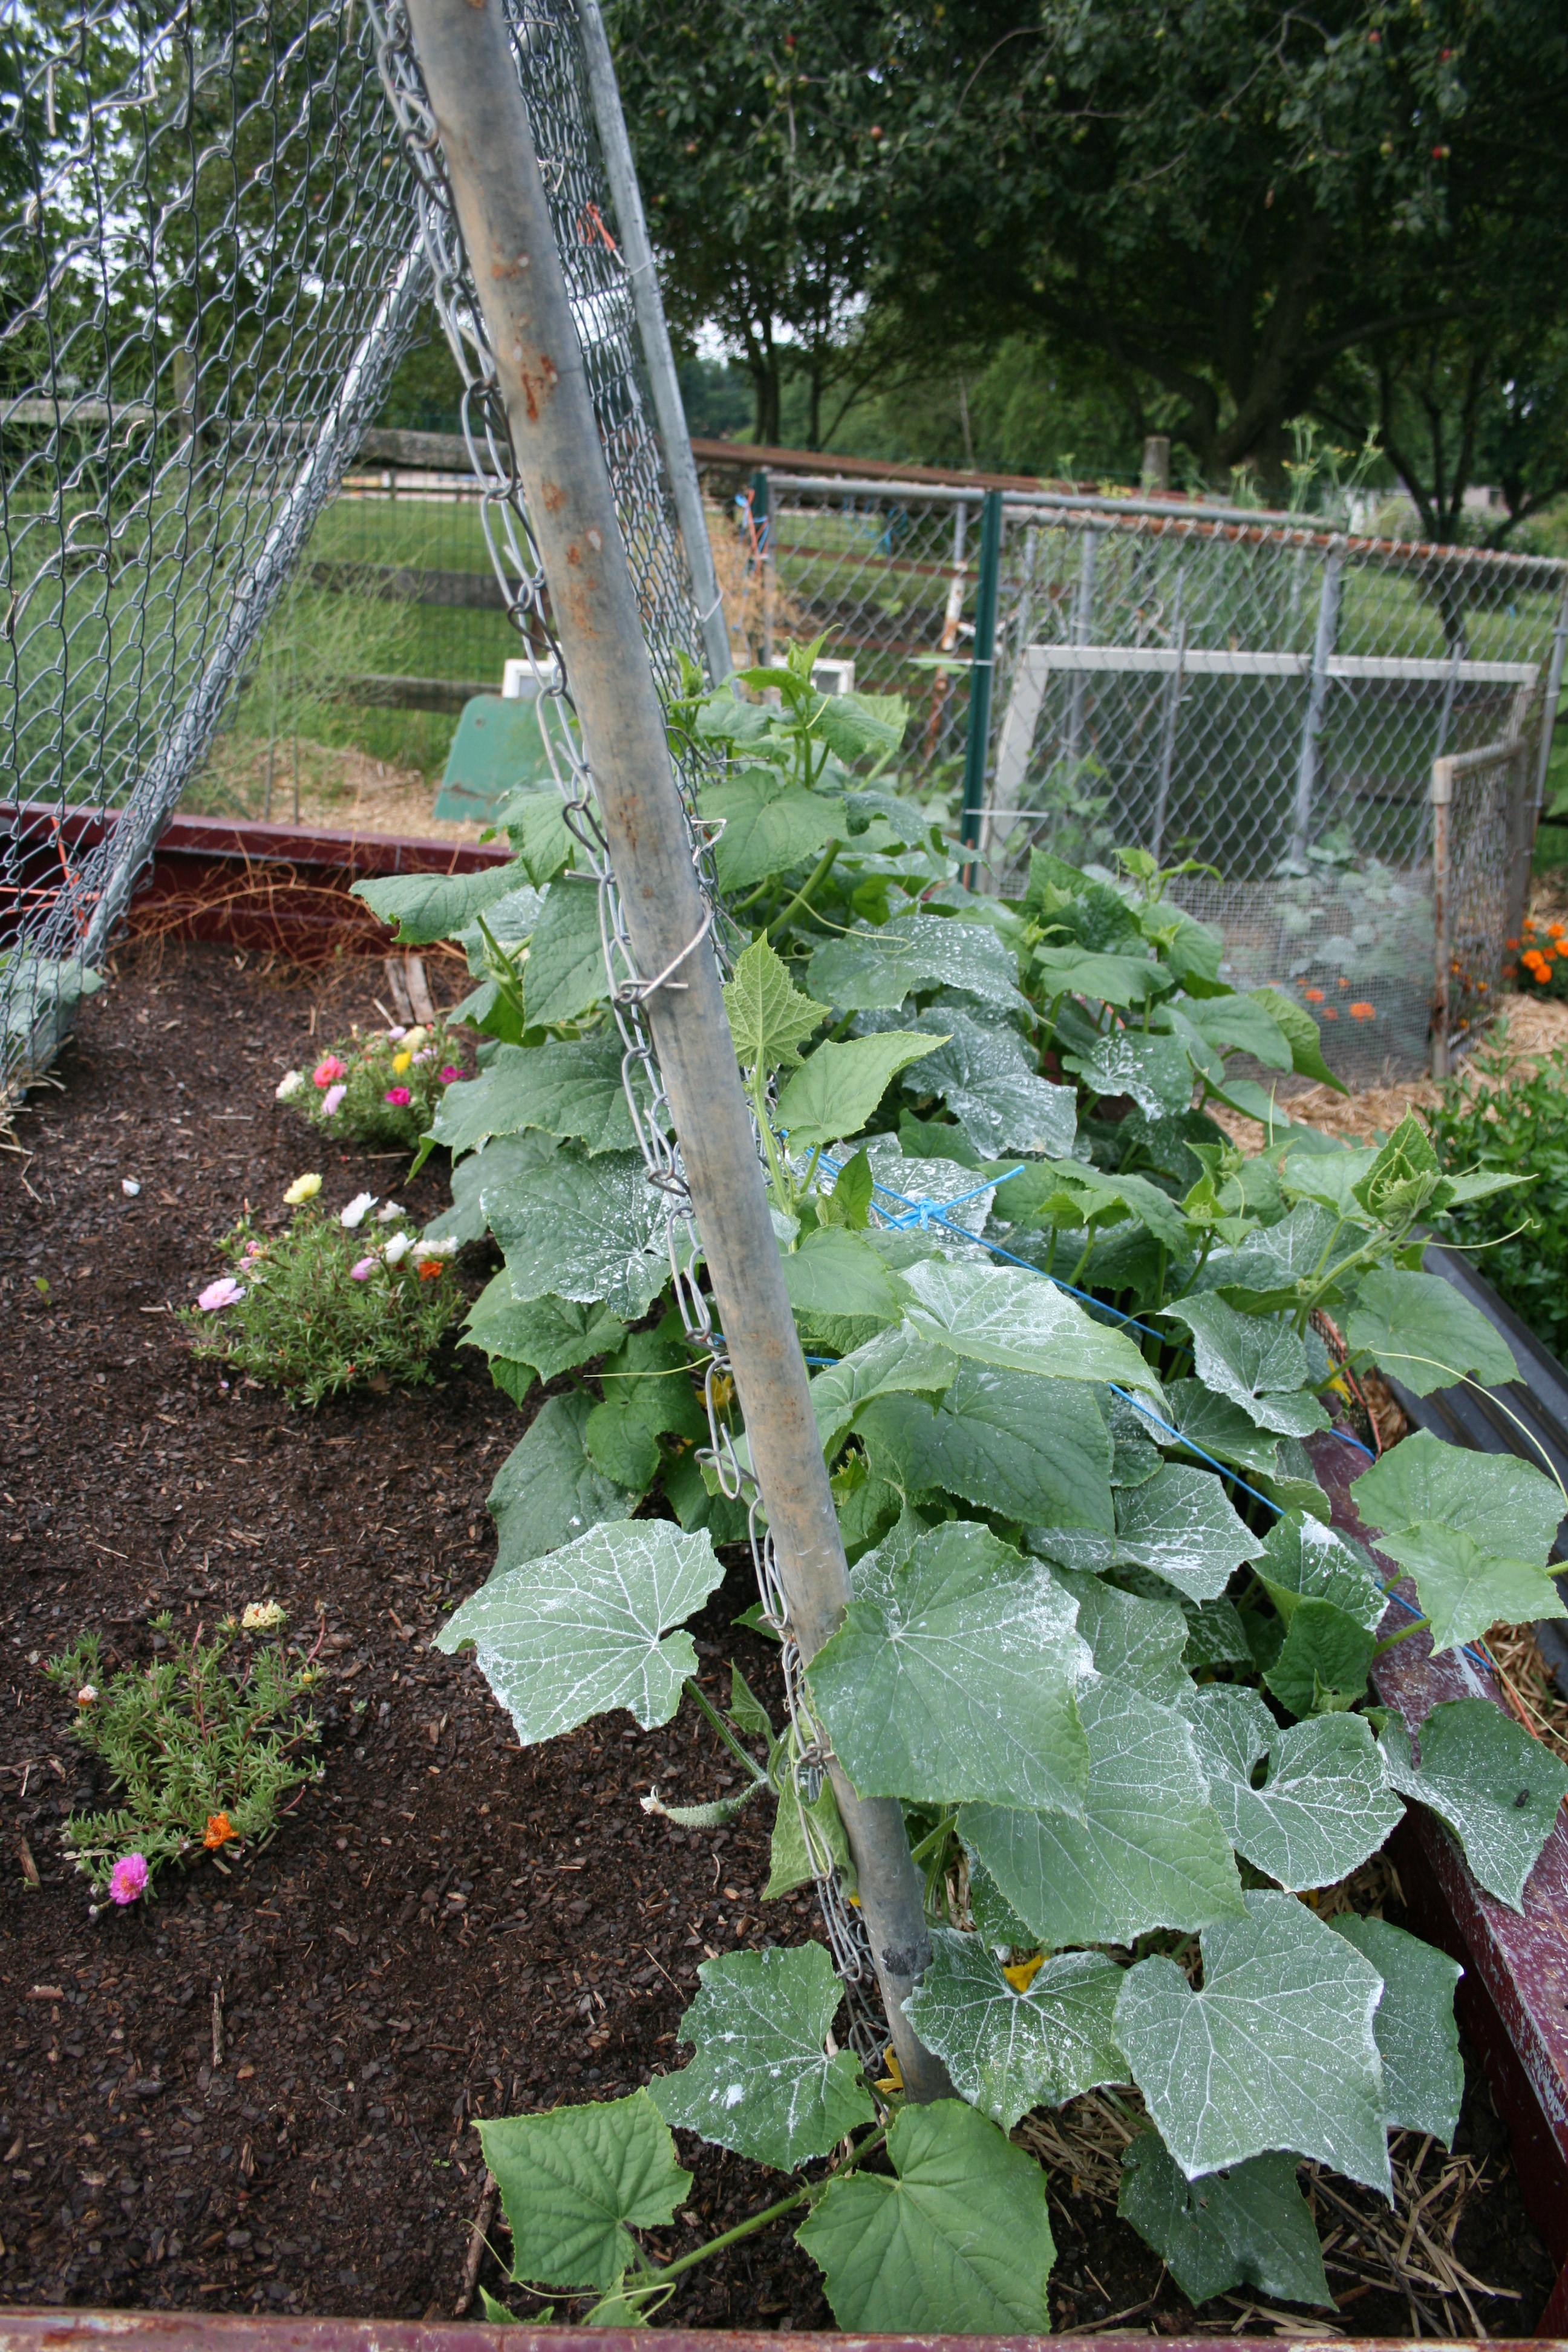
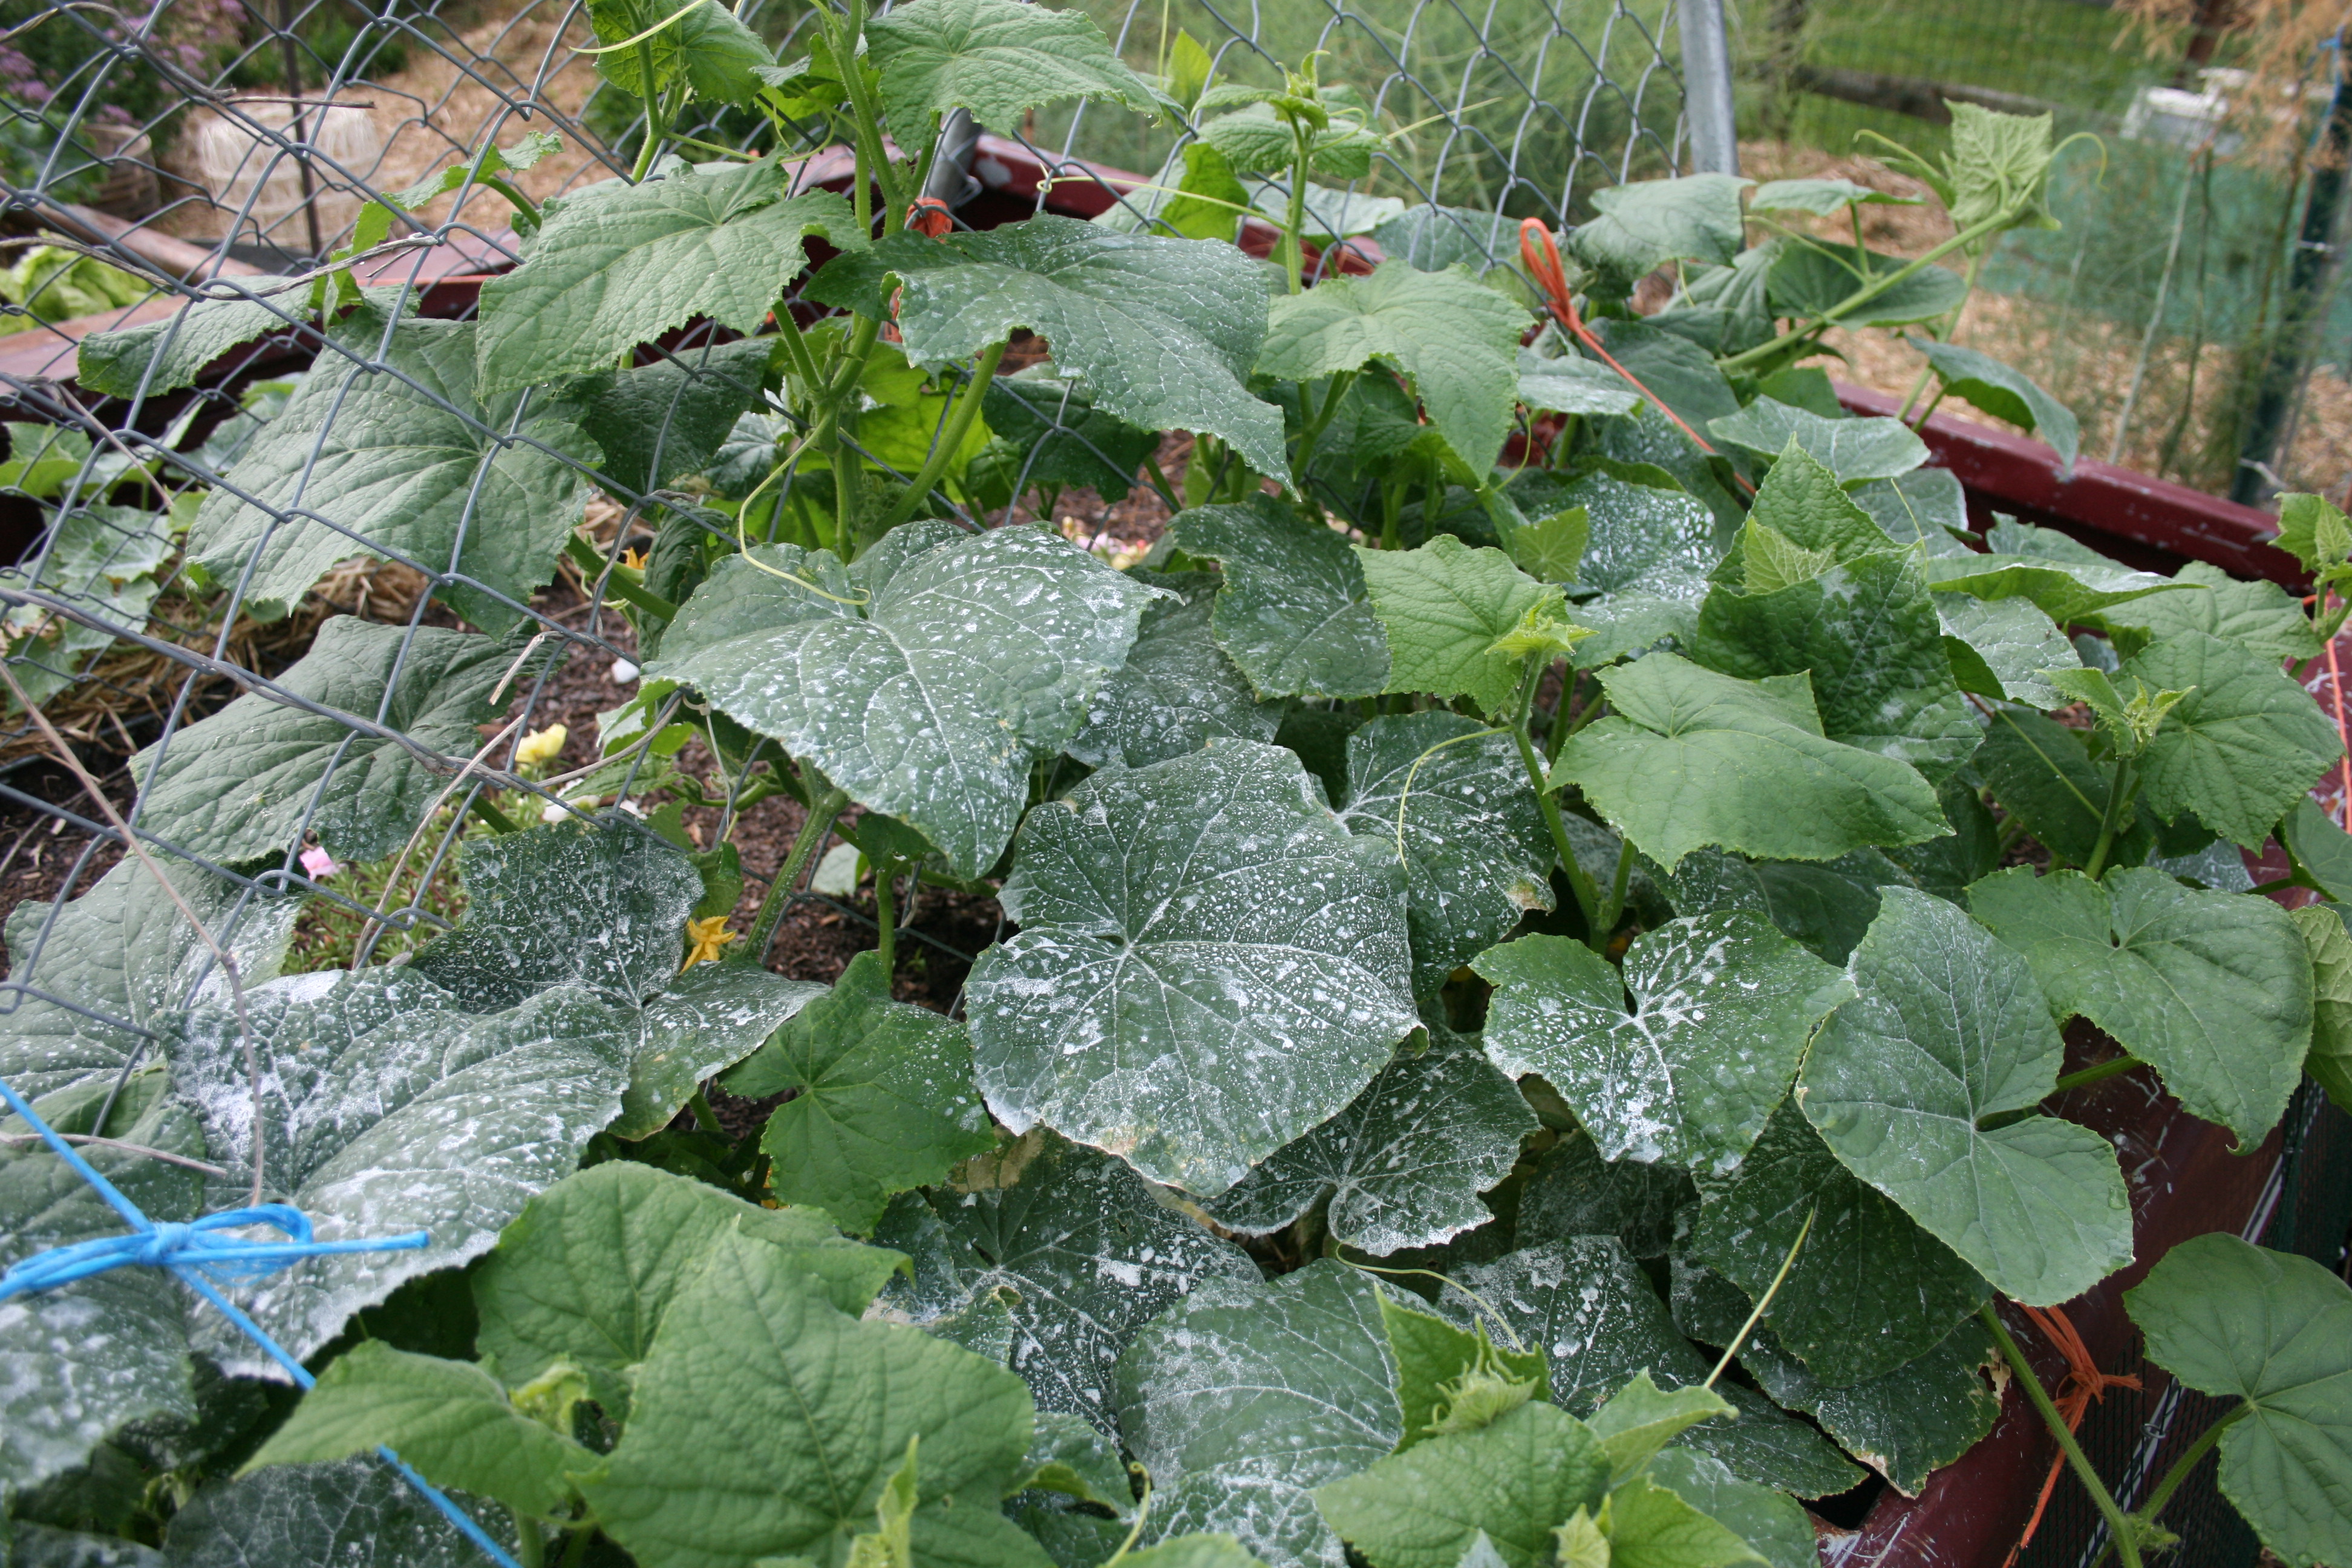
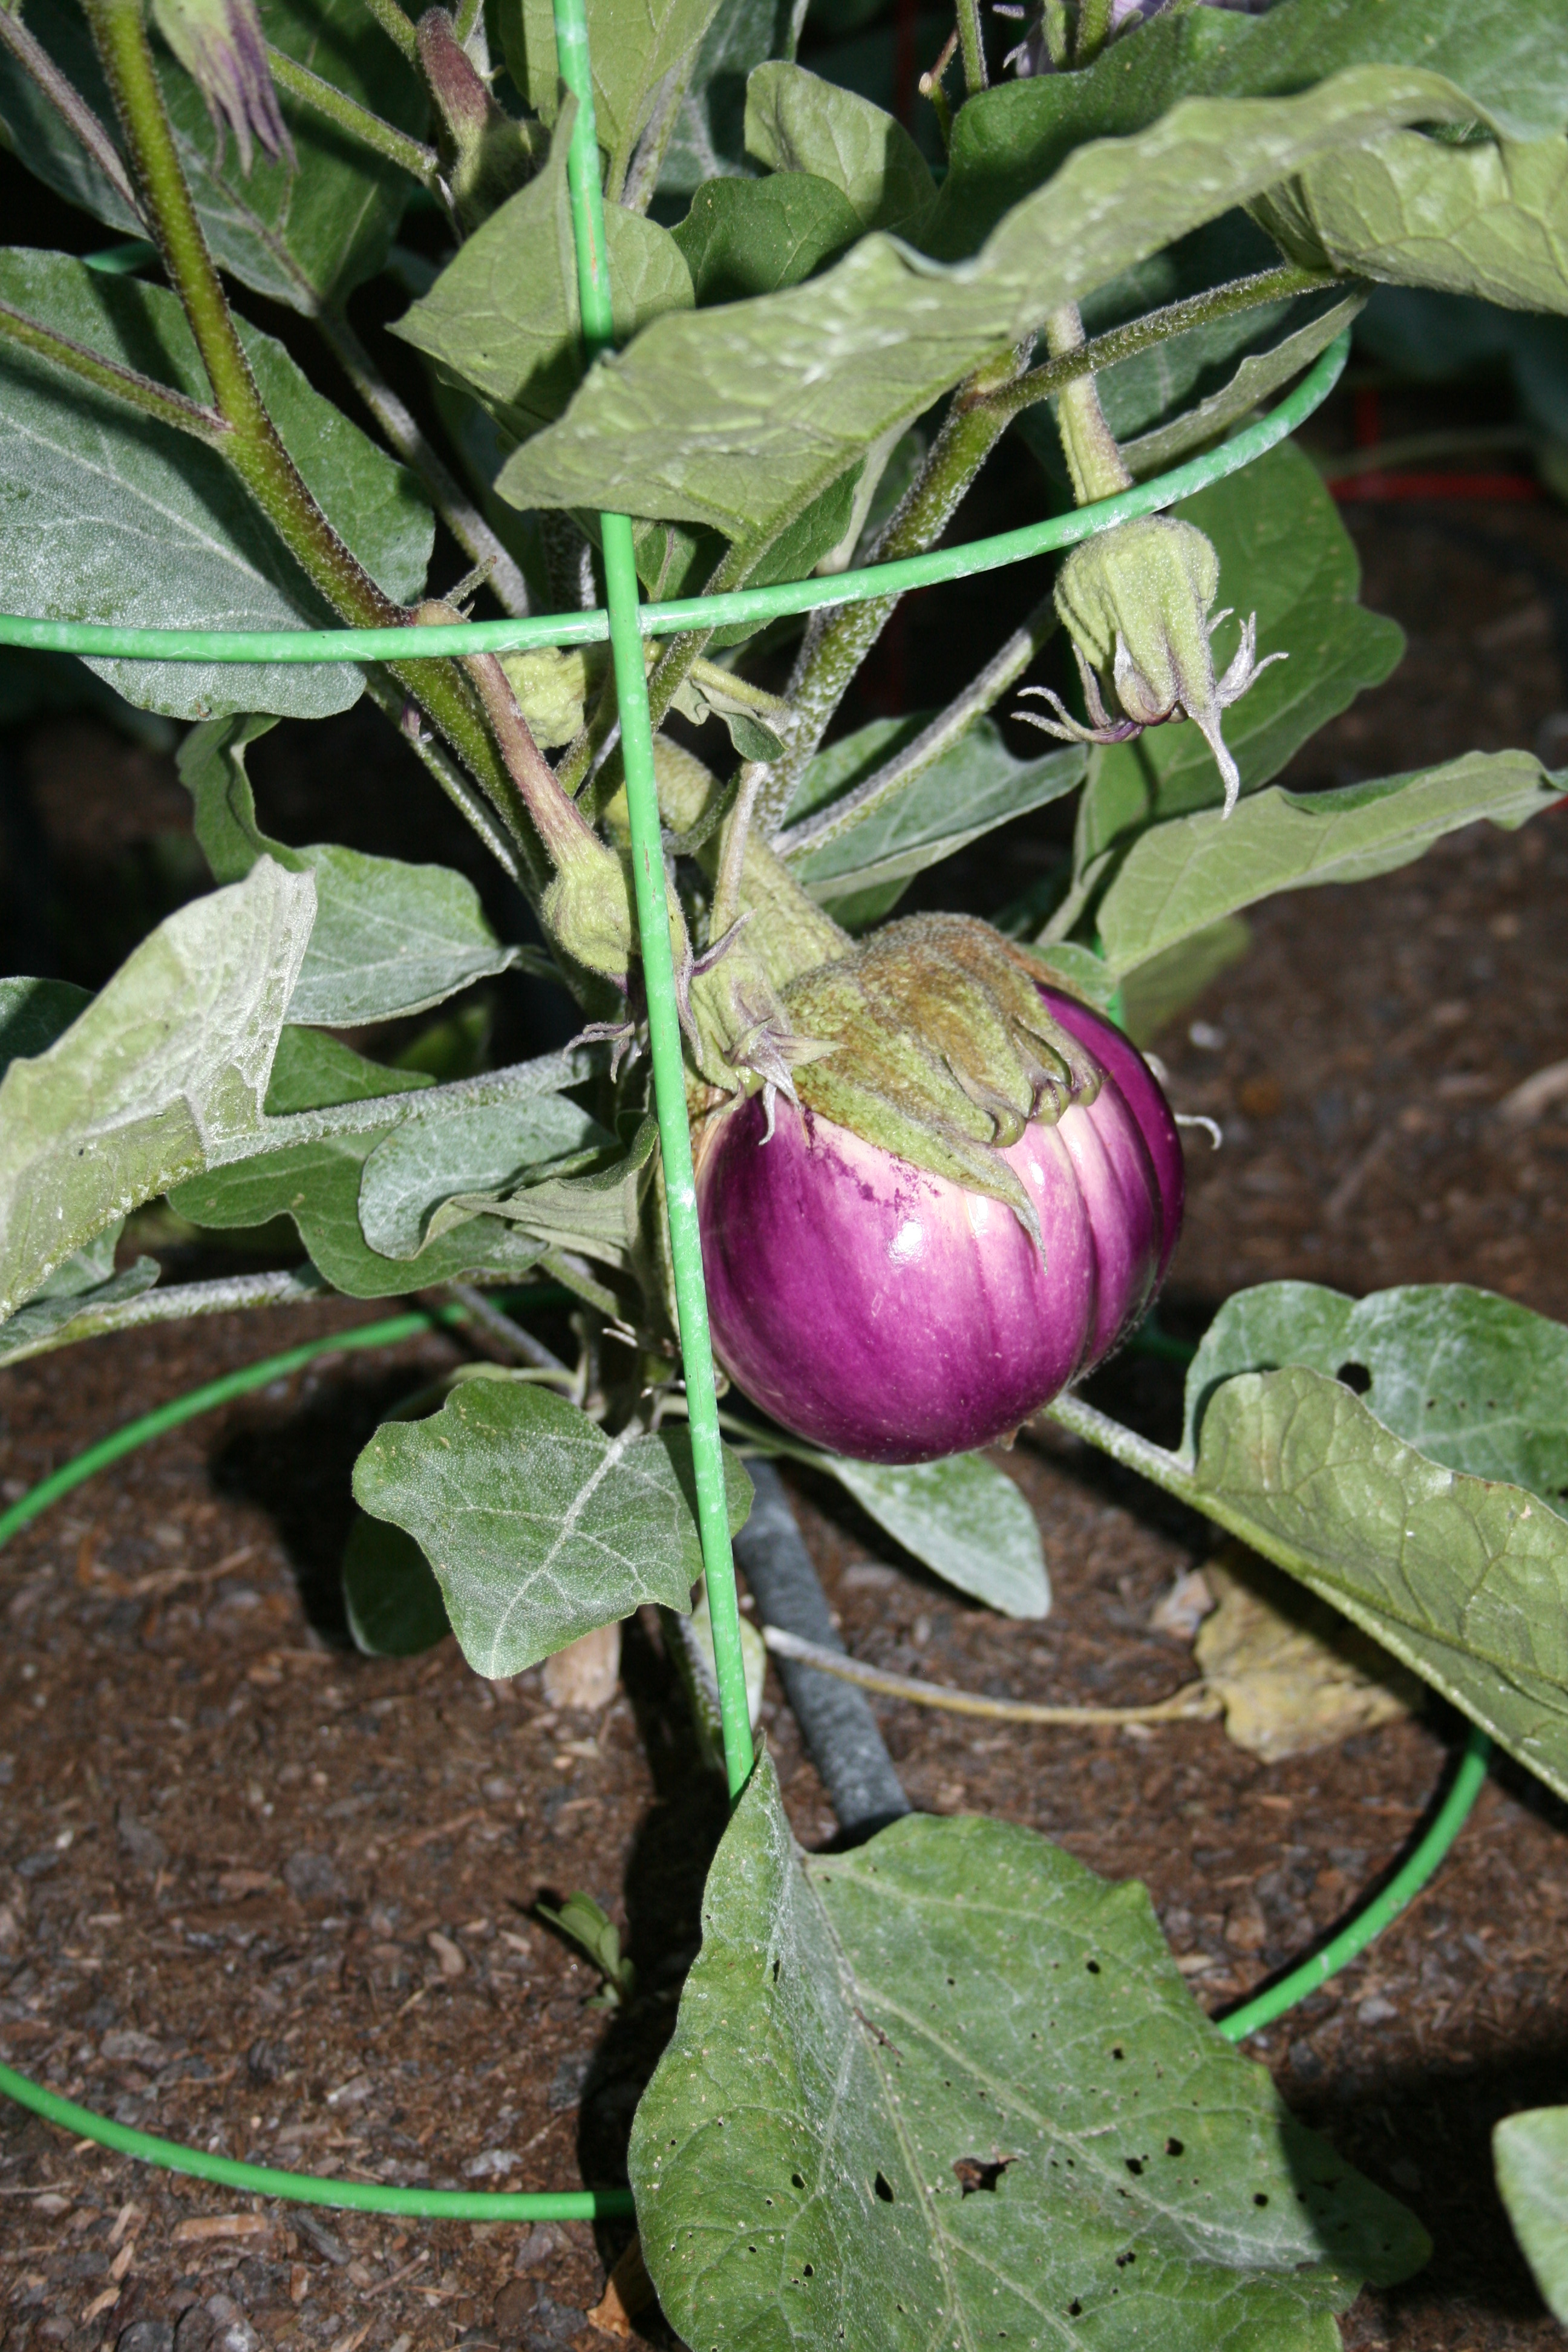
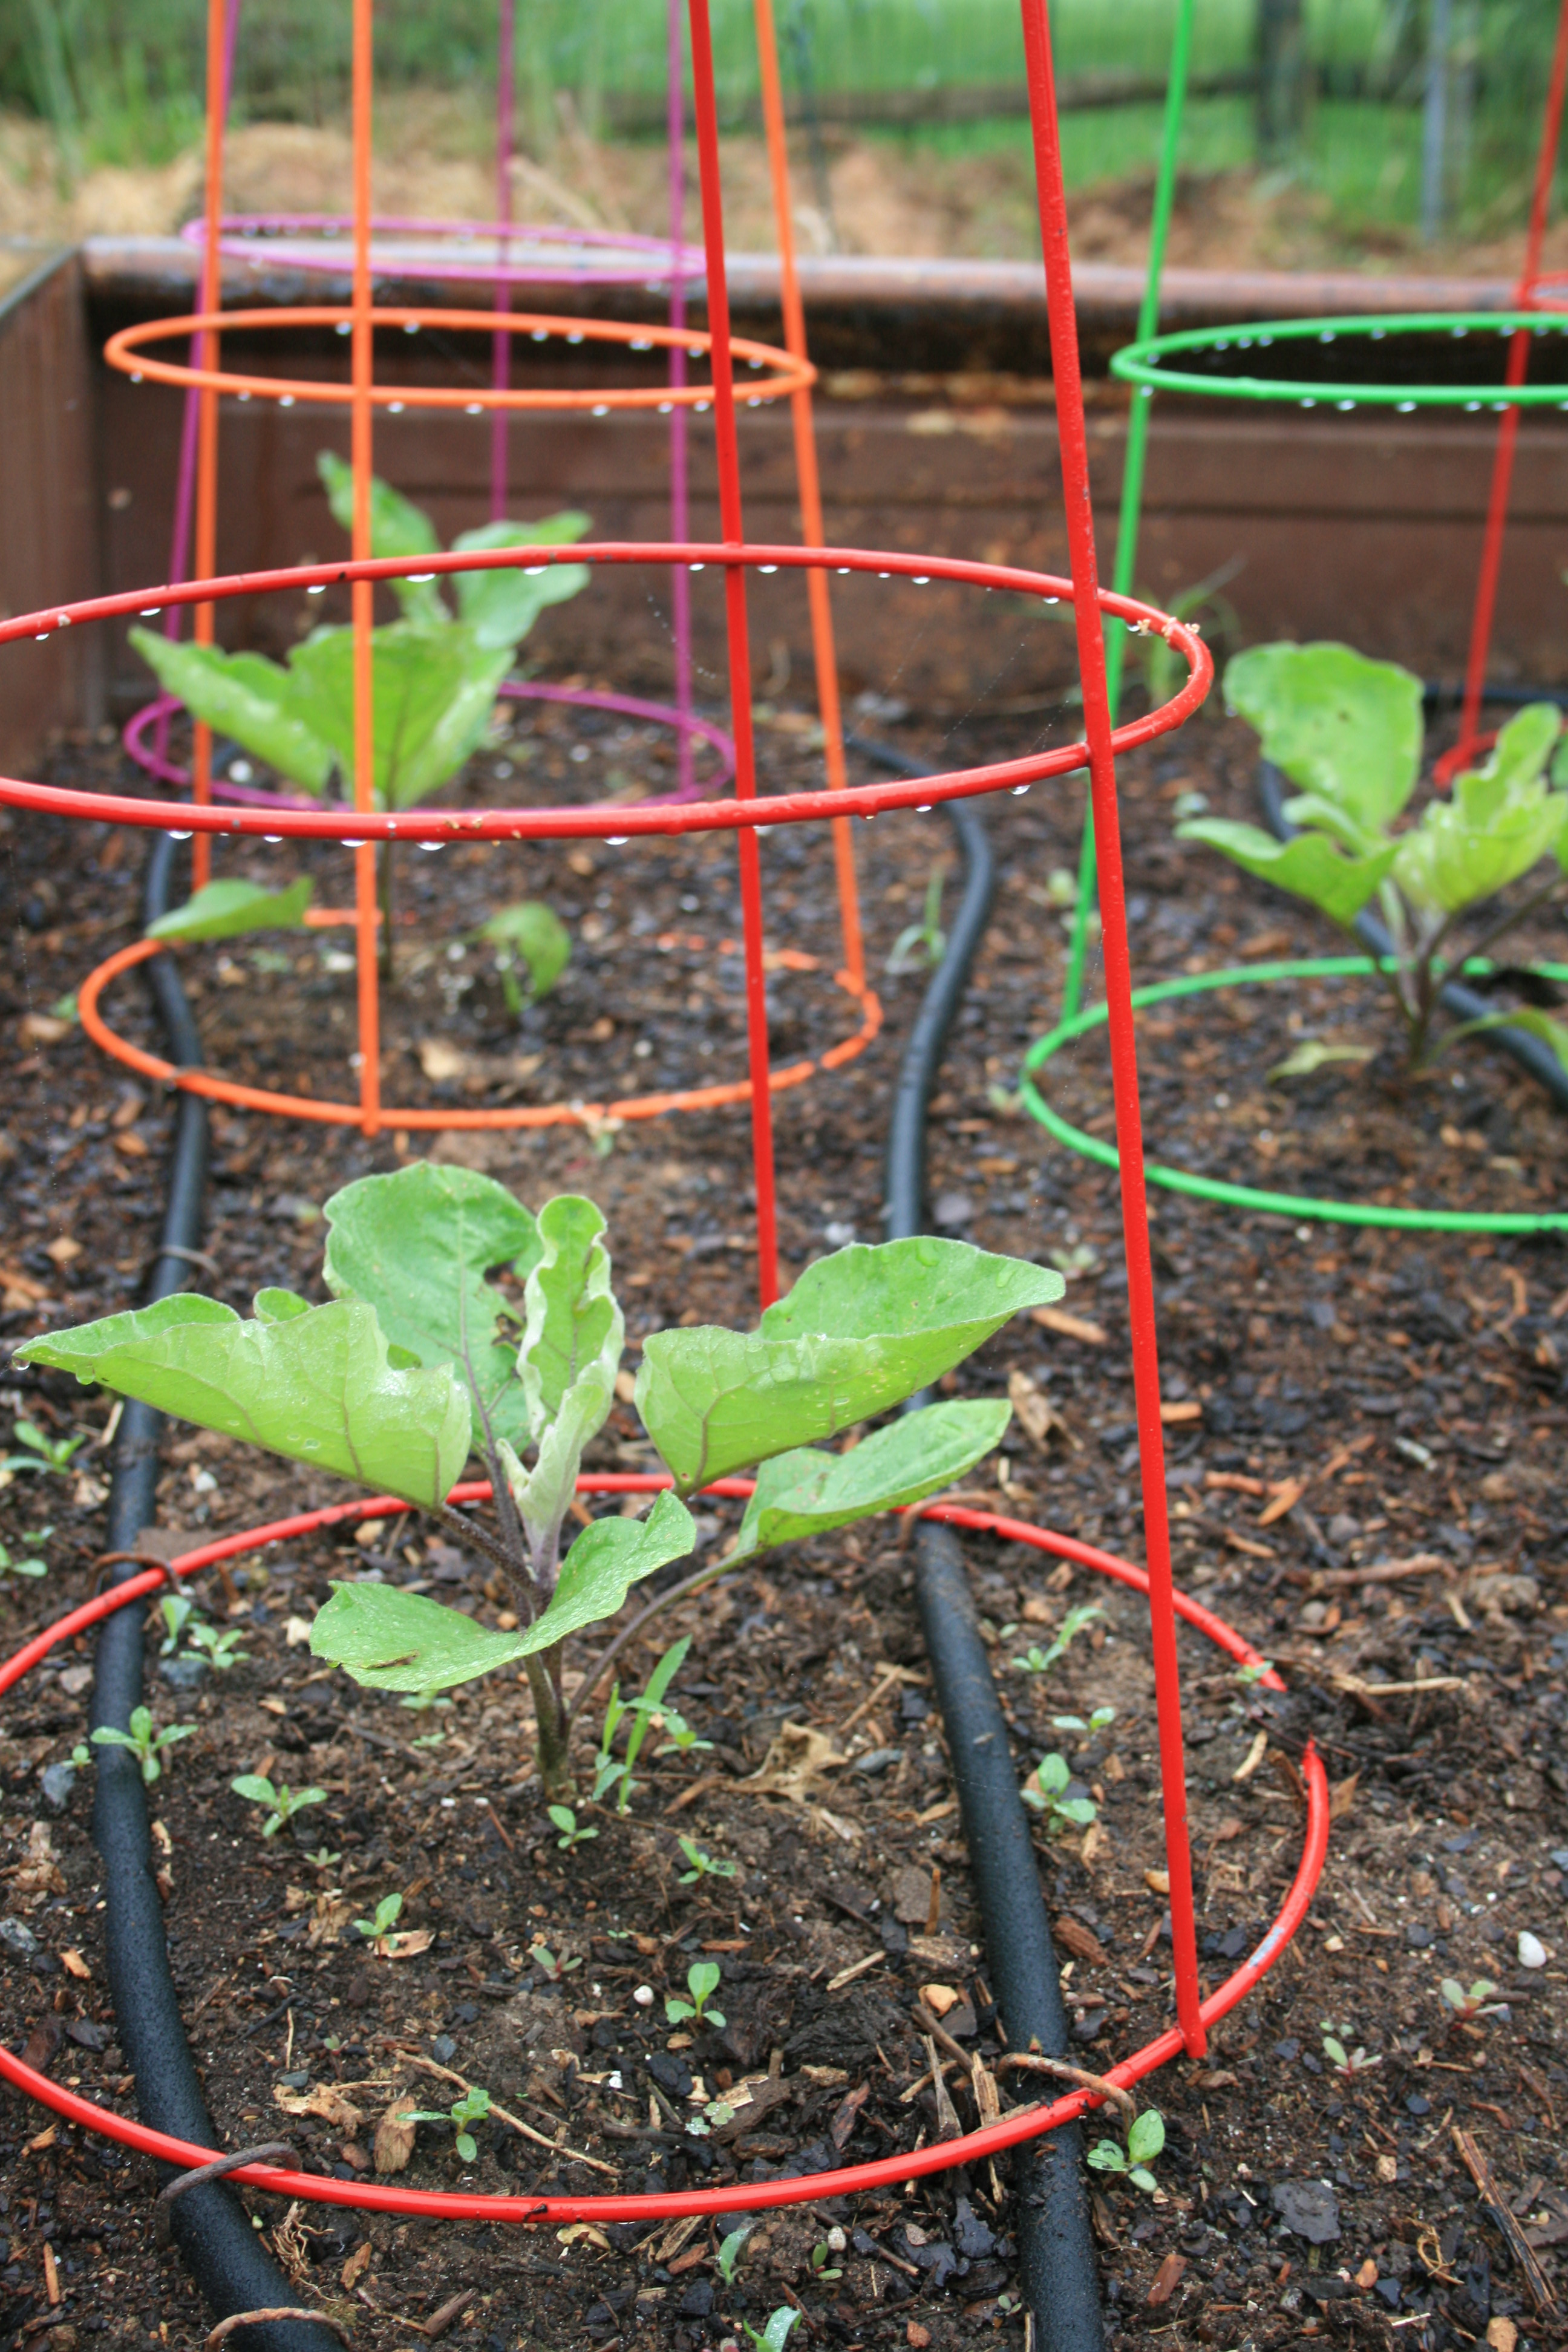
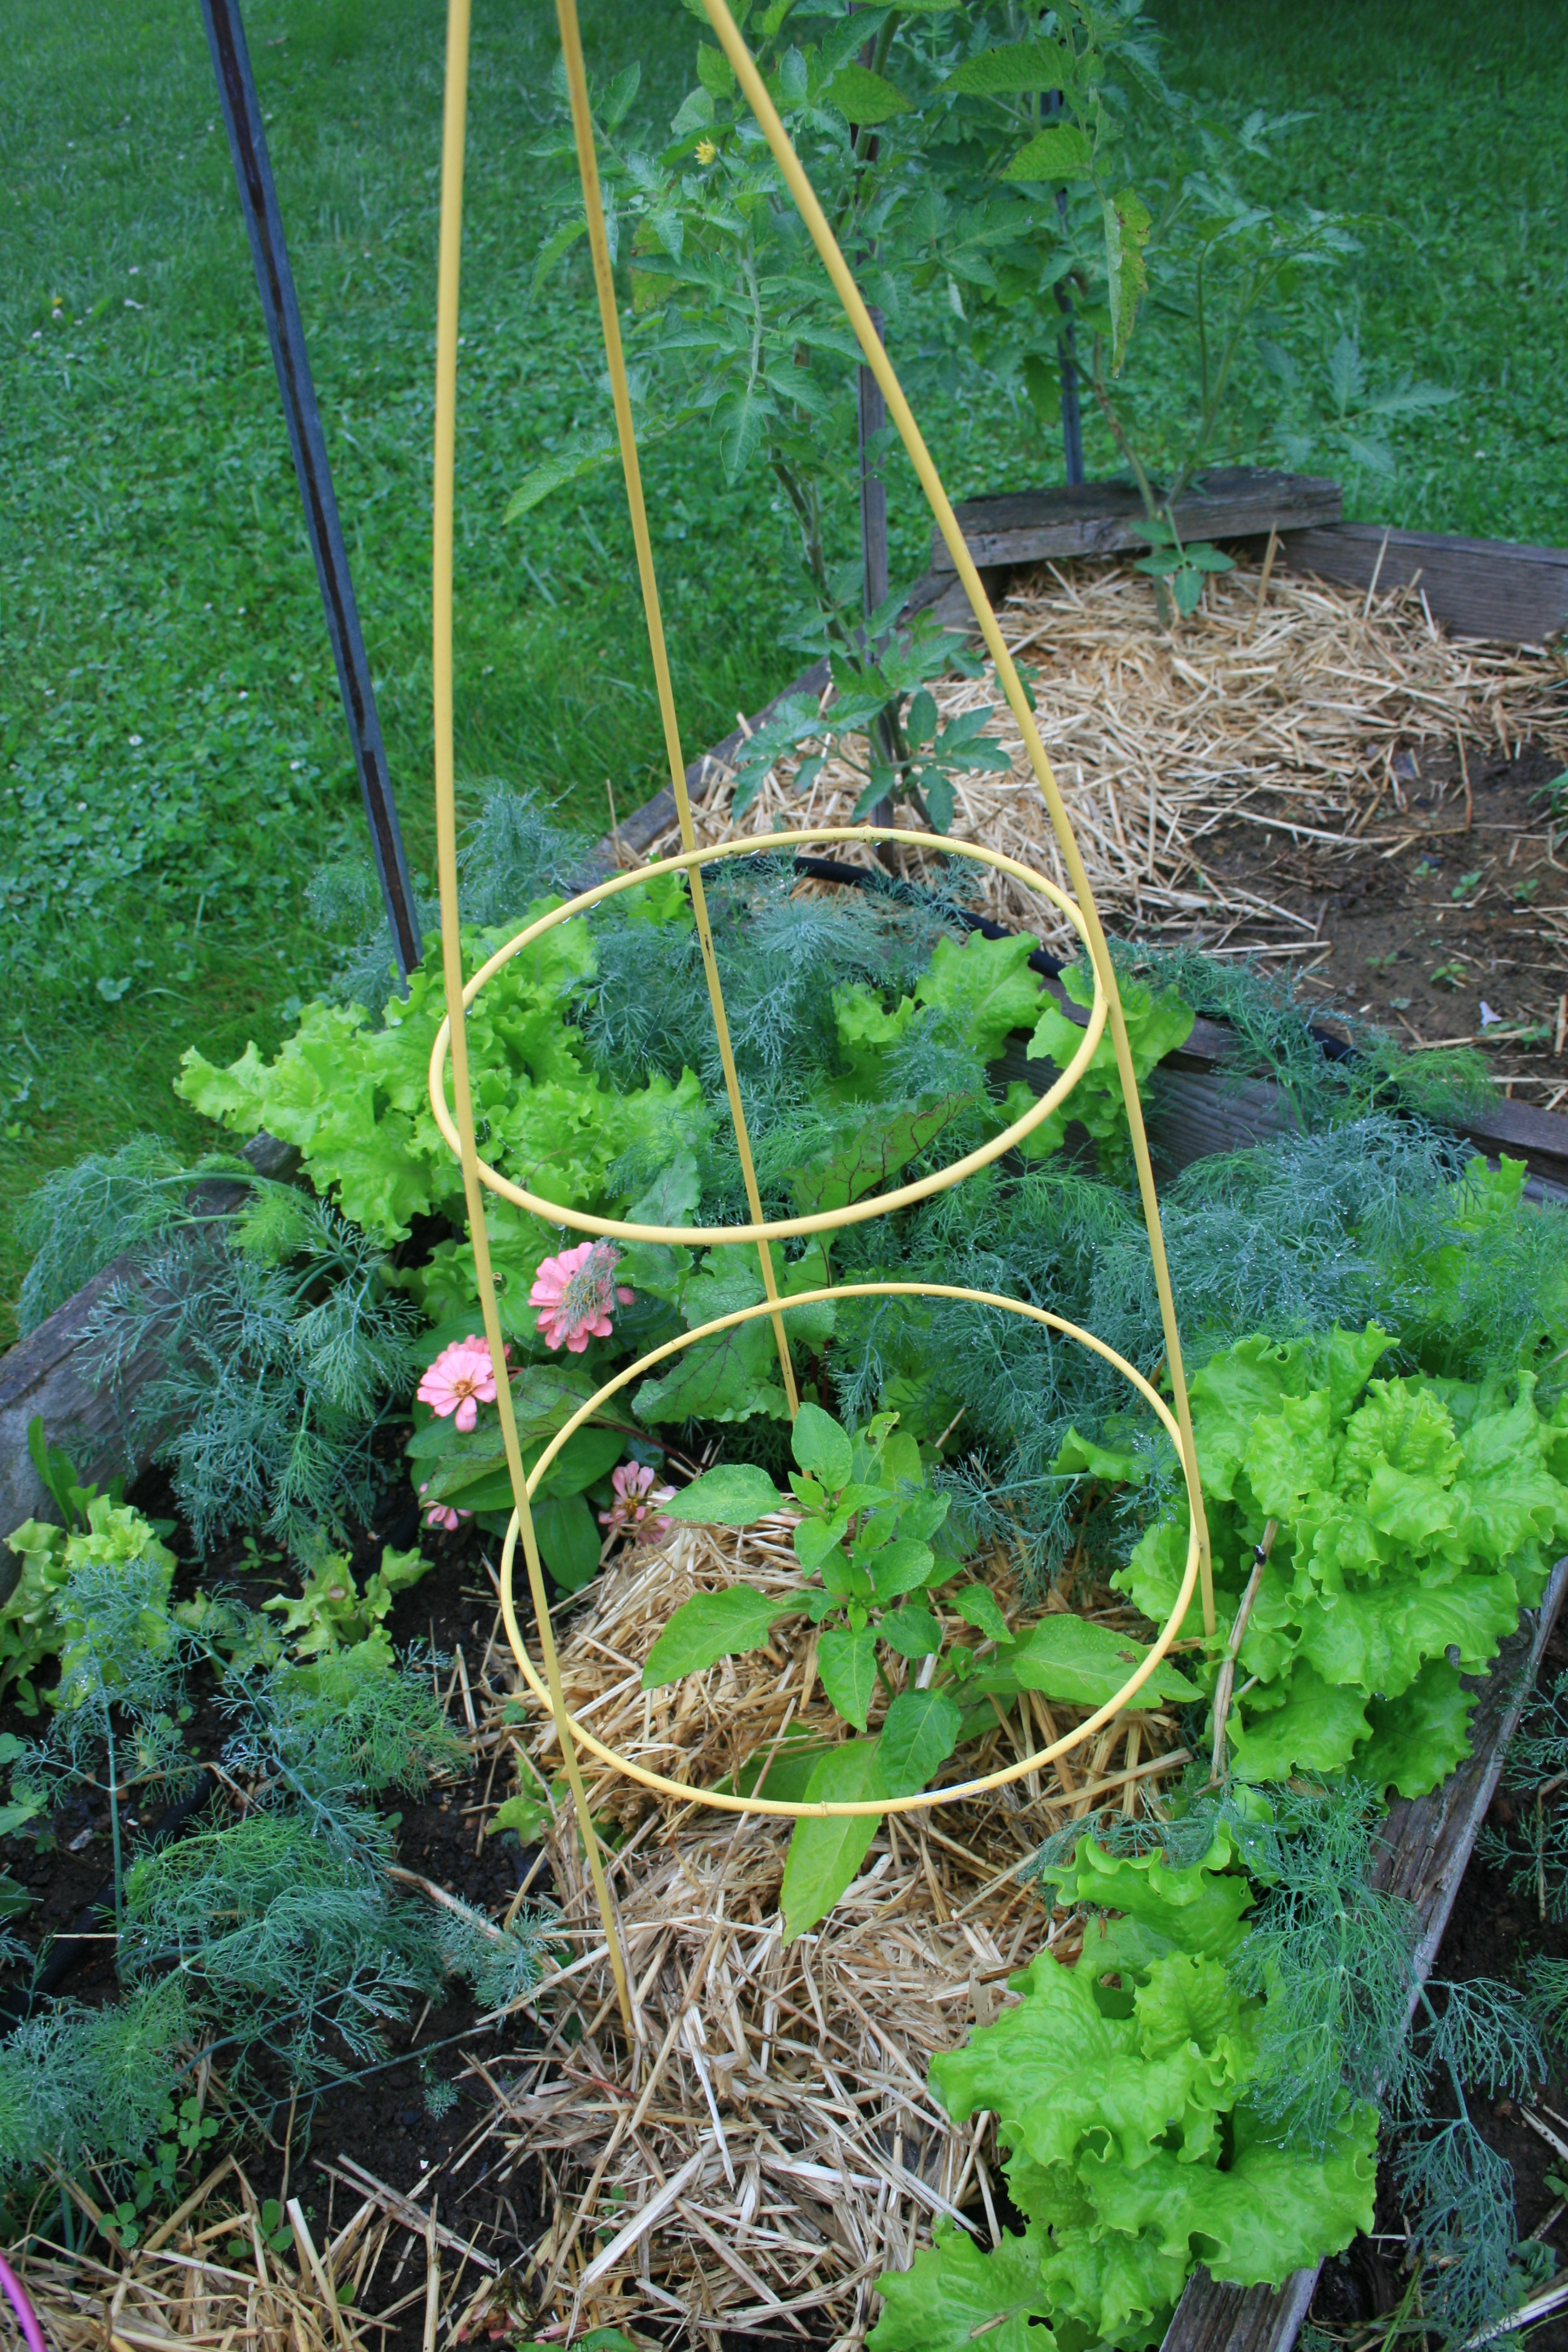
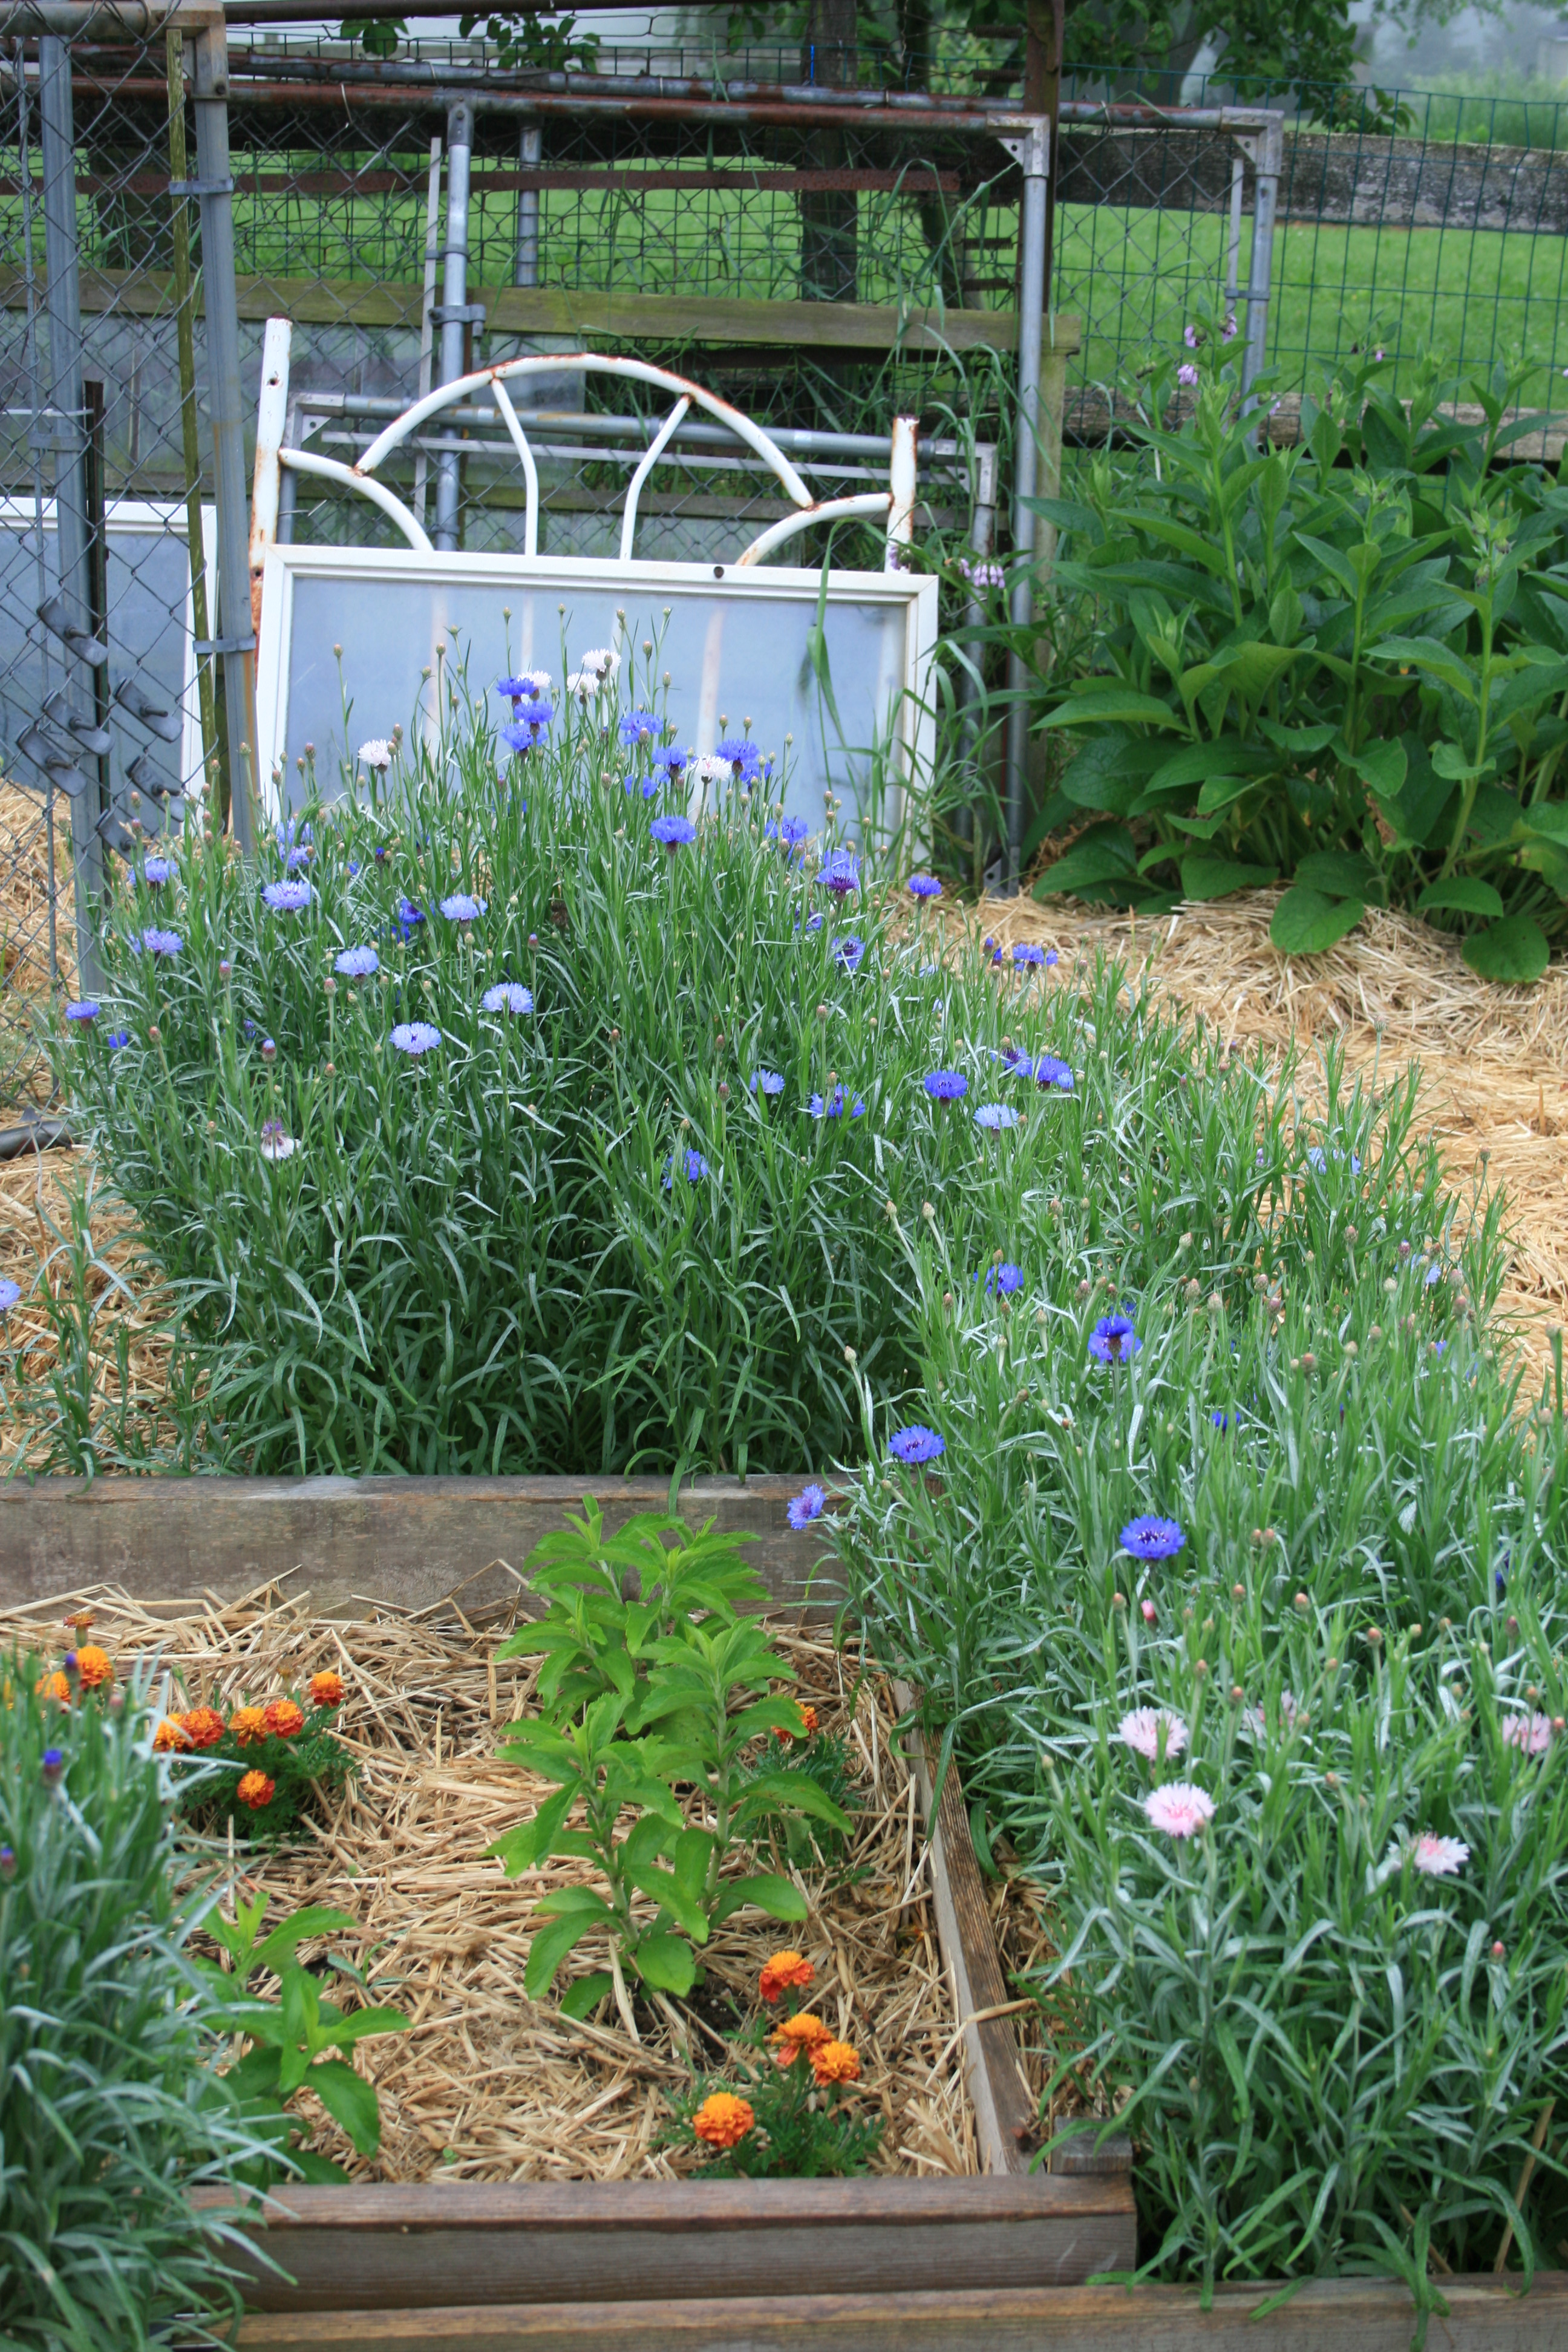
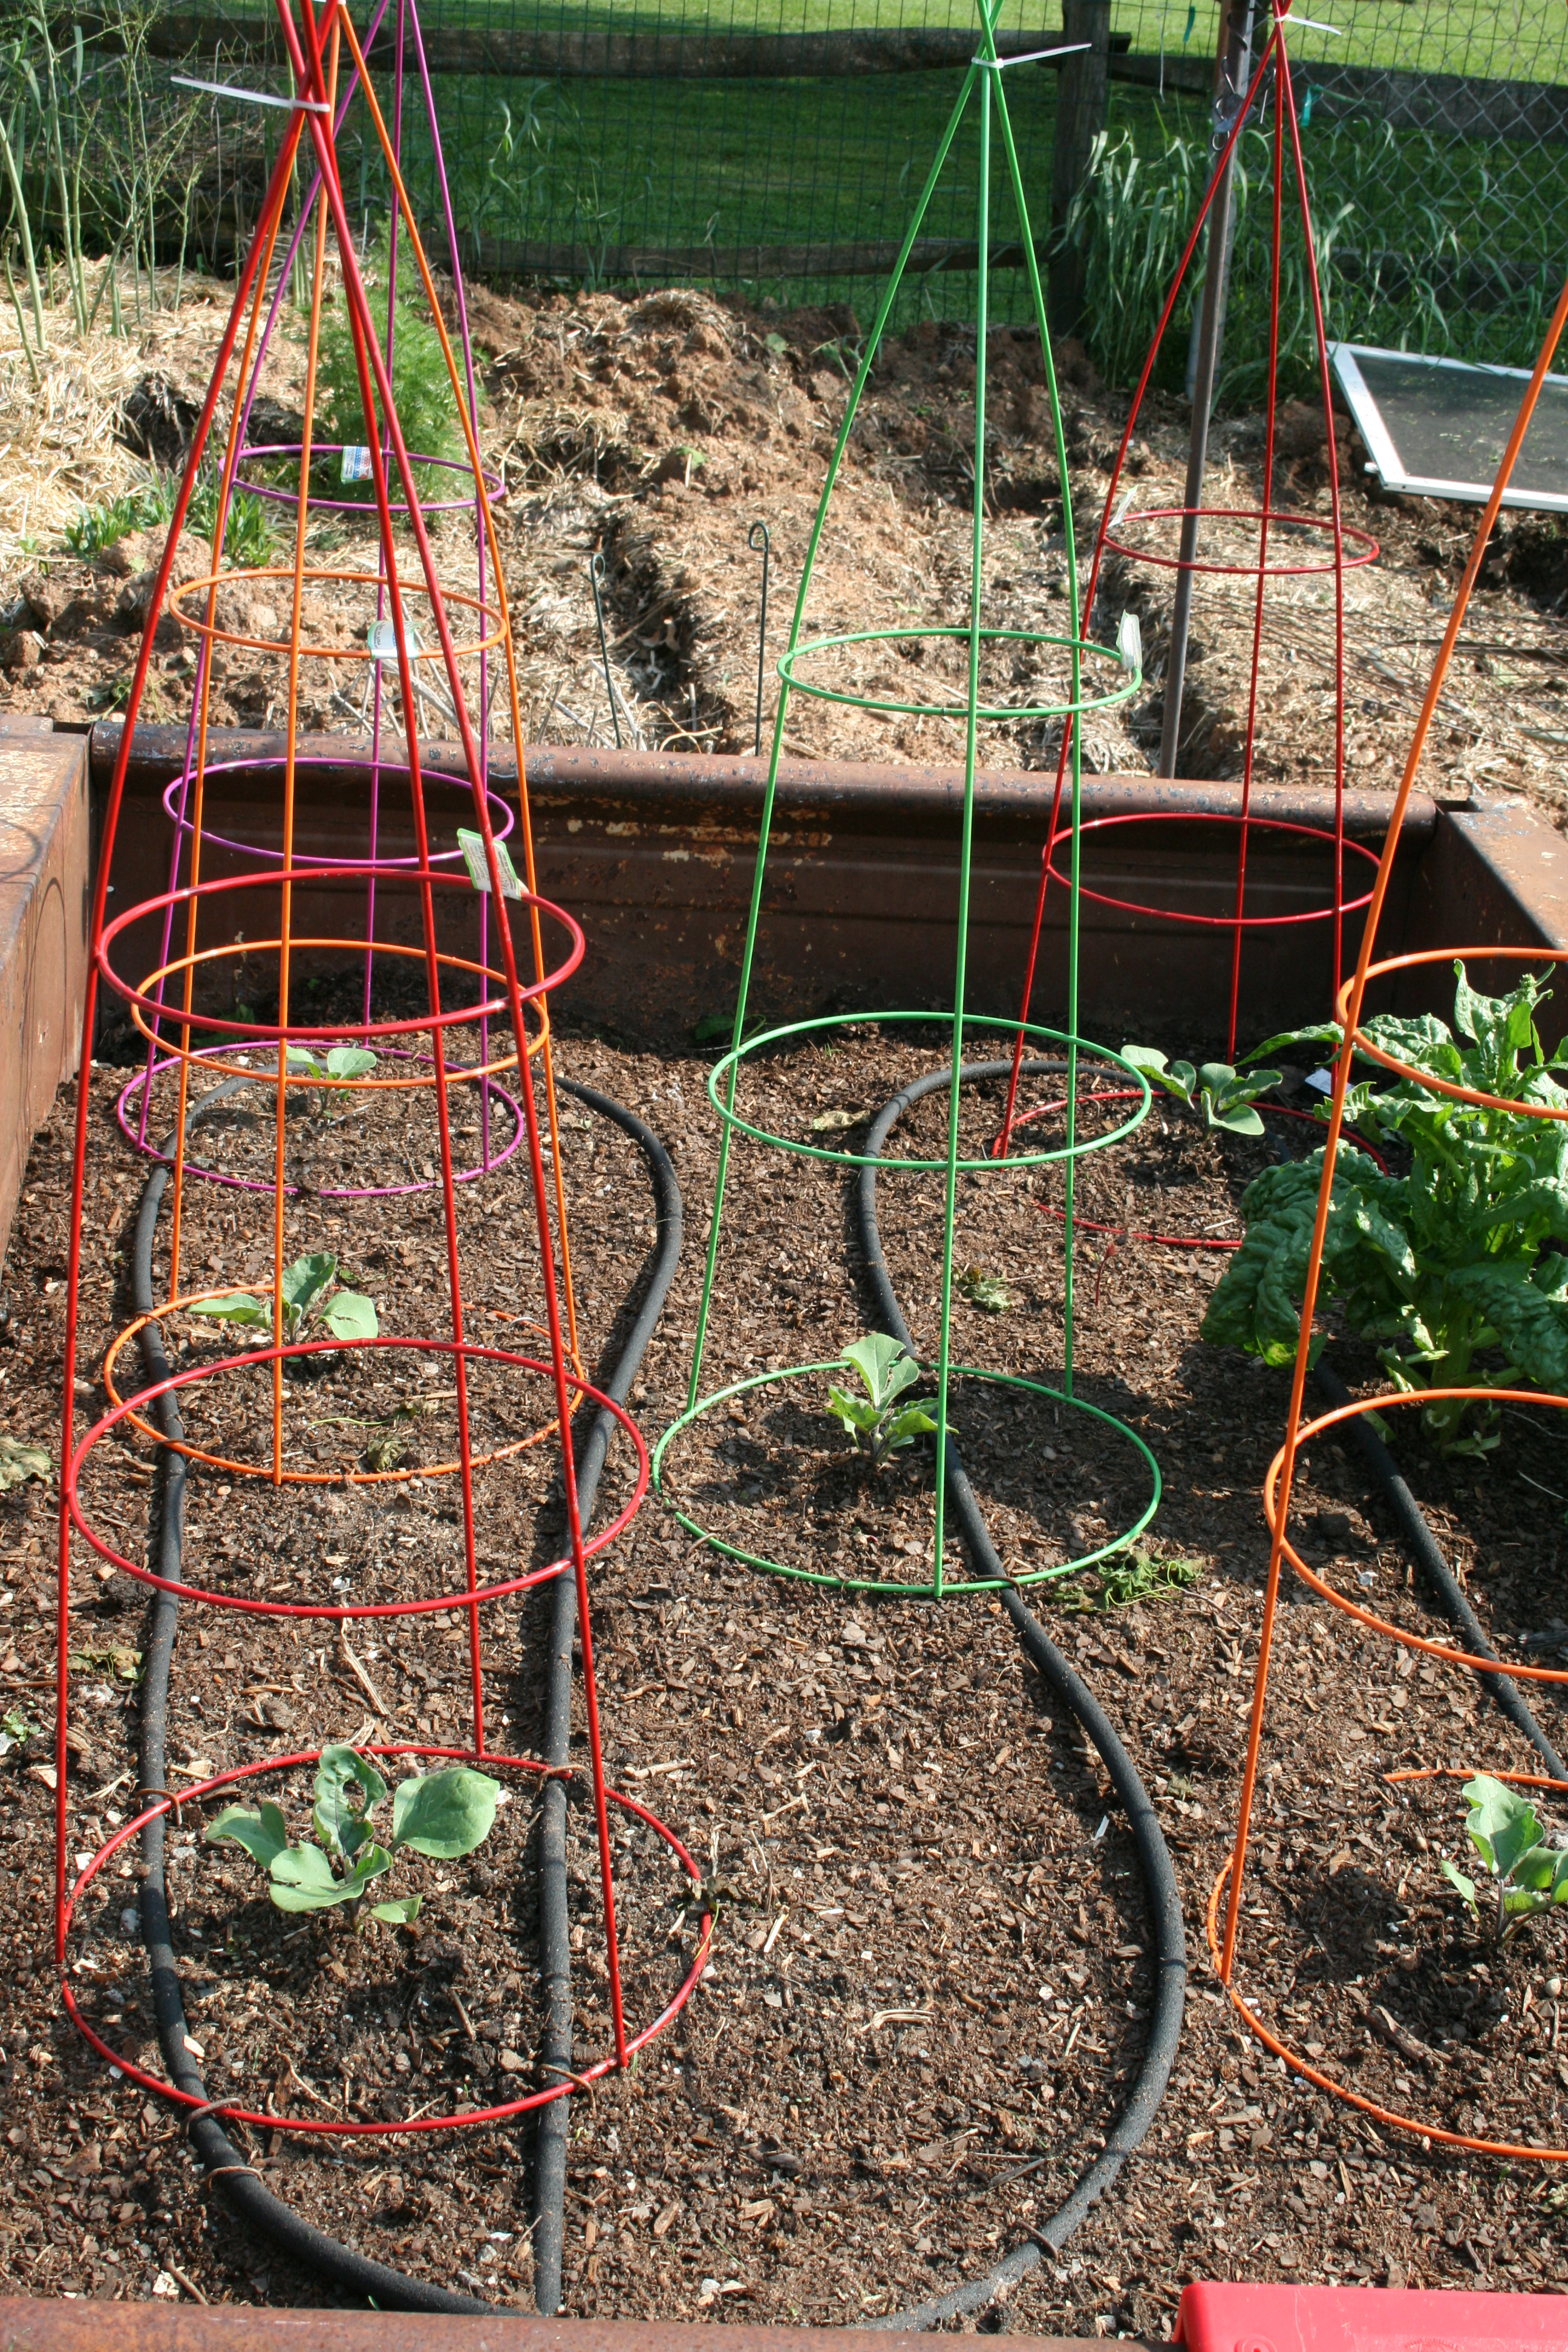
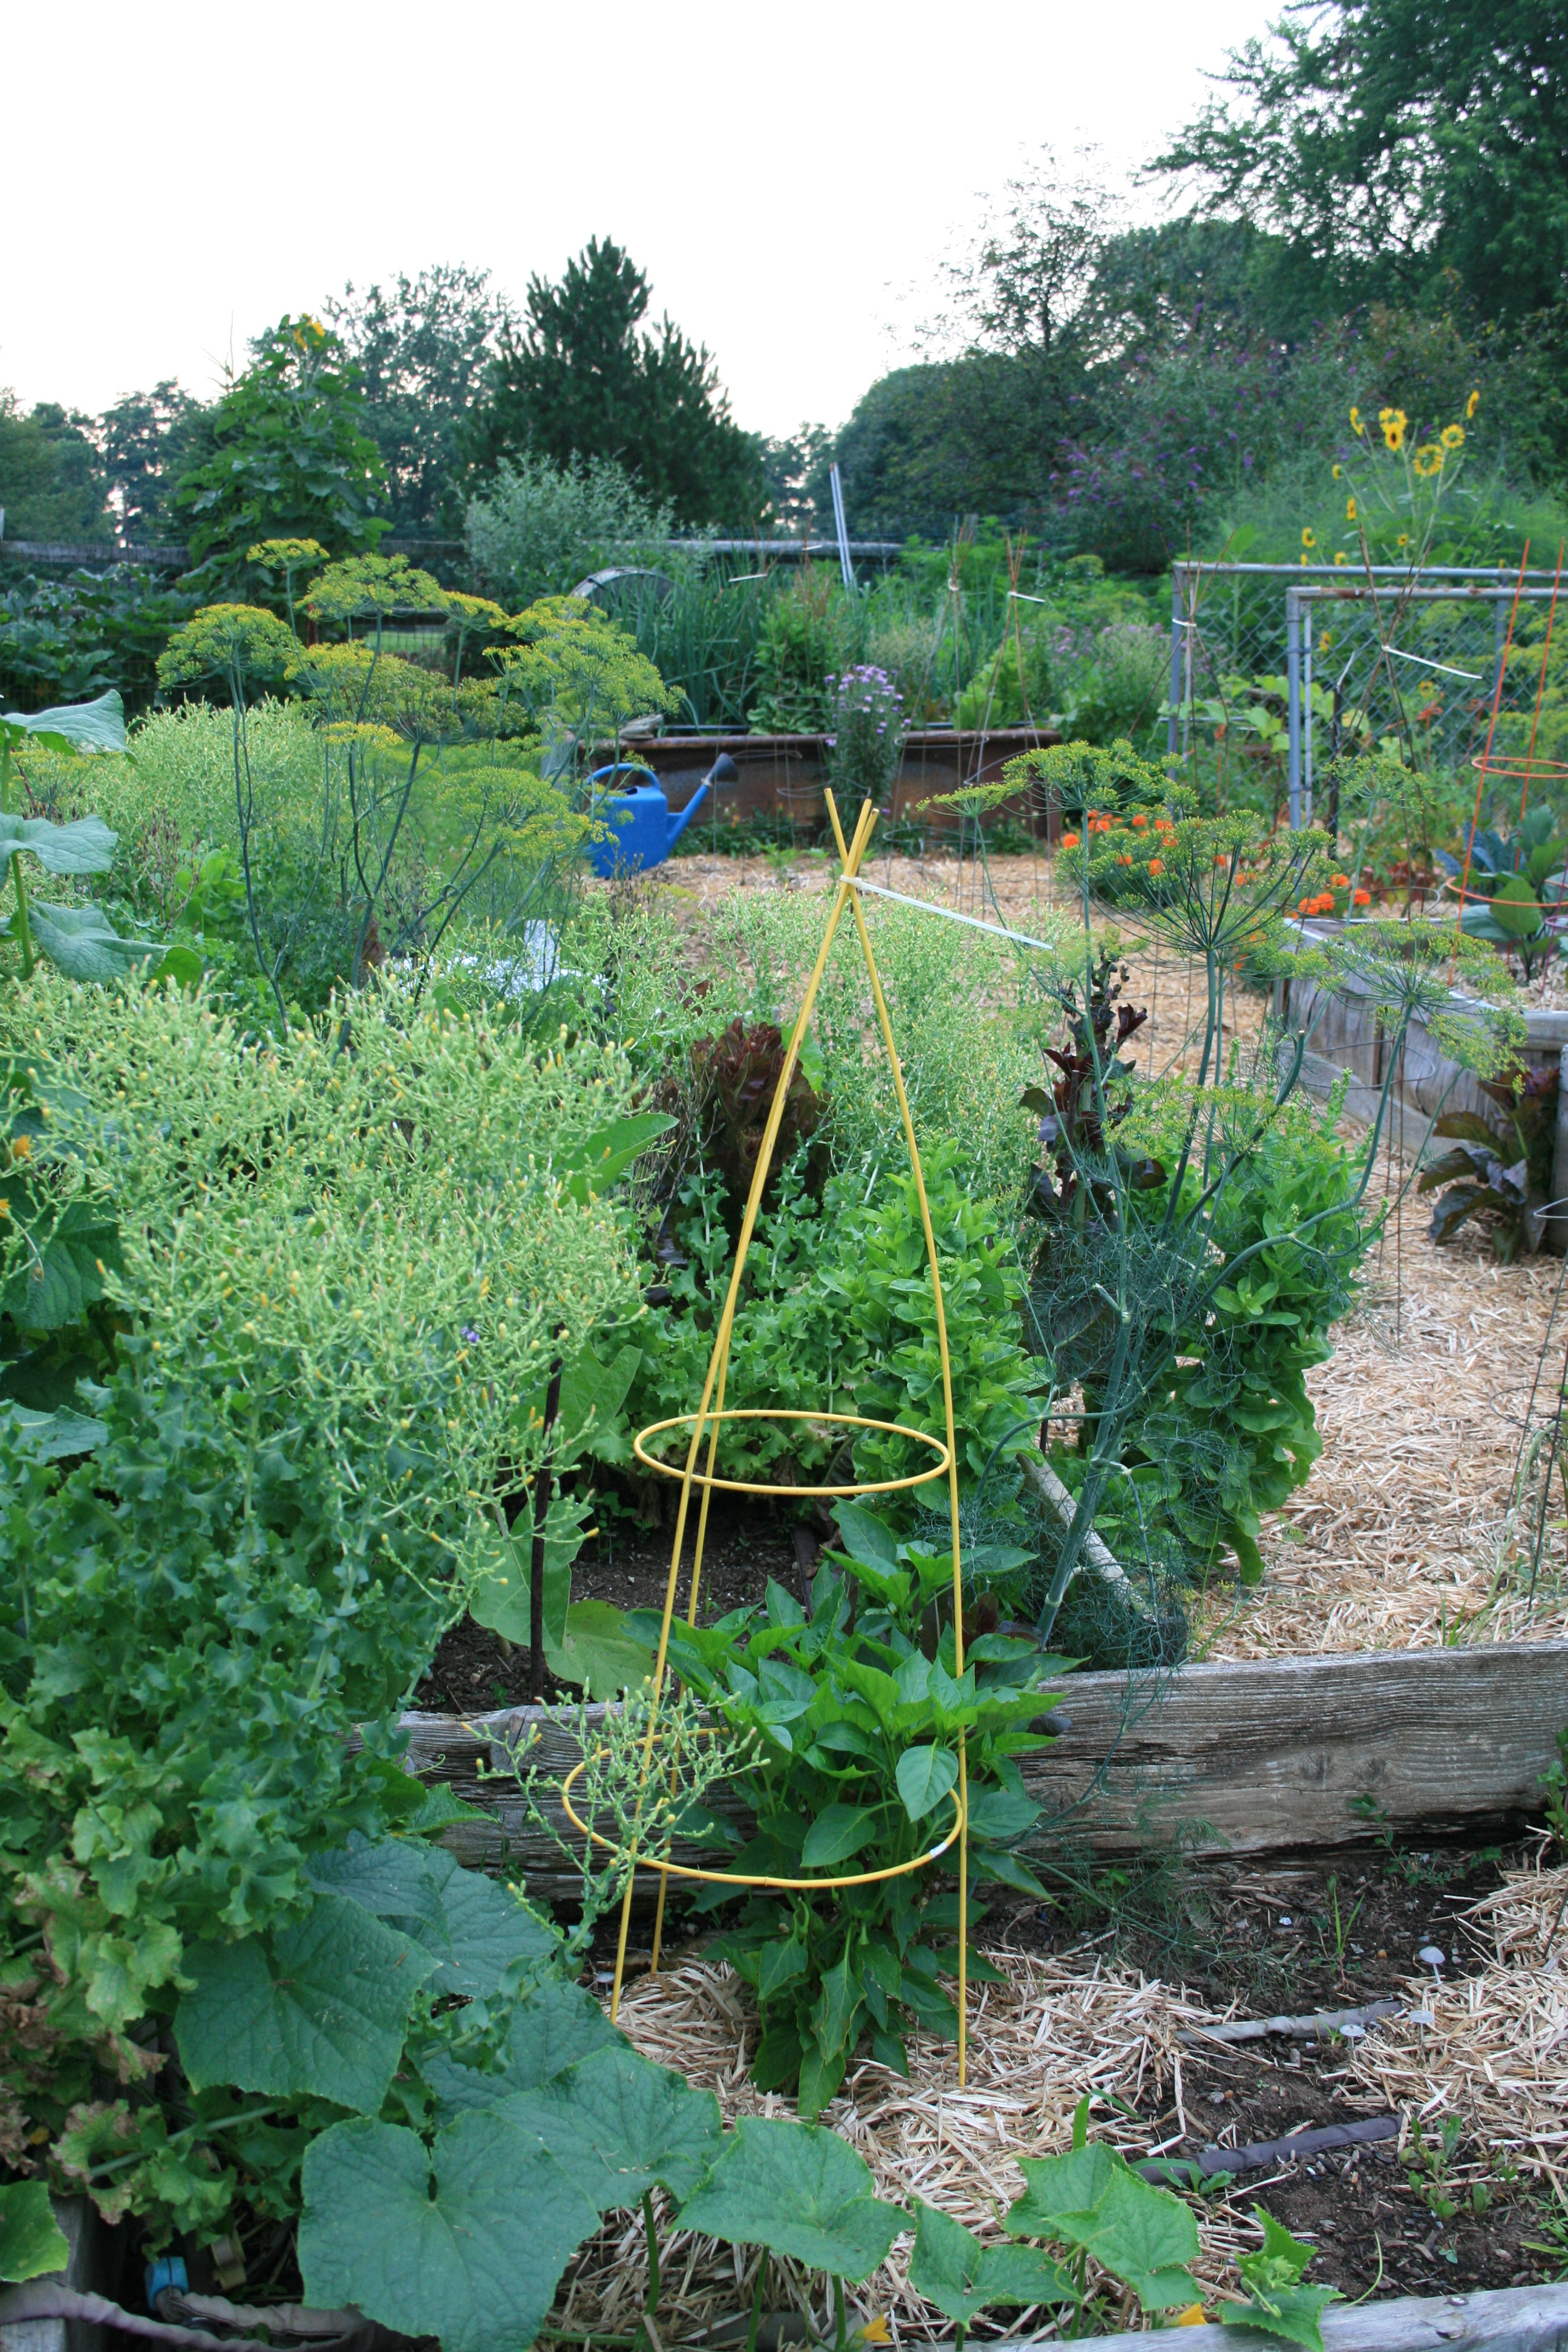
  6. Some found items that your cukes, tomatoes and peppers can climb
    Cucumbers growing up an old inner spring.

    Cucumbers like to climb and did great on this old bed spring.

    up or grow in.  When I say found, I mean things like the old double-bed spring I use for climbing vegetables or the headboard and footboard from the cast aluminum bed that I found on the side of the road.

  7. Epsom salts – dirt cheap in half gallon milk shaped containers.
  8. A bucket – free if you can get a hold of a kitty litter container or a dog food bucket.
  9. A mug – free if you liberate it from your kitchen and use it to deliver water or fertilizer right to the roots of your plants.
  10. Twine – free if you (or someone you know) buy straw by the bale, save the baling twine and use it to tie up plants.  You can also get tons of baling twine in any horse barn.  NOTE:  Do NOT use green baling twine.  It has been treated with strychnine to kill mice and rats.
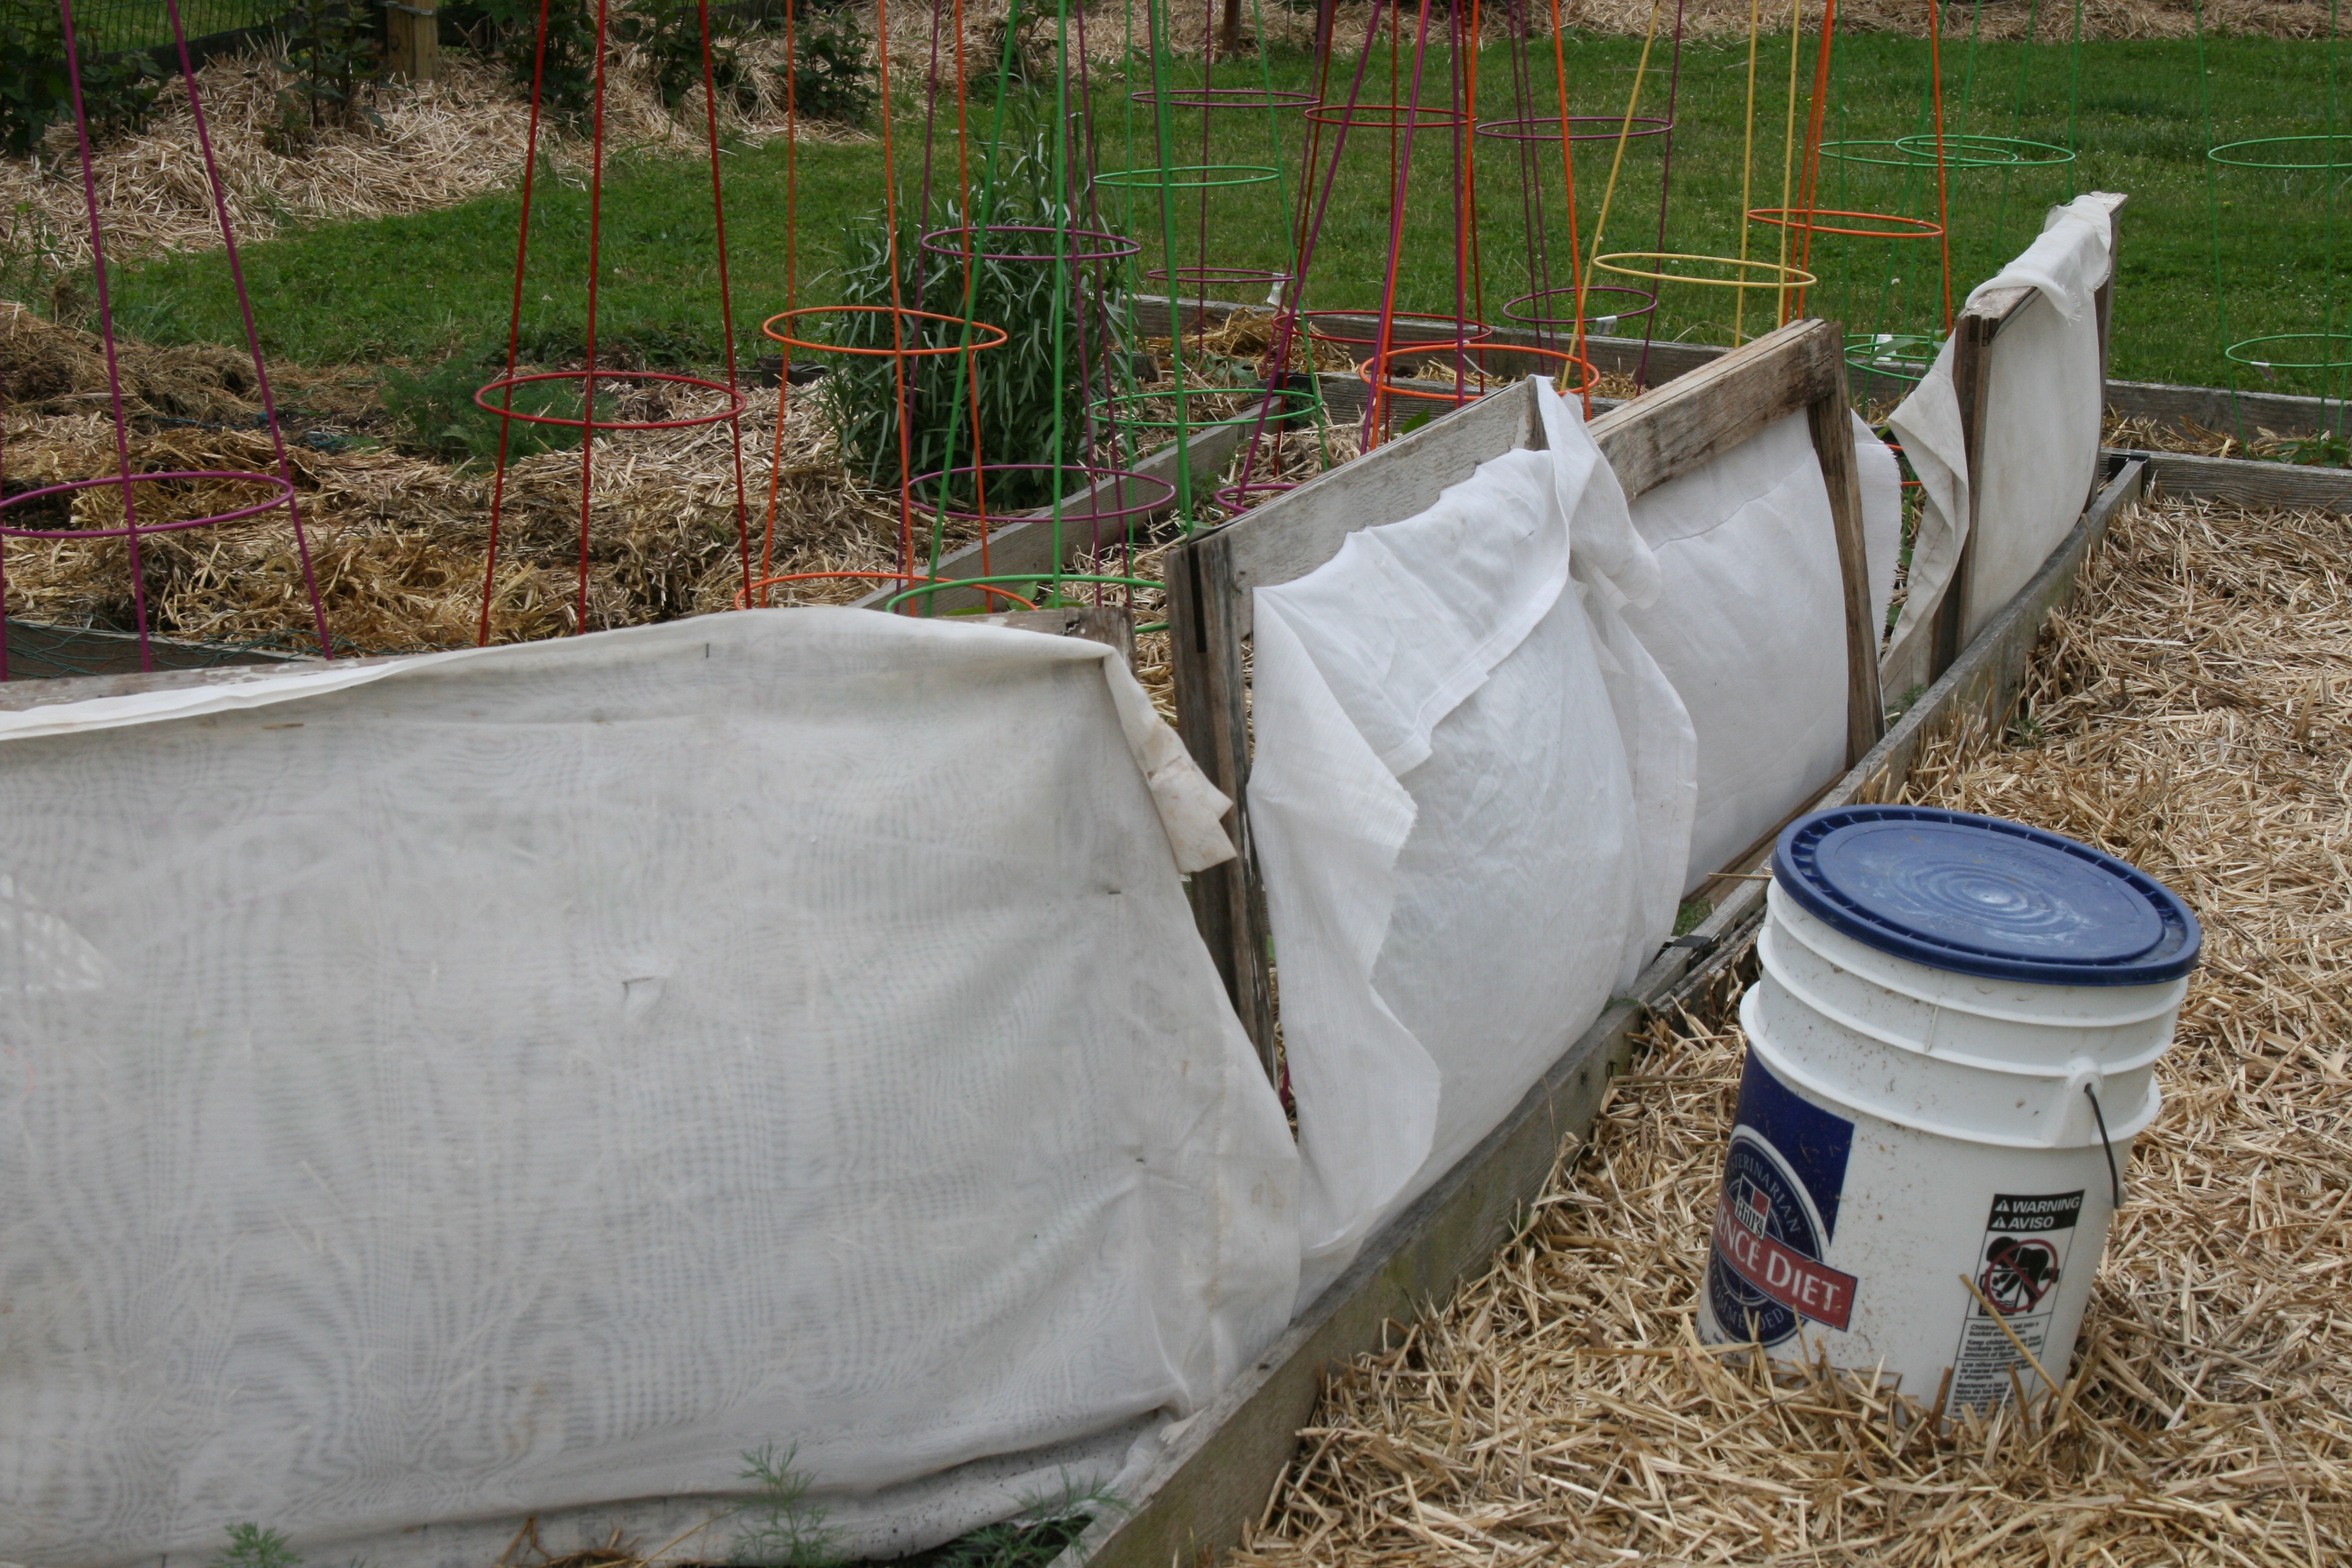
  11. Old, sheer curtains, old bed sheets and even old mattress covers – free if you save yours or ask relatives and friends to give their old ones to you.  They don’t look as pretty as commercial row covers but they will keep frost off your baby plants.  And they’ll slow down all the bloody beetles that want to share your food.
  12. Access to a public library – free and there are always books and magazines about organic gardening ready for you to browse through, borrow and take notes from.Oh, and libraries have computers and internet connections. Using them is free. And online is just FULL of ideas, tips and advice on organic gardening.  All you have to do is put in your search terms and hit Go.
  13. An old 3-ring binder and some paper – can be free if you ask co-workers to save used copy paper and write on the back.  NOTE:  I consider this a requirement for my gardening.  If I don’t write down a tip or a “lesson learned”, I forget and end up repeating my mistakes again and again and again.
  14. A bit of inventiveness, a dollop of gumption and enough courage to try, fail and try again.

There’s no hurry.  You don’t have to have all of these things all at once in order to get started.  In fact, I accumulated all the items above over the years.

So, you can garden happily without most of them.

FYI – I call this section in my book – Grow So Easy: Organic Gardening for the Rest of Us “practical” because most of the tools you need are in your closets or cabinets, the garage or the shed.  Don’t buy….just give gardening a try.

Advertisement

Who Gardens in January?

I mean, really? It's a bit hard to dig through that! But you can garden!

Even in frozen Pennsylvania, January is a perfect month to get started. All you have to do is answer a few questions:

What do you want to grow?

This is the fun part! It’s tempting to go for something you’ve seen it in the grocery store, maybe something exotic or expensive.

But maybe you should start by growing the veggies that you like the very best. The chances are you can grow it in your backyard.

Tomato just turning red
Ripening tomato

For most people, the easiest (and most forgiving) plants are tomatoes and peppers.

Cucumbers and zucchini are also pretty easy to grow and you get fruit, fast from these two.


Next question: Do you want to start from seeds or buy your plants?

If it’s your first garden, you might just want to pick up plants that are ready to go in the ground. It’s easier on you and probably easier on your transplants.

If you want to start from seed, you can buy packets a whole lot of places but I only buy from 4 sources. NOTE: The following companies are also organic and non GMO. And oddly enough, seeds that are not organic often carry herbicides and fungicides in them, both of which will show up in your vegetables.

Territorial Seeds This company lives, breathes and grows organic crops on its 75 acre farm at the foot of the Cascade Mountains. It also researches and trials seeds with an aim of helping family gardeners and farmers grow healthy food in healthy soil

Seed Saver’s Exchange This is a a network of gardeners interested in preserving heirloom varieties and sharing seeds. Today, with 13,000 members and 20,000 plant varieties, maintaining a collection of over 20,000 different varieties of heirloom and open-pollinated plants, the seeds they save have the ability to regenerate themselves year after year. These seeds can withstand unforeseen pestilence and plant disease, climate change, and limited habitat.

High Mowing Seeds This company believes that re-built food systems can support health on all levels – healthy environments, healthy economies, healthy communities and healthy bodies, focusing on re-building of healthy food systems through the seeds they source and grow.

Baker’s Seeds At Baker’s Seeds, they aim to provide the seeds of a sustainable food supply for everyone and keep heirloom varieties alive for future generations.  Their drive is to preserve seed diversity and food security in an age of corporate agriculture and patented, hybridized or genetically modified seeds.

These four companies works in its own way to try to save heritage breeds. But they also work hard to put the power of the food supply back where it belongs – in our hands and the hands of local farmers.

If you aren’t convinced yet, think about this:

The average distance any supermarket vegetable or fruit travels to the store is 800 miles. But a gardener’s own fruits and vegetables move from the garden to the table within minutes, with every ounce of nutritional value intact

Gardening is easy – soil, seeds, sun and water and you have fruits and vegetables galore. Nxt week – tools you need.

PS – this is my first time trying to edit in the new “improved” WordPress editor. UGH! It will get better, I promise.


2020 Garden All In!

2020 Garden

Homemade wind breaks

You are looking at a wind break born of a desperate attempt to save my beautiful, raised-from-seed, plants!

My 2020 gardening season did not start off well. In fact, in looking at this scene, you might be asking what my husband asked when he saw it.

“When did the gypsies get here?”

Droll as that is, and ugly as it is, this hand made wind break, billowing like a sail, has saved 17 tomato plants from early death! And these breaks were free, made from materials I already had on hand and had been using for years.

Wind break saves tomatoes

Tomato wind break in action.

Here’s what happened.

The day after I finally put all my overgrown tomatoes in the ground, Mother Nature treated us to constant wind velocities of 17 to 20 Miles Per Hour (MPH).

The next day was the same and I was watching the leaves on every single tomato dry up, burn  and drop off, a death sentence for any plant.

Early the next morning, in desperation, my “gypsy wind break” was installed.

It’s made of the queen sized sheets I sewed together to protect my blueberries from the birds. (Once you catch and kill a bird in netting, you probably won’t use it again.)

Okay so this wind break is not pretty but it does the job!

Wind break for tomatoes

Gypsy wind break saving my tomatoes

It would have looked a bit better if I could have attached it directly to the tomato trellis but the clips and clothespins were too small. So, I used the bamboo poles I’ve had for 25 years and attached the sheets to them. Eureka! A wind break was born.

But I didn’t stop there!

WIndow frames as wind breaks

Old window frames as wind breaks

I found a new use for the old window frames that I use to cover plants if we get a late frost. They too were employed to break the wind and keep it off of 8 pepper plants and 5 eggplants.

These frames were free; I just stapled old sheer curtains to them to protect my plants.

Cukes under window frames

Window frames protecting cukes

Two of the window frames were tilted down over my 9 cucumber plants, again, to stop the killer wind.

You can just see the plants nestled under the frames and mulched with straw. They must be happy because they set their 3rd set of leaves, already.

Although the garden looks like a bit of a hodgepodge, all of the plants, including the tomatoes, have recovered and are starting to look like they may survive!

Amish Paste tomatoes

Amish paste tomatoes nestled in

But, because my hand-raised tomatoes got such a rough start, I cheated and went to Maple Shade Nursery. I bought 6 Amish Paste tomatoes and put them in the ground yesterday, in the rain.

Checking on them today, they all seem very happy, no wilting, no burned leaves.

I also sneaked in 6 yellow squash plants and tucked them into my blueberry patch..

Today, it’s warm, it’s moist and I think my garden will actually survive!


For all of you who are just beginning to garden, enjoy! It can be tricky but it’s also so rewarding.

Lettuce & Spinach

Lettuce & spinach ready to harvest.

Walking in my bare feet, in the dirt and on the straw and the clover is my idea of heaven and…you get to eat what you grow, like this glorious lettuce and spinach!

FYI, the windbreak stays up until the second week of June….

June in the Junkyard Garden!

raised bed gardening

2019 Garden explosion

Oh what glorious changes are wrought with a little heat and a little sun!

My garden is literally exploding and there are baby veggies everywhere!!

Temperatures in the 90’s during the day and 70’s at night were all it needed.

Remember I said I encourage volunteers?

Dill plants growing wild

A sea of dill

This beautiful sea of dill plants, running down the middle of my tomato vines is what you get when you let nature do all the work.

What’s funny about all this dill is that I don’t use it in any recipes, don’t cook with it and don’t even cut it. I encourage it to grow because it brings hundreds of beneficial bees and wasps to the garden every single day.

I also have fennel that self seeded growing up by my pole beans, sun flowers growing next to the garlic beds.

Borage and Bachelor Buttons

Flowers growing where seeds fell.

And one end of my garden is graced by beautiful borage and bachelor buttons plants that seeded themselves!

Mixed in with more dill, these flowers feed bees, help to pollinate tomato, cucumber and bean plants and just plain light up the landscape with their color and their grace.

Serendipity brings them to my garden and they bring a joyful smile to my face every single  day that I am privileged to walk among them.

The heat has given my tomatoes a HUGE boost in growth – both the vines and the baby tomatoes themselves.

Atomic Grape tomatoes

Atomic grape tomatoes


Fox Cherry Tomatoes

Fox cherries on the vine

Atomic and Fox Cherry tomatoes are popping up on every single plant — all 13 of them.

And the 5 Kangaroo Paw plants are finally setting tomatoes, too. They look squat and round and I can’t wait to taste them.

Everywhere I look their is Life with a capital L.

The sweet potatoes are branching out; the volunteer tomato is setting flowers and fruit and my newest fig — Phygmalion is beginning to reach for the sky.

Chicago Hardy Fig

Phygmalion the fig

This is Phygmalion’s first full summer. Planted last August, she made it through our rather wickedly cold winter but she was supposed to. This is a Chicago Hardy fig – supposedly able to withstand -40 degrees. She joins Figaro – an Italian fig of unknown ancestry and Evangeline, a brown Turkish fig. Here’s hoping they all produce this year! I LOVE fresh figs but I also love fig jam.

Everything is growing and thriving right now – in those old truck beds or inside the PVC cage made for the tomatoes which are held up by orange and blue twine from my straw bales.

In the smaller truck bed, kale continues to produce while lettuce and spinach bolt and set seeds for me.

And in the big truck bed, the salvaged and bent fencing is fast disappearing under the cucumber vines twining up the links! The portulacas in the middle add just a dash of color while bringing in tiny beneficial bees. Finally, all the work is beginning to pay off. That’s it from this junkyard! Here’s hoping you are having happy gardening in your “junkyard”!

Cucumbers climbing chain link fence.

Cukes climbing the fence

Cukes growing

Healthy and happy cucumber plants

July Garden Update!

Today, I will write with pictures, not words. So here is the pictorial update on my garden…and how it’s growing.

Despite cool nights (high 50’s and low 60’s, still), there are wonderful things are happening in my backyard.

Onions in May

Onions in May

Onions ready for harvest

Onions ready for harvest


Asparagus crowns need trenches

Asparagus trenches-April

Asparagus Growing-July

Asparagus Growing-July

Bianca Rosa Eggplant-July

Bianca Rosa Eggplant-July

Bianca Rosa Eggplant

Bianca Rosa Eggplant-June

Tiffen Mennonite Tomato

Consueleto tomato-June

Consueleto Genovese ripens

Ripening Consueleto-July

2018 Garden Underwater, Again

Normally, mid-May into mid-June are the weeks where you grab a tall, cool glass of Kombucha and sit down in your comfy deck chair and watch things grow…normally.

2018 garden underwater

My garden in the mist

This year, 2018, what I am frequently doing is sighing, drying off my dogs and hoping that the cold (low 50’s right now), wet weather doesn’t finish off all the plants I raised from seed.

This is my garden, in the mist. It looks pretty good, from a distance.

But my tomato plants are really starting to show the wear of 4 weeks of wet weather. The yellowing and spotting on the leaves is spreading and, because of the persistent wet growing conditions, I don’t think I will be able to stop the destruction.

What my tomatoes have is called Septoria Leaf Spot.   

Septoria fungus

Septoria on my tomato babies.

Septoria is a fungal disease. In normal weather conditions, you can usually prevent or at least slow it down by following good gardening practices like:

  • removing diseased leaves quickly
  • watering with soaker hoses,
  • never watering at night,
  • spacing your plants so each one catches the breezes and dries out,
  • rotating where you put tomato plants from year to year.

But I’m not experiencing normal weather conditions. And this fungal disease loves it when it’s wet out.

According to Michigan State University Extension (MSUE), my back yard is the perfect storm for Septoria, “When conditions are wet, spores are exuded from the Septoria fruiting bodies present on the infected tomato leaves. Once the spores land on a healthy leaf, spotting can appear in five days if weather conditions are ideal.”

Septoria will affect my 2019 garden

Septoria will affect 2019 garden, too

Worse than experiencing Septoria, this year, is the fact that the spores shed by the fungus live on in the ground cover and even in the soil. So, even if I remove the infected foliage, even if I rotate my plants, the chances of recurrence in 2019 are high.

I certainly have ideal conditions for this fungal invader!

I will fight back this year by using an organic fungicide called Serenade. I don’t like resorting to this solution but it is non-toxic to birds, bees, beneficial insects, fish, and wildlife.

As an organic gardener, I hate introducing this into my eco-system but I know the long-term damage Septoria can cause and I have to take necessary measures to reduce or eliminate this “perennial” from my garden.

And I will soldier on with the rest of my plants because that’s what gardeners do and because there are other plants growing quietly, albeit slowly, in my garden that need tending to. Here are some photos of these brave, green soldiers.

2018 Garden is In – But Oy The Weather…

2018 Garden enjoying sun

2018 garden enjoying sun

So, my garden is now, totally in the ground.

This year I planted garlic, onions, lettuce, beets, spinach, tomatoes, eggplant, peppers, cucumbers (still considering zucchini), green beans, asparagus, of course and herbs like basil and Italian parsley.

I finished putting the last Bianca Rosa in the ground Saturday morning.

Bianca Rosa eggplant

Baby Bianca Rosa eggplant

Saturday evening, we got 70 MPH winds, driving hail and torrential rain with a side order of thunder and lightning and the threat of a tornado!

The baby eggplant survived…and seem to be settling in to their truck bed.

But I live outside of Philadelphia…in Pennsylvania! We don’t get tornadoes. Oh, wait, we do now courtesy of the non-existent global warming and the ever increasing turbulence of our weather and of the very earth itself.

It has rained every day since last Tuesday. It is going to rain again tonight. In fact, we are under a flood watch from 4PM today to 2AM tomorrow morning. We might get a day or two of clearing, then all that rain that is currently drowning Floridians will be…here.

Tomato plants hanging on to their trellis

Tomato plants hanging on, literally

Even my tomatoes have toughed it out…although they are looking just a bit “wan.”

As with every year, there are, of course challenges – bugs…rabbits, deer. But this year, it seems that Mother Earth is setting about re-balancing her planet – with or without us.

But there will be vegetables and fruit in my backyard this summer. Most of these plants will survive. And so will I.  I will keep on gardening, keep growing.

My garden will grow

My garden will grow

And I will keep praying that we, the humans who inhabit this planet, slow down a bit, become more aware of the risk and start backpedaling from taking, using, devouring and otherwise destroying this magnificent home on which live and orbit the universe.

Grow So Easy – Growing Garlic

Garlic is easy to grow and has much more taste if it's homegrown.

Growing garlic is easy.

I got lucky when I married Italian because garlic is, was and always will be one of my favorite foods in the kitchen. And it’s one of my favorites to plant.

Garlic is another crop that basically takes care of itself. If you get the right cloves to plant then give those cloves a good start in the right soil at the right time, you should harvest enough nice-sized bulbs of garlic to last through the year.

The Bad News
Garlic is planted in the fall. If you didn’t put your garlic seed (cloves actually) in the ground in October, it’s too late to plant it now.

If you plant in the Spring, you are doomed to fail.  Seed garlic is dormant.  It MUST be exposed to cold temperatures in order to grow and change from cloves to bulbs. 

No cold means no bulbs, spindly growth and frustrated gardeners.
Besides, planting in the fall means that Mother Nature gets to do all the work while you sit inside browsing through seed catalogs and dreaming of spring.

The Good News

Garlic growing in the spring

Garlic in the Spring

If you planted your cloves in the fall, you should already have healthy, happy garlic babies growing in the soil.

Planting when the world is getting frosty, the snow is falling and the wind is cold  seems wrong and it would be if that’s all you did.

But there’s an easy, cheap trick to keeping your garlic safe through the blustery winter months; you blanket them in straw. The straw protects the bulbs from the cold, lets them overwinter safely and ensures they will be ready to start growing as early as March.

Garlic growing through straw

Garlic poking through its blanket

Once Spring arrives, it’s important to uncover the garlic as soon as possible so the sprouts don’t rot.  If they rot, you will lose your garlic crop.  Here’s an easy tip for knowing when to uncover garlic (and onions).  When the forsythia bloom, pull back the mulch.  You may even find a few garlic bulbs already sprouted under there.

Protect cool weather crops with window frames

Sheers stapled to window frames

Depending on your zone, you will probably get a few frosts after you uncover the garlic.  Just toss something over the young plants to protect them.  I use window frames that I’ve stapled old curtains to or an old queen-sized mattress cover and drape it over the corners of the bed where the garlic is planted.

Harvesting Garlic
How do you know when to pull the garlic up?  Honestly, this has always been a struggle for me. And the more I researched and read, the more confused I got.

Pull it up on this day/date.  When the leaves on one or two start to brown, push the rest of them over, wait a week and pull them up.  Wait until all the leaves on the plants are brown then pull them up.   Aaaaaaargh…as one our most famous philosophers used to say!

What finally cleared it all up for me was a simple, beautifully written article by one of my favorite garden gurus, Margaret Roach, who clearly understands the garlic harvest conundrum.

Too early, and the bulbs won’t have time to develop to their full size.  Too late and the bulbs will be over ripe, cloves will separate and the harvest won’t store as well.

Here’s the gist of Roach’s advice for harvesting garlic:  Harvest when several of the lower leaves go brown, but five or six up top are still green. Depending on the weather, this typically happens here (New York state) in late July.”

Rip & Regret
A word to the wise: healthy garlic develops a pretty serious root structure.  Do NOT try to pull garlic up by its greenery!  You will break the tops off and the garlic bulbs really need their tops to cure.

So, what’s the easiest way to pull these babies out of the ground?  With a garden fork – not the hand-held kind.  You want a flat-tined, digging fork like the kind you would use to dig out potatoes, like the one you see resting next to my garlic in my wheelbarrow.

  1. Start about 2 to 3 inches away from the garlic bulb.
  2. Push the tines down into the earth, almost as far as they will go.
  3. Rock the fork front to back and side to side to loosen the dirt around the roots of the bulb.
  4. Keep loosening until you can easily and gently pull the bulb from the ground.
  5. Equally gently, lay the cloves into a wheelbarrow.  Banging them will bruise them.

As soon as all your bulbs of garlic are out of the ground, you need to get them out of the sun and into a nice, dry, temperature controlled space with good air flow.  I use my shed.  I lay down an old sheet, then place the bulbs side by side but not touching.  I want air flow around each bulb.  And if one’s going south, I don’t want it to take the others with it.

Curing Garlic
Once you have them in your controlled drying spot, leave them alone for 6 to 8 weeks while they cure.  (I do check them to make sure none are going bad…). When they are cured, If they’re soft neck, braid away.

If they’re hard neck (what I always raise), you can cut the tops and the hairy roots off and store them inside.  I actually put mine in a big tray and shove the tray under the dresser in my sewing room.

The temperature is moderate in this room (I keep the thermostat at 62 in the winter) and the light is dim under the dresser.  My garlic seems to keep perfectly there.

NOTE:  check the cloves about every 6 weeks, especially if there is any aroma of  “garlic” wafting through the air.  If you can smell the garlic, it means one of the bulbs is probably going bad.  If you leave it in the general population, it may turn other heads bad, as well.

Save 8 to 10 bulbs of your garlic for planting in October and November and enjoy the rest, all winter and spring.

Free Organic Gardening Book – How To Grow Peppers

Pepper seedlings ready for transplant

Pepper seedlings

It’s way too cold to put any warm weather plants out including peppers. But it’s not way too cold out to figure  out if you want to grow peppers and if you do, what kind you want to grow.

The only pepper I saw in my mother’s garden was the green, bell pepper.  And I never liked them.  The taste was too strong, bitter, almost biting.  So I never planted peppers until I found red and yellow bells.

Discovering peppers of color led to what is now my favorite pepper of all time, the Italian sweet pepper.

Italian Sweet peppers have a rich green color that gradually turns brilliant red.  The flesh of the pepper is medium thick and the fruit is slightly curved, tapering to a pointed end.

These peppers can grow as long as 12 inches but are usually between 7 and 8 inches long.  Raw, they are sweet all on their own or as an addition to a salad.  Cook Italian sweet peppers and add sweetness, richness and depth of flavor to just about any dish.

So, even though I still raise red and yellow bell peppers, I make a lot of space in my garden for the Italian sweet pepper also known as (aka) the frying pepper.

Starting From Seed
Peppers are a warm weather plant so I always start them from seed.

Start pepper seeds indoors in March

Start peppers indoors

And I always start peppers 2 to 3 weeks earlier than the date specified on the seed packets.  Why?

In my zone, peppers that are started 8 weeks before my last frost (around May 15th) just aren’t big enough or strong enough to set fruit before the middle to end of July.

As a result, if I started plant when the seed packet said to, I’d only get a few peppers from each one. If I start the plants indoors and early, I get a glorious crop from all my plants!

I use 24-cell APS starter kits from Gardener’s Supply and I highly recommend them.  Funny thing is, I’ve been using cells for seed starting for years and now, recent research revealed that growing peppers in larger tray cell sizes or containers will produce larger transplants.

Seed starting in cells

Cell system for seed starting

There are a couple of other reasons I use these kits.

For one thing, I’ve had the same kits for more than 20 years and only one has failed in that entire time.  For another, the kits ensure that your seeds and seedlings get just the right amount of water while sprouting and growing.  Not too much – not too little — because they use capillary mats in the cell system and take advantage of osmosis.  Because of the system design, I never have to contend with damping off when using these kits.

I fill the cells with Gardener’s Supply germinating mix, place 4 seeds in each cell…two in opposite corners.  Then I cover each cell with a bit of sphagnum moss, put on the plastic top and set the tray on my heat mats. I fill the tray with water and then check every day for water level and, in 4 or 5 days, to see if the seeds have sprouted.

As soon as the seeds sprout, I lift off the clear cover and drop the light to within an inch of the cells.  As the plants grow, I keep the trays watered and I keep the light as close to the seedlings as I can without touching them.  If the light touches them, even a fluorescent light, it will burn the baby’s leaves and slow its growth.

When the seedlings have two full sets of leaves, I give the plants a very mild fertilizer called Plant Health Care for Seedlings, also from Gardener’s Supply,

Once the plants are 3 to 4 weeks old, I transplant them into 2 inch peat pots.  NOTE:  If all the seeds sprout, either separate the seedlings and put one in each peat pot or clip the smaller of the seedlings off with nail scissors so the remaining seedling has more room to grow.

Transplanting Peppers
Before you put your pepper plants in the ground, make sure you are NOT planting them in the same area where you had tomatoes, eggplant or potatoes last year.

Peppers are in the Solanaceae plant family and are botanically related to these popular garden vegetables.  Because they are related, peppers can share the same spectrum of pest problems and should not be rotated into soil recently lived in by their kissing cousins.

Also, whether you’re growing from seed or using transplants (unless they were outside when you bought them), you have to “harden off” your plants before you stick them in the garden.

Hardening off seedlings

Hardening off seedlings

Hardening off does NOT involve tools or torture.  It just means that you have to introduce your transplants to the outdoors, gradually.

Five or six days before you want to put them in the garden, start setting them outside for a couple of hours the first 2 days and keep an eye on them.

Make sure they have water and are not staked out in high sun or high wind.  Then leave them out all day for 2 days then overnight for one night.

NOTE:  also, when hardening off, stop fertilizing.  If the plants have small flowers or fruit on them, pinch both off.  You want to help the transplant direct all of its energy to rooting in the soil before it tries to set flowers or fruit.

Remember, peppers like warm earth and warm air – even warmer than tomatoes.  So the optimal temperature for them to go into the ground is 75 to 85 degrees. Peppers are typically transplanted about two weeks later than tomatoes, for me that’s early June.

Peppers can be planted in single rows or twin (double) rows on a raised bed.

Peppers in tomato cages

Peppers in a tomato cage

Space the pepper plants 12 to 24 inches apart and space rows about 4 feet apart. If you decide to use a double row, make the rows about 18 inches apart on the bed and put the plants in the ground in a zigzag pattern.

By the way, peppers and tomatoes don’t work and play well together so don’t plant tomatoes on one side of your trellis or fence and peppers on the other.  The pepper plants will grow but their growth will be stunted.  And the peppers themselves will be small and prone to rotting.

Feeding The Peppers
If you don’t want to use fertilizer on your transplants, here’s a little trick I learned from a farmer friend.  Crush up eggshells and put about ½ of a cup of them in the bottom of the hole. Toss a bit of soil on top of the crushed shells before you put the pepper plant in so the baby roots (cilia) are not cut.

Crushed egg shells are slow to break down but will feed the plants.  And they are free so I love using them as my fertilizer.  By the way, you can also use crushed egg shells to stop slugs…just by sprinkling them around the base of your plants.

Peppers have shallow roots so water them when they need it and don’t hoe too close.  Also, stake peppers so that when fruit loads are heavy, the plants don’t topple from weight or high winds.  I use old, inverted tomato cages.  That sounds odd but the cages work better than anything else I have tried.

I put the tomato cage over the plant with the wide ring on the ground and fasten the ring down with ground staples.  Then I gather up the tips of the cage and secure them with a wire tie.  The pepper plant stays inside the cage, grows up straight and is supported even in the heaviest wind or thunderstorm.  And I don’t have to tie the pepper plants up.

NOTE of apology: due to a family emergency, I was out of town last week. I apologize for missing a post and hope you enjoy this one about growing peppers.


Practical Organic Gardening – Free tips on Growing Lettuce

Red Butterhead lettuce ready for harvest.

Red Butterhead lettuce makes a soft, beautiful head that’s perfect for salads.

I love raising my own lettuce.  It’s a love born out of hate.  That sounds like an oxymoron but it isn’t.

I started raising lettuce when the price for 12 ounces of the organic stuff hit $5.98 a bag.  For me, that’s $18 a week for under two pounds of green leafy lettuce.

Do the math.  I was spending almost $1000 a year on lettuce!  Try doing that on a fixed income.

I hated paying the price so I stared planting and growing my own.  And guess what?  Lettuce is one of the easiest crops I have ever raised.  And, it’s a
two-fer! Save your seeds and pay no more (well maybe you’ll have to buy every 3 or 4 years).  Just keep planting and harvesting.

So, let’s start with seeds.  I am pretty particular about whose seed I buy.  I want organic seed, especially if I plan on saving and sowing.

Organic red leaf lettuce

Organic red leaf lettuce grows quickly and tastes sweet by itself or in salads.

And I want flavorful leaf lettuce — not head lettuce you have to chop with a cleaver. And I definitely do not want Genetically Modified (GMO) seed.

There are three places I buy seed:

Hudson Valley Seed Library –  the variety they offer is impressive.  Their seed is  locally grown in a climate and soil not unlike mine here in Zone 6b.  And this company helps support school and community gardeners with donations of seeds.

Territorial Seeds – kind of the granddaddy of organic seed growers, this company was organic before organic went mainstream.  Family-owned, Territorial Seeds has a fantastic reputation for the seeds it sells and the customer service it brings to the table.

Grow Italian – I discovered this company more than a decade ago and it’s my go to seed company for all things Italian including lettuce and mixed greens.  When you buy a packet of lattuga from them, you get high quality, high-germinating seeds and a lot of them.

I think the hardest part of growing lettuce is picking the kinds you want to try. But once you have your seeds, planting is so easy, you’ll wonder why you didn’t do it sooner. I tend to sow the seeds right in the garden bed.

One problem when planting lettuce is that the seeds are small and lightweight and they tend to drop into the dirt in clumps or blow off my hand. I used to have a hard time getting them to spread out on the soil but here’s a trick my sister taught me.

  1. Get some soil – take it from your garden if it’s rich and light or grab some potting mix.
  2. Fill a quart jar about 2/3rds full of the soil.
  3. Put lettuce seeds in the jar.  I put different types together so I grow my own “mixed greens.”
  4. Shake the jar until all the seeds are mixed, uniformly, through the soil.
  5. Gently shake the soil out of the jar and into your beds. If you can still see some of them, put just a tiny bit of dirt over the visible ones.
  6. Water the seeds in.

Then all you have to do is water every day until the seeds spout.  Then water weekly and wait for the lettuce to grow.

A few more tips:

Don’t plant in the summer!  Lettuce, like beets, likes cool weather.  You can plant in the spring and again in August for harvest in late September and October.

Start lettuce plants indoors if you want.  I use 40-cell growing trays.

Seed starting in cells

Cell system for seed starting

And I start mine in early February.  When I transplant, I cover the babies with a small tunnel to protect them from frost.

When you cut lettuce leaves, don’t cut them down to the ground.  Cut about an inch from the bottom and you will get a second crop.

If you want to save the seeds, plant for a spring harvest but only cut the first crop.  Let the second set of lettuce leaves grow up and flower.  Then wait.  It will be tempting to take the flower heads off when they get their puffy, white hair.  DON’T.

The seeds need to mature.  Wait until the heads are dry, brown and about ready to burst.  Then pull the seed heads off, take the seeds out and let them dry in a small strainer for a couple of weeks.  I refrigerate mine once they’re dry and plant them in the fall.