Tag Archives: organic gardening

Grow Peppers as Perennials

Growing peppers organically is second nature to me but I really never thought about trying to keep my sweet Italian peppers alive through the winter.

Who knew that peppers are perennials?

Jeff W – who created diy2thrive – knew.

His most recent podcast is all about how to grow peppers as perennials. I had no idea that in their native environment, peppers can live 5 to 7 years!

And his podcast doesn’t stop there. He discusses how peppers like to grow, what they like to eat and why peppers are a miracle food.

I love Jeff’s podcasts in general and really love the ones where he adds history, health benefits and tips for use.

So enjoy this podcast and sign up for more. I did!

Eartheasy’s Composting Tips

If you are retired or you just like to work hard at gardening, Eartheasy offers some good tips on how to make compost over the winter.

The tips tell you how to cope if you have really cold, snowy winters or really wet ones.  And they cover location, additions and protection of your compost.

But if you are a lazy gardener, like me, one who thinks God handles composting pretty well, then you might want to read about my method of composting.

And if you want to know why composting is so important, check out why the magic of gardening truly is, “…in the dirt.”

BONUS:  two of my very favorite books on dirt are included in the Magic of Gardening.  Dirt: The Ecstatic Skin of the Earth by William Bryant Logan and Holy Shit: Managing Manure To Save Mankind by Greg Logsdson.

If you’re looking for a gift for your organic gardener, you can’t dig up any better than these two tomes.  Perfect for reading on the coming winter days!


Late Bloomer – Summer Garden Wrap-up – Episode 2.19 – YouTube

I love gardeners who love what they’re doing so much that they take the time to share information, advice and stories with other gardeners, even if it is all about fall clean up.

Kaye Kittrell is one such gardener.  Kaye is a member of my LinkedIn group – Grow Girls Grow Organic.  And Kaye makes the most wonderful videos about her gardening experiences.

Kaye wraps up all the lessons she learned this past year about aphids, powdery mildew and cabbage worms.  One quick tip for her and other gardeners:  to kill cabbage worms, get an old-fashioned flour sifter, put some flour in it and head to the garden early in the morning.

Make sure you get to the worms while the dew is heavy. Sift flour on the plant and worms and watch the sun dry them into papier mache worms! When it rains, the flour washes right off.  My mom’s tip and it works like a charm.

Professionally shot and edited, these videos are fun to watch and always teach this old gardening girl something new. So, I thought I would share!

Enjoy this wonderful, warm weather gardener’s adventures in dirt, especially here in the Mid-Atlantic where we are currently sitting under about 10 inches of snow and 1/4 inch of ice…all delivered in the last 7 days.

Late Bloomer – Summer Garden Wrap-up – Episode 2.19 – YouTube.

via Late Bloomer – Summer Garden Wrap-up – Episode 2.19 – YouTube.

When Gardens Go Bad

I went on a family vacation.  My garden was still producing but not a whole lot.  So, I didn’t expect much.

I was in for a surprise!  While I was away, my cucumbers decided to play!  There were 5 cukes that were 14 inches long and almost 3 inches in diameter.  Really, look at the size of them — dwarfing my 5 quart mixer and towering over my salt and pepper grinders!

Big, sweet cucumbers.

My cukes grew huge while I was on vaca.

When I cut into them, I expected dry centers and mealy flesh but these were oh so sweet!     I couldn’t believe it!  One cucumber was enough for dinner for two adults.

But the cukes weren’t the only veggies to go berserk!

My pole beans grew up and over the 8 foot fence section I put in place for them.  And then they kept on growing.

I didn’t have pole beans; I had a green bean jungle!

Pole beans growing and growing.

The pole beans created a green bean jungle.

I could not believe how dense the growth was.  The vines twisted, turned and knotted themselves together to form a mat of green bean greenery that could not be penetrated!

It’s mid-September in Pennsylvania and I am madly picking green beans, roasting them,

Rampaging pole beans overrun my fence.

Pole beans gone wild.

making them into green bean slaw and eating them raw.

I love green beans but I already have 32 quarts canned and in the pantry.  And I think if another green bean hits my husband’s plate, he may just divorce me!

And I’m still picking cucumbers!  What a whacky gardening year this has been.

Anyone interested in learning more about organic gardening?  My book — Grow So Easy; Organic Gardening for the Rest of Us is available on Kindle!  I’ve gotten some good reviews and would love to know what you folks think!

Don’t Forget About Fall! Seed Now for Autumn Abundance

High Mowing Organic Seed’s post this week is just in time for those of us who live in zones with mid-October frost dates!

And I love how clearly this group describes the fall crops you can plant – carrots, cauliflower, cabbage, beets – and how to get a handle on when you should sew seeds to reap these beautiful crops in the fall.

The cover of my new book  published on Kindle in June.

The cover of my new book published on Kindle in June.

Enjoy their wonderful, well-written advice while I finish up with BookNook — the company formatting my Kindle book – Grow So Easy; Organic Gardening for the Rest of Us.  Should be online within a week!

Don’t Forget About Fall! Seeding Now for Autumn Abundance | High Mowing Organic Seeds’ Blog – The Seed Hopper.


Organic Gardening from Plantastic! | TED Playlists | TED

Like organic gardening?  Love growing your own food?

Then you will LOVE this playlist of TED talks all about gardening and growing and changing our planet.

I didn’t think TED could get any better but they did.  They started putting together playlists of talks on one topic – in this case Plantastic! is all about planting and growing.

The opening talk is about a guy who took on Los Angeles and won the right to plant food, real food for himself and his neighbors on land that no one wanted, no one cared about.

There is a talk about storing seeds, one about growing your own clothing and one about how to be a weekday vegetarian.

Go and watch and enjoy my gardening friends.

Plantastic! | TED Playlists | TED.


When I Walk Quietly in the Morning Garden | The Hungry Gap

I cannot write this morning.  I’m still recovering and my brain cells need to be dusted off by warm air and sunshine.  But Rick Visser can write.  And he does write about topics close to my heart.

Here he posts a brief entry, an ode almost, to life at a cellular level.  And he reminds me of an essay I wrote years ago for our local paper, The Philadelphia Inquirer, on why I garden.

Mr. Visser goes first.  When I Walk Quietly in the Morning Garden | The Hungry Gap.

And now, me.

The ground may be covered in snow but my sap still rises when I open the mail box sand see the first seed catalog nestled inside.  It means it’s time to plan my garden, gather materials and seeds and descend to the basement to start growing my crops.

How do I end up knee deep in dirt, every summer?

Gardening was my Mom’s legacy.  It was in the earth of the dozen gardens she grew that she taught me about living and dying and being reborn.

Gardening roots me.  It grounds me in beauty and order and chaos.

It is easy to see infinity when you're surrounded by it.

It is easy to see infinity when you are surrounded by it.

Sometimes, when I am sitting on the moist earth, the sun just beginning to rise and my dogs lying by my side, I swear I can see infinity.

It is the same feeling I had when I held my first grandchild.

There, in that tiny child, I saw years and lifetimes and generations marching out before me, stacked deep and deeper behind me.  The sensation was overwhelming.

In that instant, I could see my daughter, my mother, her mother and her mother before her and I knew I was holding a moment in time — never before beheld, never to come again.

In both moments, the garden and the grandchild, the veil lifts.  I feel timeless, part of the past, present and future and I feel hope.  If you garden, you feel it too.

Grow So Easy Organic – Bugs That Bug Summer Squash

I should just make a “most-wanted” poster for the beetles that invade my garden (and probably yours).  When it comes to squash, you just need to look for the usual suspects — squash bugs, squash vine borers and cucumber beetles.

The easiest way to protect your squash from these marauders is to put row covers over the transplants as soon as you put them in the ground and keep them there until the plants begin to flower.  The bigger and healthier you can make your plants, the better the chance they will survive being attacked. 

If these marauders do show up in your garden, I use all the other organic methods you use for other garden residents including, picking, drowning and squashing!

As with other insect pests, the first line of defense is to find the eggs and squash them.  It is much, much easier to limit the invasion.  Limit is the right word because no matter how hard I try, by the end of the growing season, there are always a lot more of them than there are of me. 

But because my garden is weedless, I can spend all the time normally spent dueling with weeds to find and kill insect pests!  So every morning and every afternoon, I spend about 30 minutes in the garden…just hunting bugs.

Undersides of leaves are prime egg-laying real estate.  Squash leaves are broad and numerous so I systematically turn over each leaf, check it, crush what I find and move to the next.  Some might think this is tedious but I actually find it relaxing. 

By the way, if you see frass around the base of your vines — yellow, moist, piles of chewed stem – you’ve got squash vine borers.

july09 008

Squash vine borers dig into the stems of your plants and kill them from the inside out.

Try to get the eggs of these pests, too.  But if you miss them, you can slit open the stem, near the frass, and find the little worm that is boring into your plant.

Once you find and kill the worm, just pile soil on top of the slit in the stem of the plant.  The squash plant should make a full recovery and you will keep other insect pests from invading the stem of the injured plant.

Now, some people might be thinking, “Who wants to go to all the work of finding, squashing, smashing these pests?  Why bother?”

I will answer with a question or two of my own.

First of all, what could be nicer?  I’m in fresh air, surrounded by life, listening to the song of the birds and enjoying the company of my West Highland terriers and their new buddy, a rescued Jack Russell terrier.  Even killing bugs in the garden gives me moments away from the grind.  With my bare feet planted firmly on the soil, the garden is the place I feel most grounded, literally.

Secondly, why would you trust your health to someone else’s garden?  Growing your own, practicing organic techniques ensures that your family and you will be eating healthy — you will be controlling what they eat!

So you can look at bug control as a chore or you can look at it as an excuse to feel the sun on your face and to experience the sweet song of nature in your hands, your feet and your heart.

An Easy, Organic Cure for Powdery Mildew
Powdery mildew is a scourge of cucurbits of any kind.  But it’s a late summer disease that can be controlled by proper planting and, if your plants do get it, by using an every day, household staple.

The first tip to preventing powdery mildew is to select seed and plants that are resistant.  Next, pay attention to spacing plants properly so they have sufficient air flow and are not draping over each other and getting tangled.  (Spacing helps with bug control, too.)  Planting them where they get lots of sunshine and regular breezes can help prevent powdery mildew, too.  But if you find yourself looking at a white powder on the leaves of your squash plants, you’re probably looking

Powdery mildew of zucchini

You can’t miss powdery mildew when it settles in on your zucchini.

at powdery mildew.  It’s a fast-moving disease but there is an easy, cheap and organic way to get control it and maybe even get rid of it.

Mix 1 part milk – that’s right regular, old whole milk – and 9 parts water.  Spray the affected plants. It’s easy, fast and cheap and backed by science.

This backyard gardening technique was developed specifically for zucchini by a Brazilian scientist named Wagner Bettiol, the brains behind this “solution”.  Bettiol’s research triggered an organic gardener and vintner, David Bruer to try the milk mixture on his vineyards.  And guess what?  It worked there, too!

So, even though this is a very dilute solution made with a very common ingredient, it is effective and it’s non-toxic.  Spraying in full sun works the best.   Spray once a week but don’t spray more often than that because it can cause another kind of mold to grow on your plants. 

Try to start spraying as soon as you even suspect that powdery mildew is invading your space.   And if you want to try to prevent powdery mildew from ever getting started, spray your plants before you see it and keep spraying every week or so.

By the way, most of the advice for growing summer squash applies to its cousin, winter squash.  I just don’t usually raise the winter ones because I don’t have the room for both. 

Harvesting and Storage
Squash are a bit like eggplant in that they are tough to pull off the plant with your hands.  In fact, you’ll damage the plant if you try to pull them off and you’ll open the door for the squash borer to head on into the vine.  So use a knife to harvest your squash and cut about an inch from the top of the fruit. 

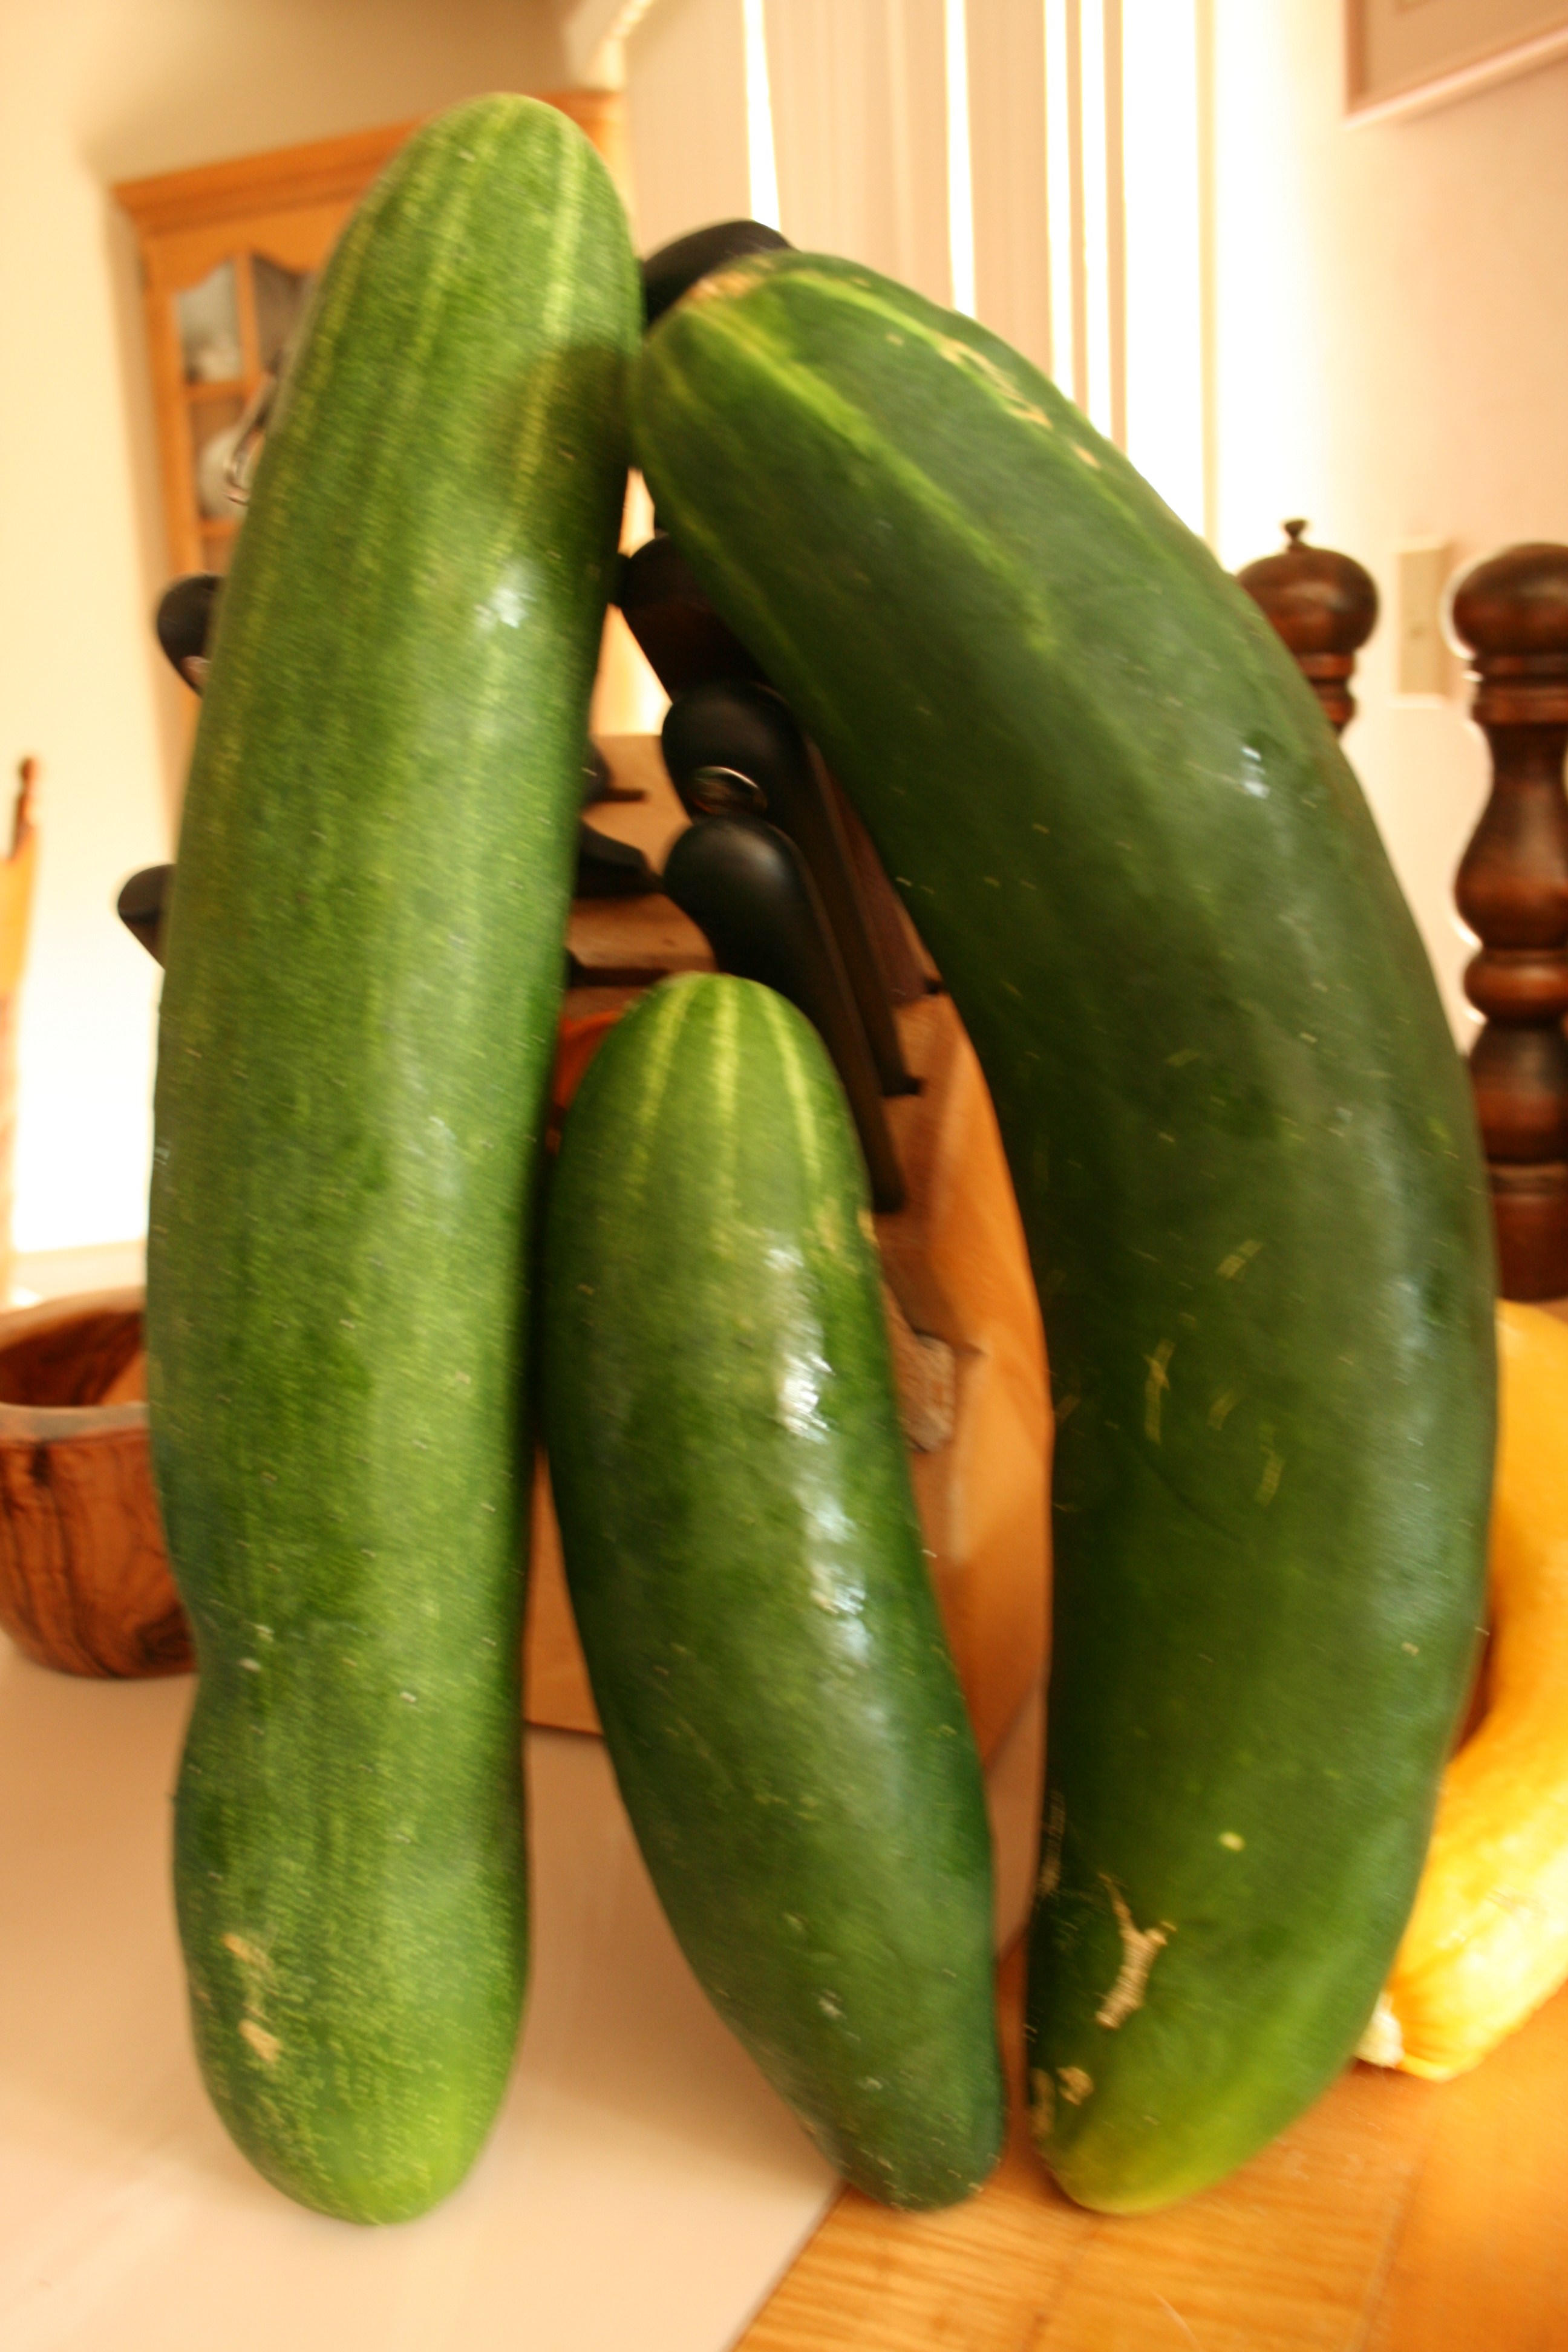
If your vines are happy, they should be producing enough squash for you to be harvesting twice a week.  I pick squash small.  Larger squash have more seeds, are stringier and don’t have that lovely, delicate taste that only a baby squash can bring to the frying pan or a salad.

Wash the squash off when you bring them in and either serve them that day or store them in the fridge for a couple of days.  If you are getting too many squash to eat or store, peel them, shred them, toss them in a freezer bag and freeze them for use during the winter. 

Recipes
I love squash and use it fresh in everything from salads to stir fry to grilled vegetables.  I also shred it and freeze it then add it to a whole host of dishes that I serve in the fall and winter.  But one of my favorite ways to serve squash is marinated and grilled to a golden brown.

Here are a couple of my favorite recipes for using fresh and frozen summer squash.

Master Recipe for Garlic & Herb Marinade Ingredients

Marinades are fast and easy and add just a touch of flavor to grilled veggies.  This master marinade and the three variations are courtesy of Cook’s Illustrated Magazine.

Master or Base Marinade
½ c olive oil
6 small minced garlic cloves
¼ c snipped chives, fresh basil, parsley or tarragon
or
2 T minced rosemary or fresh thyme       Salt & pepper to taste

Caribbean Marinade
Make the master marinade using fresh parsley only and adding:
1 tsp cumin
1 tsp chili powder
1/2 tsp allspice
¼ tsp cinnamon

Southwestern Marinade
Make the master marinade using fresh minced cilantro and:
Decrease salt to ½ tsp
1 tsp cumin
½ tsp chili powder
1 tsp turmeric
1 medium chile seeded & minced

Asian Marinade
6 T vegetable oil
2 T Asian sesame oil
¼ c soy sauce
6 small minced garlic cloves
¼ c minced fresh cilantro
1 piece minced ginger root – 1T
2 medium scallions sliced thin

DIRECTIONS for all:  Whisk ingredients together.

Mom’s Gingerbread
Shredded zucchini and summer squash make absolutely wonderful additions to meat loaf, soup and breads.  The squash is a great extender that adds flavor and moisture to all three without adding any calories or carbohydrates like bread crumbs so.  But here’s my favorite way to use shredded, frozen squash – my Mom’s gingerbread. 

Ingredients:
½  C butter or canola oil
½  C sugar
1 Egg, beaten
2 ½ C flour
1 ½ tsp baking soda
1 tsp cinnamon
1 tsp ginger
½ tsp cloves
½ tsp salt
1 C black strap molasses
1 C hot water
1 c shredded, drained zucchini

DIRECTIONS:
Sift dry ingredients together and put in mixer bowl.

Add sugar and shortening or oil and mix then add eggs.

Mix hot water with molasses then pour into mixing bowl. 

Add shredded zucchini or summer squash and mix in thoroughly.

Bake in 8 or 9 inch pan(s) at 350º for about 45 minutes but make sure you check to keep it from over-baking. 

Serve warm or cold with whipped cream or plain.

By the way, I think my second, favorite way to bring a bit of summer to my winter menu is to  add shredded zucchini to your favorite meat loaf recipe.  It extends the amount of meat loaf you make and makes the meat loaf juicier!

Next week….some hard-earned lessons on growing potatoes.

Grow So Easy Organic – How To Grow Summer Squash

If you’re new to gardening and want to expand beyond tomatoes and cucumbers, I would take a look at raising some summer squash.  I always have yellow squash and zucchini tucked into opposite corners of my garden and I’m always rewarded with lots of wonderful, sweet, tender veggies.

USDA summer squash

Two favorite summer squash – zucchini & yellow. (Photo credit: Wikipedia)

Easy to start from seed, easy to transplant, fast growing and very productive, summer squash grow in such a wide range of climates and soils that just about anyone, in any zone can get them to produce. 

In fact, once you know a few basic rules of the road for raising squash, you’ll quickly learn that this vining vegetable plant just seems to be one of those that can take care of itself once you put it in the ground – my kind of plant!

How To Grow Summer Squash
Some people like to direct sow their squash.  I tend to start seeds indoors to give my plants a jump-start on the growing season.  However, because squash germinate so easily and grow so fast, I don’t start these seeds until 4 weeks before my last frost.  In Zone 6a, that means I start them in early to mid-April.

My squash seeds are started in 4 inch peat pots, not in cells and not in smaller peat pots.  Again, if you give the seeds the right conditions, water, heat and light, they are going to crack right open and start growing in just a few days.

If you put them in cells or 2 inch peat pots, they will outgrow the space so quickly that you won’t be able to keep them going until it’s time to transplant them outside.  So start with large peat pots that will give the squash plants plenty of room to set roots in and grow.

A week before transplanting the squash, make sure you start to harden them off.  It’s the same process for all transplants started in doors – a couple of hours outside the first day.  A couple more hours the next day and so on until, by day 5, the plants have been out all day long.  Day 5 or 6, your transplants should stay out all night.

NOTE:  Use common sense about hardening off.  If it’s been raining for 4 days, definitely don’t leave the plants out to drown.  If the wind is very high or it’s going to be down in the high 40s or low 50s, don’t leave these warm weather babies out overnight, either. 

The objective of hardening off plants is to prepare them for living outdoors, 24 hours a day.  But if the conditions are not conducive to keeping the plants healthy, don’t stick to your schedule.  You’ll kill the plants or slow production down so much that you won’t get a lot of squash for a while or even at all.

When & Where to Plant Summer Squash
Figuring out when to transplant squash isn’t rocket science.

As I’ve mentioned, summer squash are warm weather babies.  Bring your transplants out, harden them off and put them in the ground after all danger of frost is gone.  If you prefer direct seeding, you can sow summer squash seeds in prepared beds or hills at the same time. 

And if you want to have squash all season long, plan on a bit of succession planting 2 to 3 weeks after you put your seedlings in the ground.

Putting squash plants into the ground isn’t rocket science, either.  Dig a hole, pop the plant and peat pot in and press the dirt around the base.  But….and it’s a big but…there are a couple of things you really need to know before you plant them.

Where you plant your squash depends on three factors — space, proximity and wind direction. 

I learned about these three the hard way…by killing or crossing various types of squash.

Space:  Unless you buy squash that was bred to be bushy, make sure you give each plant enough real estate to roam.  Zucchini and Summer squash need about a 4 foot square to grow in.  That’s why I don’t grow a ton of squash in my garden. 

It’s also why I say I tuck them into the corners.  I have been very successful with squash when I plant them near the fence line in the blueberry patch.  One or two of the same type go into the 3 areas that are not packed with blueberries. 

Space is one thing squash need.  Their own area in the garden is another.  This is the proximity factor.  Never plant two different types of squash near each other.  Never plant squash near cucumbers.  Bees will pollinate and cross-pollinate and you could end up with cuchinni or zuchsumbers.  I have raised crosses of all three.   They look beautiful but they tasted terrible.

So I use odd and unused corners in my yard for squash.  I even put one variety in one of my compost bins.  And I make sure my squash plants are not sheltered from wind.  Why not?

I’ve found that the nice gentle breeze that comes up the hill and crosses our backyard helps to keep my squash from getting powdery mildew which can kill vines almost as fast as squash beetles.

Next week…bugs and diseases that can attack your zucchini and yellow squash.

Grow So Easy Organic – Eggplant

When you think of the most popular vegetables to grow in the back yard, you probably don’t come up with eggplant.  In fact, when Mother Earth News did a survey of who was planting what, the most popular homegrown vegetable was the tomato followed by peppers, green beans, cucumbers, onions, lettuce, summer squash, carrots, radishes, and sweet corn.  Eggplant didn’t even make the list!

Eggplant

The bigger the eggplant, the bigger the bitter.   (Photo credit: Asian Lifestyle Design)

Okay, so eggplant is not a favorite with a lot of gardeners but the reason just may be that most gardeners have never had young, sweet flavorful eggplants plucked off their own plants.   Instead they’ve tried those large, purple cylinders they buy in the grocery store.  I was the same way until I grew a few plants and discovered there is no comparison.

There are three tricks to getting full-flavored fruit from an eggplant; buy the right seeds, start the plants early and harvest the eggplant when they’re small.

My favorite eggplant is the round, striated one called Bianca Rosa from High Mowing Organic Seeds.   This is a Sicilian eggplant with light pink fruits that are streaked with white and violet. The flavor is mild and creamy with no bitterness and a low number of seeds.

How To Grow Eggplant
Growing eggplant is a bit like growing peppers – both like warm summer days.  In fact, I think eggplant is even more cold-sensitive.  To get eggplant to flower and set fruit, you need warm soil and a long, warm growing season – from 100 to 140 days with temperatures consistently between 70° and 90°.

I always start eggplant from seed.  And I always start them early – at least 10 weeks before my last frost date.  Like all my seeds, I start them in cells.  I don’t soak them overnight before putting them in the cell but you can to shorten the time to sprouting.

Once the eggplant seedlings get their second set of leaves, I transplant them into 2 inch peat pots, raise the tray up off the heating mat (I use two bricks – not high-tech but cheap and easy) but keep them there so they can have the warmth they need to thrive.  When they get to between 4 and 5 inches high, I transplant them again, this time into 4 inch peat pots.

Why not go directly from cell to the 4 inch peat pot?  Remember, eggplant like warm soil.  Take them from warm, moist soil and stick them in cold dirt and they get shocky – I know, I tried.  All my eggplant were stunted and fruit came late in the season.

So unless I plan far enough ahead to prepare the 4 inch pots and put them over the heat map to warm the soil (that’s unlikely), I just go from cell to 2 inch then 4 inch peat pot.

Once they have settled into the new pots and are thriving, I move the trays off the heat mats and onto my lighted plant stand (which I bought used almost 20 years ago and am still using).

When To Transplant Eggplant
Eggplant have the same needs as those of bell peppers.  Transplants should only be set in the garden after all danger of frost is past.  Remember, warm soil, warm air and warm days, lots and lots of all three are what eggplant need to thrive.

If your eggplant are happy, they will need more space than you might anticipate.  Eggplant should be spaced about 2 feet apart.  I don’t plant them in rows, I zigzag them.  Like pepper plants, eggplant can be pulled over by the size and weight of their own fruit so I use tomato cages for support.  I have also planted them along a fence line so I can tie the plants up once they reach maturity.

Space plants 18 to 24 inches apart in the row and stagger them so you can get 6 to 8 plants in less space.   Make sure you leave about 2 to 2/12 feet between rows, especially if you are planting in raised beds so you can get to the plants and the fruit, easily.

Care
Once in the ground, give the transplants a good watering to settle them into the ground.  I always mulch eggplant but before I do, I put a ring of composted soil around each plant to feed it.  Then I mulch with straw or grass clippings or both to keep the weeds down.

You can also use a nitrogen fertilizer if you don’t have any composted soil, feeding the plants when they are half-grown and right after you harvest the first fruits. But being a lazy gardener, I prefer using composted soil.

Once the plants are established, eggplant love the heat of the summer.  You only have to water if you are in a persistent dry period then wait for those lovely, sweet eggplant to start emerging from each lavender flower.

Oh, and keep an eye out for one pest that just loves eggplant – the Colorado Potato Beetle.

Bugs That Bug Eggplant
When you read up on eggplant pests, the one you will read about the most is the flea beetle.   Flea beetles chew tons of tiny holes in leaves.  If plants are older and stronger, the flea beetles will be more of an annoyance than a true threat to your eggplant.  And you can hand-pick and crush these little devils easily.

But if your plants are younger and tender, flea beetles can actually cause real problems.  To avoid this problem, keep plants indoors until early summer, as advised and once you transplant them, cover outdoor plants with floating row covers to keep the flea beetles at bay until the plants get older and tougher.

Some gardeners think flea beets are an eggplant’s worst pest.  I save that title for the Colorado Potato Beetle…on my Top 10 Bugs list for a reason.

This image was selected as a picture of the we...

The Colorado Potato Beetle will eat anything, even eggplant.   (Photo credit: Wikipedia)

The good news is that the eggs, larvae and the adult beetles are easy to spot and even easier to crush.

The eggs, orange-yellow in color, can be found in clusters of about 20 on the undersides of leaves.  Finding and killing them before they hatch helps decrease the odds of an infestation.

Just crush them gently (sounds like an oxymoron but necessary advice) with your fingers, trying not to damage the leaf they are laid on.

If the eggs hatch, the larvae are red to orange soft grubs about 1/2 inch long when mature. Larvae have black heads, little black legs and, as they grow, will have two rows of black spots on each side of the body. If you see holes in the leaves, check the underside for these babies.

When they reach maturity, the beetle phase, you will be able to recognize the adult Colorado Beetle easily.  The body is domed with distinctive yellow and black stripes running along the length of the wing covers.

These beetles are easy to hand-pick and crush.  I keep two small, flat stones in the garden by the eggplant to do just that.

The most common eggplant disease is Verticillium wilt which causes yellowing, wilting and death of the plants.  If you plant resistant cultivars and rotate crops – never planting eggplant where tomatoes or potatoes have grown the year before, you should be able to avoid this disease.

Harvesting Eggplant
Eggplant is one vegetable where size does matter – and it should be small.

If you harvest eggplant when they are young, you will be sure to get sweet flesh with none of the bitterness that larger eggplant bring to the table.

To find out if an eggplant is ready to be picked, hold the eggplant in your palm and gently press it with your thumb. If the flesh presses in but bounces back, it is ready for harvesting. If the flesh is hard and does not give, the eggplant is immature and too young to harvest.

Eggplant bruise easily so harvest gently. Don’t try to pull eggplant off the plant.  You will damage the plant and probably not win the tug of war with the stem.

You might even get stabbed by one of the spines on the stem.  So carry a sharp knife with you and cut the stem of the eggplant about an inch away from the top or cap of the fruit.  That method protects you, the plant and the fruit from damage.

I harvest all season long.  I love eggplant marinated and grilled.  And when I get too many or get just a bit tired of marinating them, I simply slice them, grill them dry (no oil) on the Foreman Grill and freeze them.  During the cold days of winter, I use the frozen slices to make wonderful Eggplant Parmigiana.

Eggplants don’t store well but you don’t want to leave them on the plants too long, either. Either harvest and use immediately for the best flavor or process them for the freezer.

No recipes for eggplant (other than marinated or in parmigiana) but a tip a chef shared with me.  When making Eggplant Parmigiana, mix the ricotta cheese, eggs, cooked and crumbled ground beef and tomato sauce together.

This way, you only have to layer once.  All 4 fillings are more evenly distributed and the finished dish has a creamier, richer flavor.  This tip works for lasagna, too!

Next week, zucchini and summer squash and everything you need to know to enjoy both, all summer long.