Red onions are my favorite and it’s easier and cheaper to raise them organically, so why not? (Photo credit: Wikipedia)
In my early gardening years, way back in the dark ages when I had a stick and some dirt, I never, ever considered raising onions in my garden.
I didn’t use a lot of onions in my cooking, well to be honest, I didn’t cook much, either. I was a road warrior and spent most of my life in a plane, on a train or riding in a limo. There was no dirt under my nails, no canning jars in my pantry and no garden in my back yard.
Besides, my Mom never raised onions or garlic. But then, my Mom wasn’t married to an Italian. So when I traded in all my gold credit cards and came home to life on the homestead, I decided to give onions a try.
Getting Onions In The Ground
My first experience with raising them was hilarious. I decided to start them from seed. One cold and windy day in early March, I went out, worked the soil loose with my hand rake and spread seeds. I was a little liberal with the amount of seed I put down but I’d never done it before.
And onion seed is small and dark. It disappeared right into the soil. I covered the seeds with a tiny bit of soil, covered the bed with a fence section and a sheet and went back inside to thaw out and promptly forgot I’d planted onion seed.
Four weeks later, in the middle of April. I was preparing a bed for beets. There is no finesse involved in prepping and planting these babies and the seeds are so big, I didn’t need my glasses, I thought.
I knelt down by the bed and was stunned to see a ton of baby grass growing in the bed. I grabbed handfuls and began madly tearing out what I thought were weeds. About 3 minutes later I froze; I was tearing up baby onions!
I tend to use sets, now.
Seed or Sets
Raising onions from seed is easy as long as you remember that you planted it and don’t rip it out, willy nilly. Once the seeds sprout and the onion babies get to be 3 inches high, all you have to do is thin and transplant them using the same technique I use for baby beets.
Raising onions from sets is easy too but your choices are limited to what your favorite, organic seed company is growing. I prefer red onions so I usually end up with Stuttgart or Candy Red. Both are good tasting, sweet onions but only the Stuttgart is a long keeper.
Depending on whether you are planting long or short day, you can put onion seed in the ground as soon as you can work the soil in the spring. If you’re going for sets, the best time to order your sets is early. If you don’t order early, you may not get the varieties you want. Raising onions in the backyard is getting more popular and nurseries run out of sets pretty early.
White, Red or Yellow
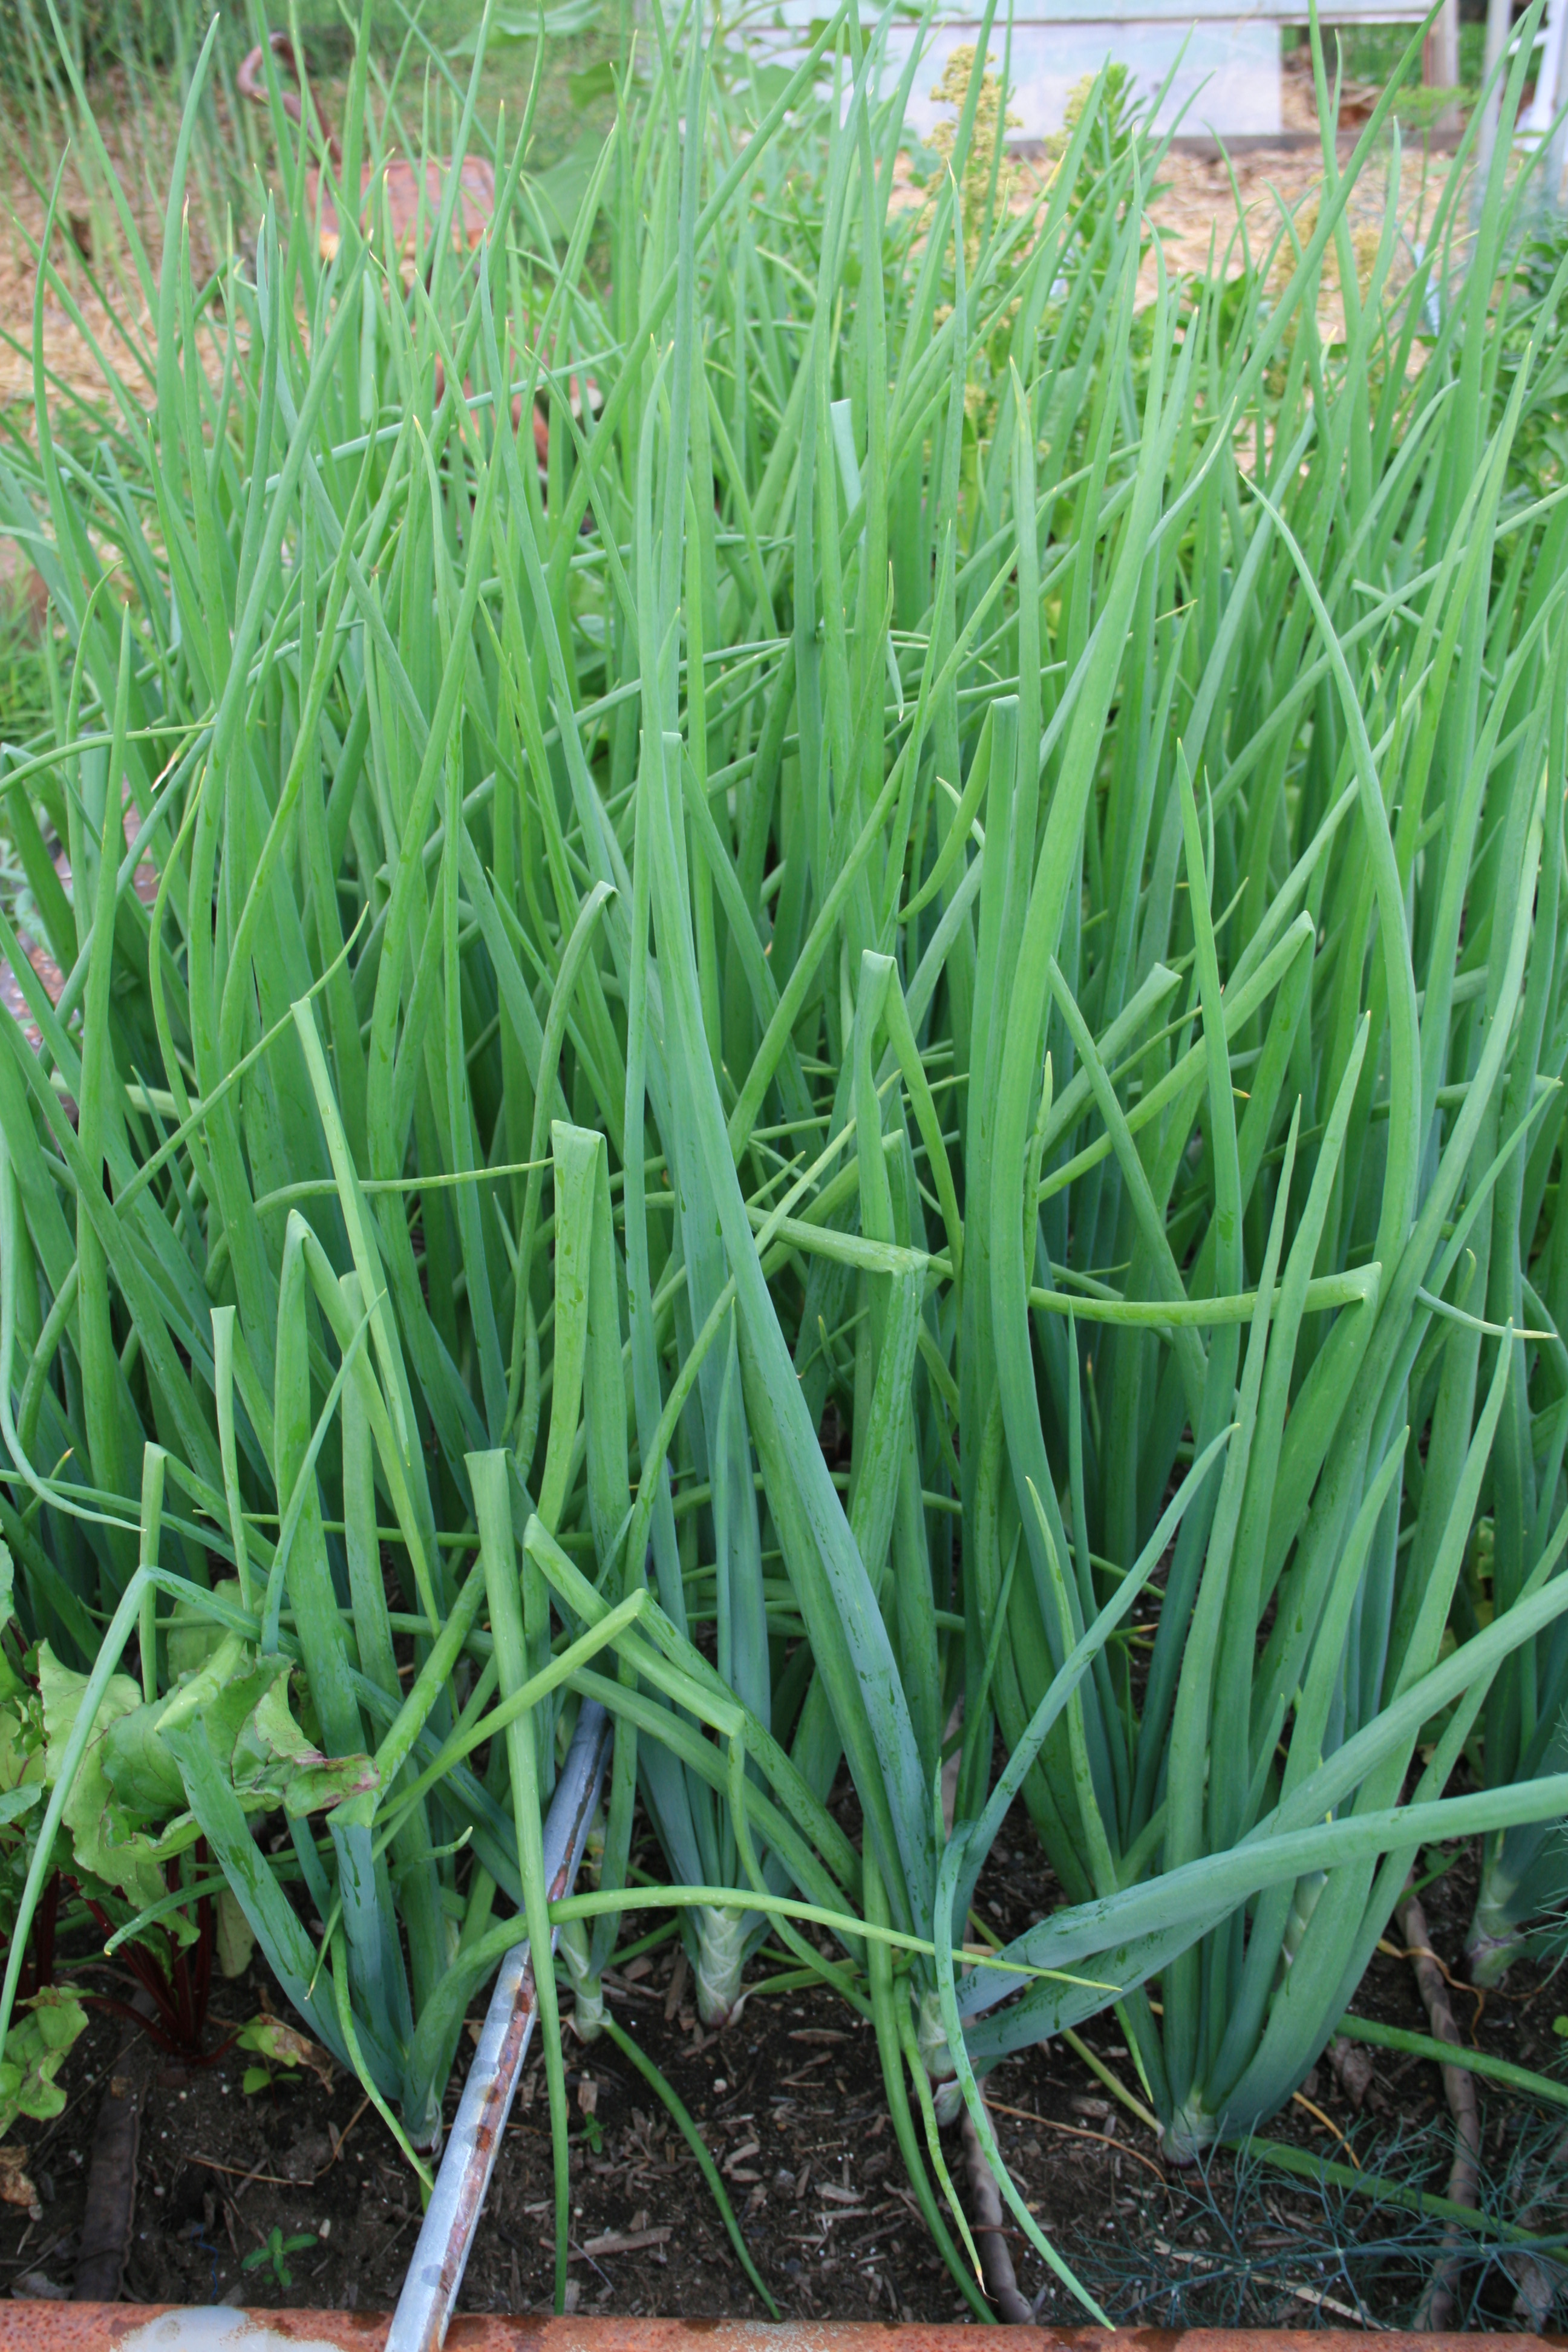
Onions come in quite a few colors – that would be your first choice. They also come in long day, short day and intermediate. Clearly, the names refer to how long the onions take to mature. And picking the right onion for your zone and growing season is important to how well the onions grow and how big and healthy they are.
Like many plants, onions grow roots and leaves first then begin to form bulbs but only when daylight hours reach a particular length. Onions are what’s known as “photoperiodic.” That means they regulate their growth by the duration of light and dark at the time of year they are growing.
If you try a long day onion in the deep South, you’ll get great tops but very small bulbs which will be killed when exposed to too much heat. A short day onion that’s planted in the north will try to produce bulbs before the leaves have formed. Without leaves to supply food, the bulb won’t be able to develop and size of the bulb will be limited.
So, rule of thumb, plant long day varieties if you live north of latitude 36º — roughly the Kansas/Oklahoma border. Plant short day types south of this line. Put long day varieties in the ground as early as possible in the spring. Put short day onions in the ground in the fall to give them a head start in the spring.
Planting Onions
If you are putting onion sets in the ground, most organic companies will ship them to you in the fall and within 2 weeks of the optimum time for you to plant. When the sets arrive, they may appear wilted but they are pretty hardy and should do well if you plant them quickly.
NOTE: if you cannot plant as soon as they arrive, soak the roots in water and either keep them in the refrigerator for up to 2 weeks or mound soil around the roots and keep them moist.
When you are ready to transplant, simply trim the tops to about 3 inches high and the roots to ¼ of an inch. I use a sharpened pencil to create a hole for each set that’s about 1 to 2 inches deep – deep enough to cover the white part of the baby onion. I plant the sets about 4 to 6 inches apart, in rows about 18 inches apart.
Make sure you plant the baby onions as directed above because they don’t like to compete for foods and fertilizer with each other or other plants, including weeds. In fact, there’s a saying in the onion business – you can grow onions or weeds but not both.
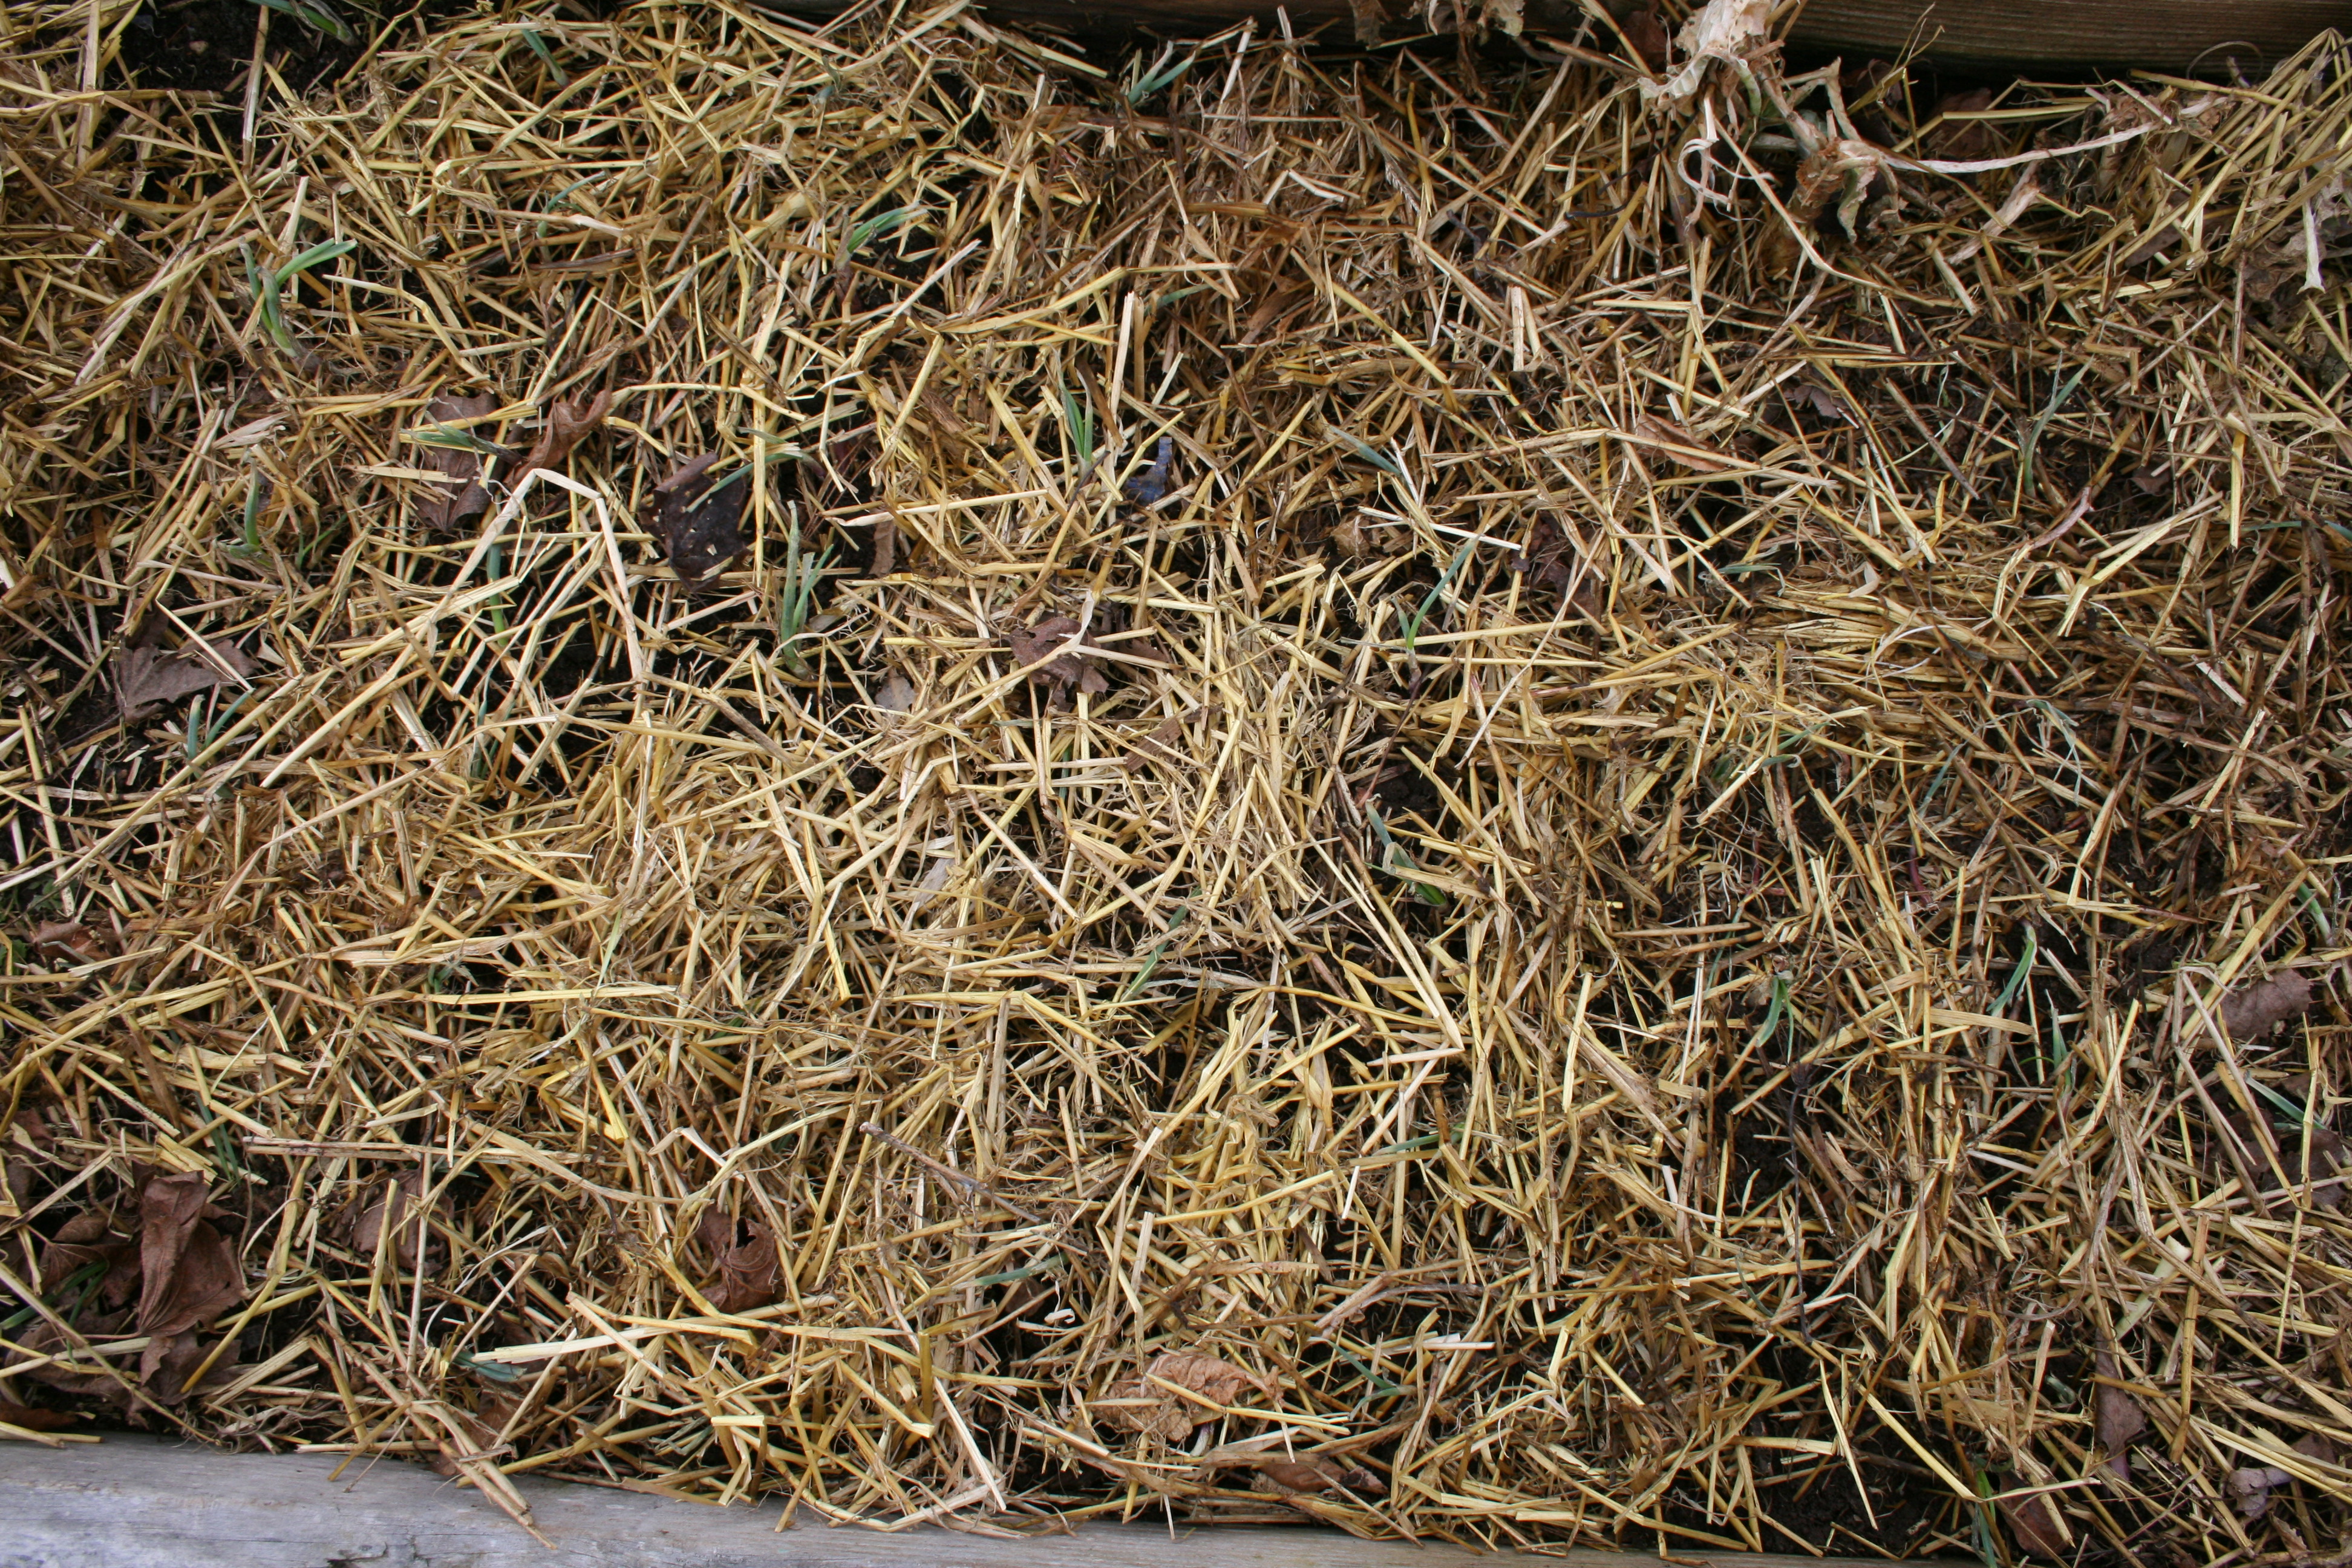
When planting in the fall, mulch heavily – I use 14 to 18 inches of straw to cover the whole bed.
Mulching keeps the plants from sprouting during the January thaw and prevents the freezing and heaving cycle when warmer days play tag with the cold temperatures of deep winter.
In the spring, when forsythia start to bloom, pull the stacked straw off the plants but leave a light layer of mulch. The mulch suppresses weeds. Put a light cover over your baby onions if frost is predicted. I use old sheer curtains. Water onions regularly; they need about an inch of water a week. And that’s about it.
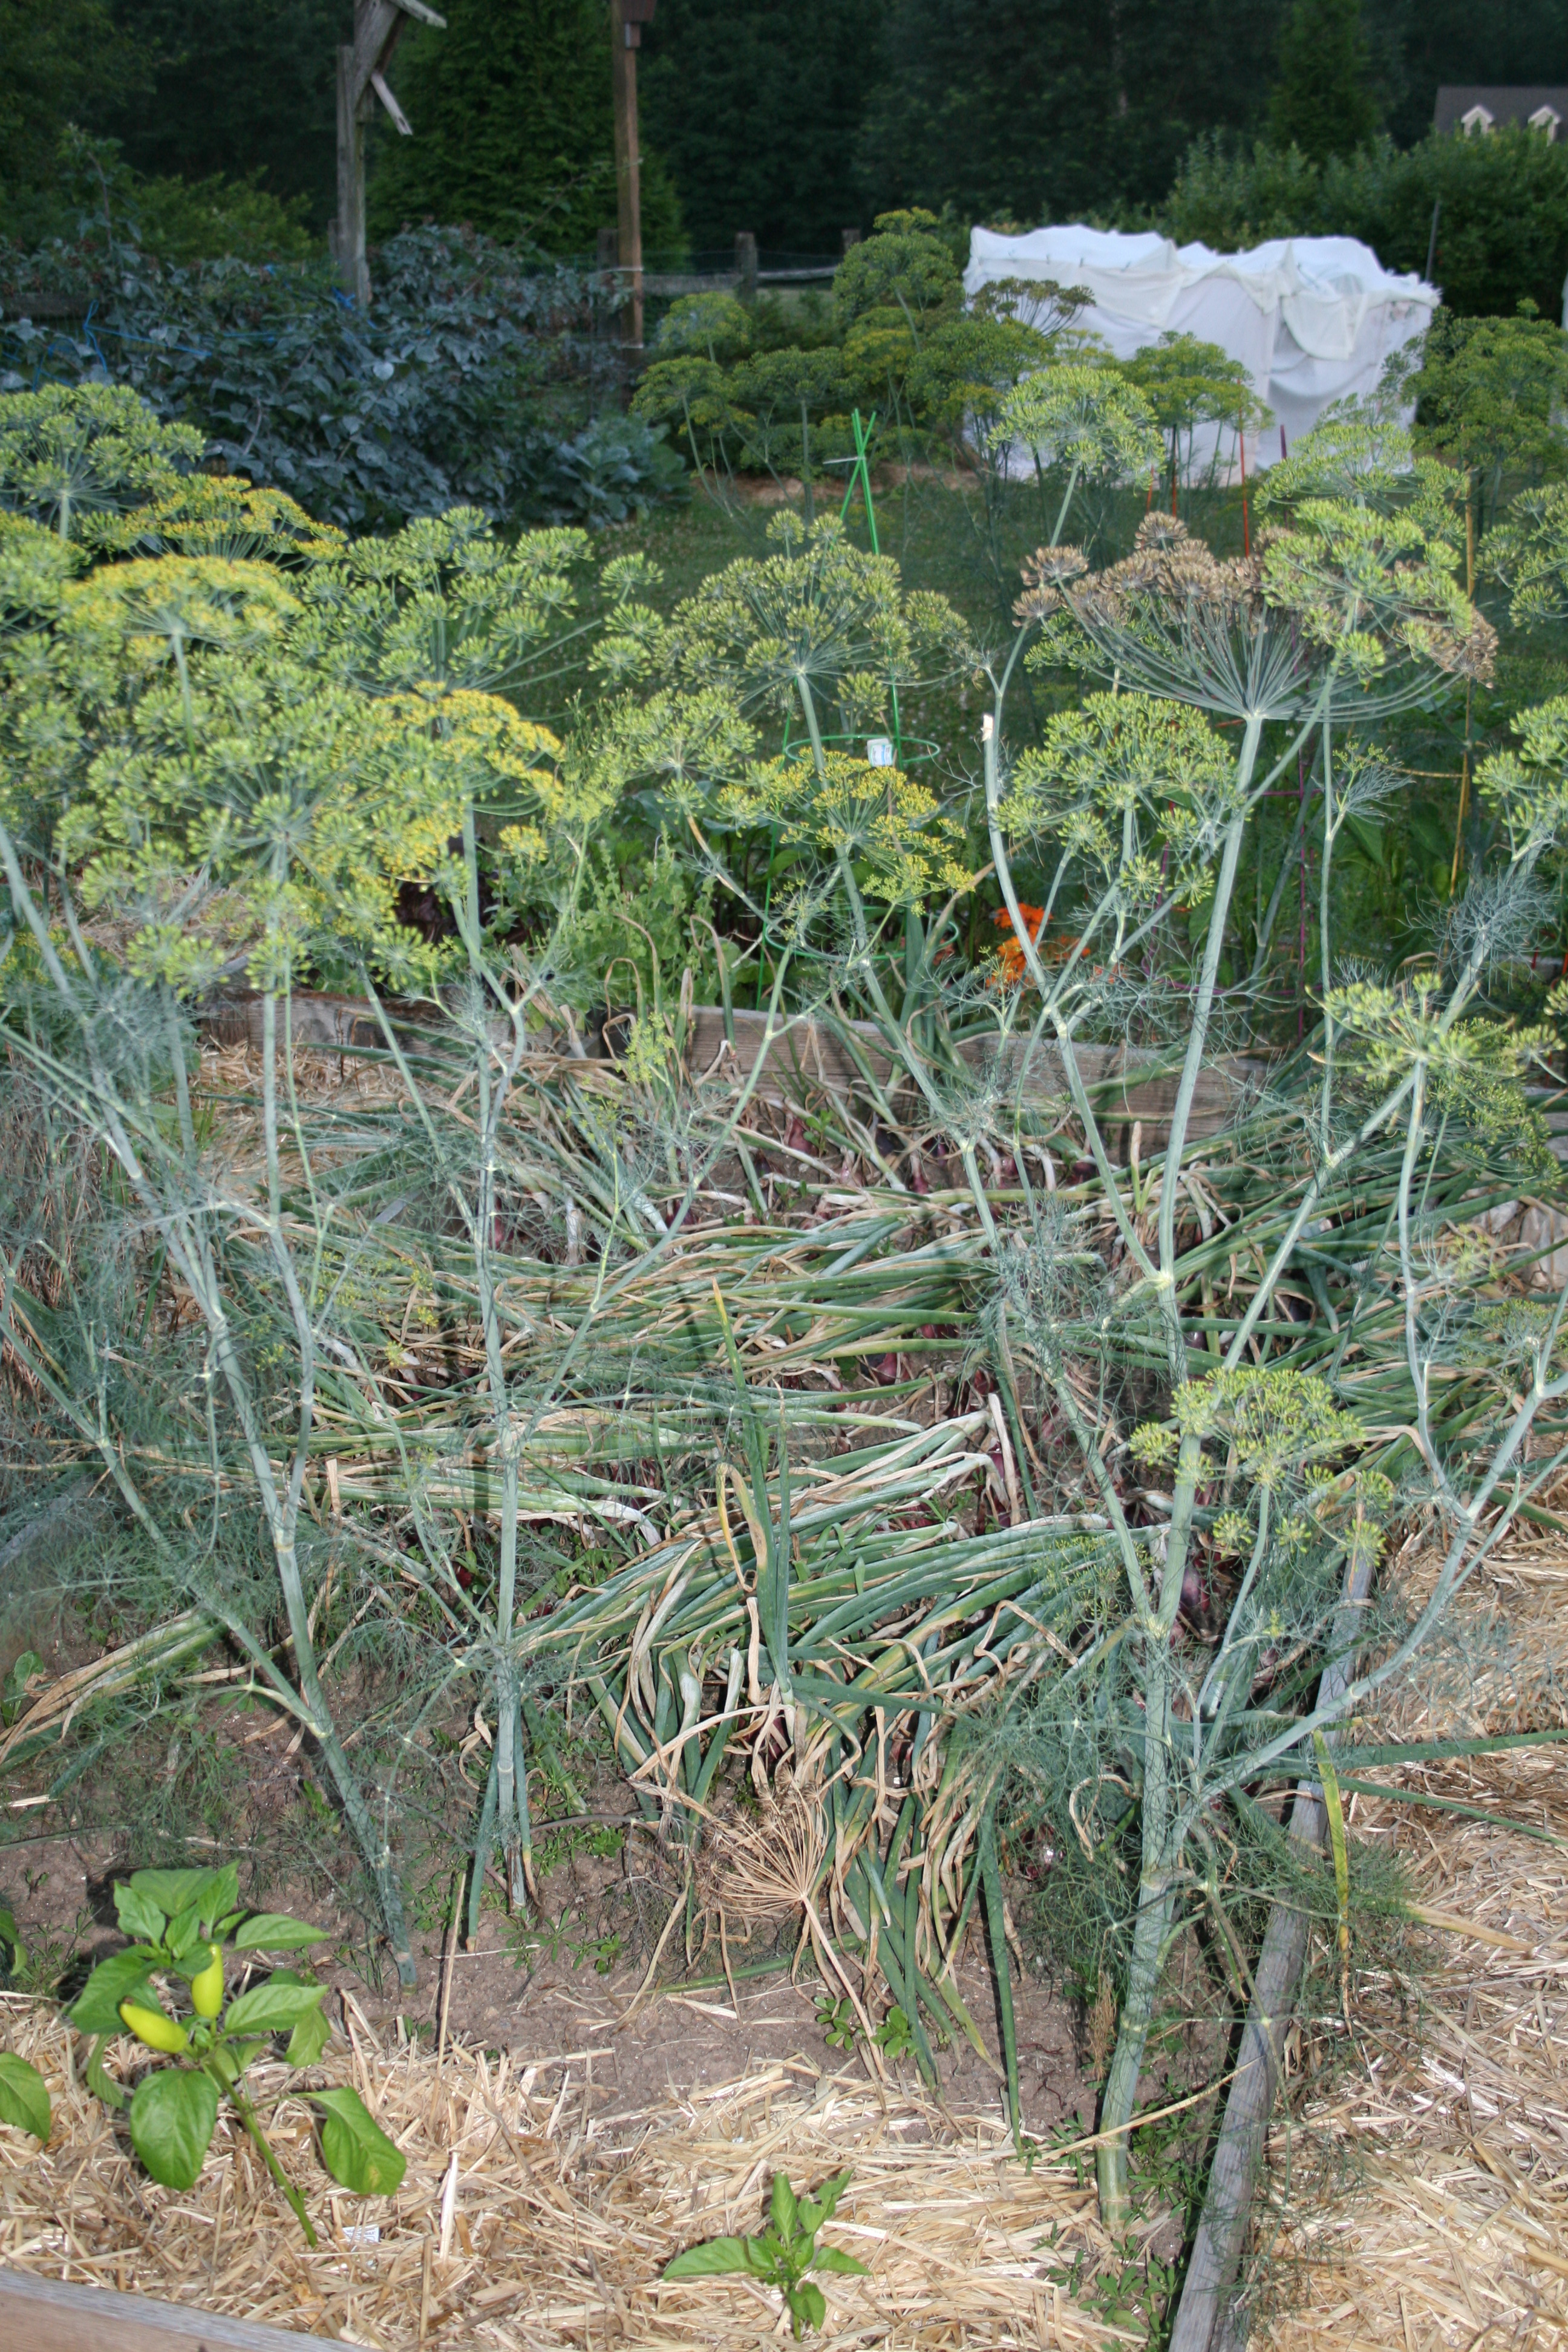
Harvesting & Storing Onions
Onions are ready for harvest when the tops turn yellow and begin falling over. For those that are not quite ready, you can finish bending the tops so they are horizontal to the ground using your hand. Bending the leaves stops sap from rising into the leaves and forces the bulb to mature.
When the outer skin on the onion dries, remove from the soil, brush the earth off each onion, clip the roots and cut the tops back to 1 inch from the bulb. Store onions in a cool, dry place and try not to let them touch each other. If handled properly, onions can last up to 1 year in storage.
Onion Pests & Diseases
Onions are pungent so they tend to repel most pests. Onions can also be inter-planted to repel pests from other plants, too. The bigger risk for onions are fungal diseases. It is also a risk that is very easily mitigated.
Smut, downy mildew and pink root are common problems encountered while raising onions. The easiest way to avoid all three of them is rotation. Do NOT plant onions or garlic in a bed where other allium crops have been planted the year before and, preferably, two years before.
In fact, the longer you can avoid planting onions in a bed that was used for raising alliums, the better.
By the way, if you want to find out everything about onions…just visit the National Onion Association read the FAQs and browse the types, colors and recipes.
Recipes
I love raw onions in salads, on the top of black bean soup and on dishes of beans and feta cheese. But my favorite way to eat onions is caramelized. A stick of butter in a cast iron pan, toss in about 8 onions and just cook until they are the color of caramel and salty/sweet. They are good plain, they are great on hamburgers.
And they are great in Onion Frittata — a recipe that owes a whole lot of its flavor and richness to caramelized onions.
RECIPE: Onion Frittata
INGREDIENTS:
8 large eggs
1 cup grated parmesan cheese
3 basil leaves torn in pieces
3 minced sage leaves
1tsp minced rosemary
3 T olive oil
1 or 2 c sliced onions
1 ½ to 2 cups ricotta cheese
Kosher salt and fresh pepper to taste
DIRECTIONS:
Preheat oven to 400°
Put olive oil in large, cast iron frying pan and heat.
Put onions in frying pan and cook until just turning brown and starting to caramelize.
Reduce heat to low.
While onions cook, whisk eggs, parmesan cheese, basil, sage, rosemary salt a pepper together.
Pour egg mixture into frying pan over onions.
Spoon dollops of ricotta over the top and cook on the stove top until frittata begins to set.
Place frying pan in oven and bake for 7 to 9 minutes until it is set.
Slide frittata onto plate or serve from frying pan by cutting into slices. Serve hot or cold.
Growing garlic is just about as easy as growing onions as I shared in an earlier post.